
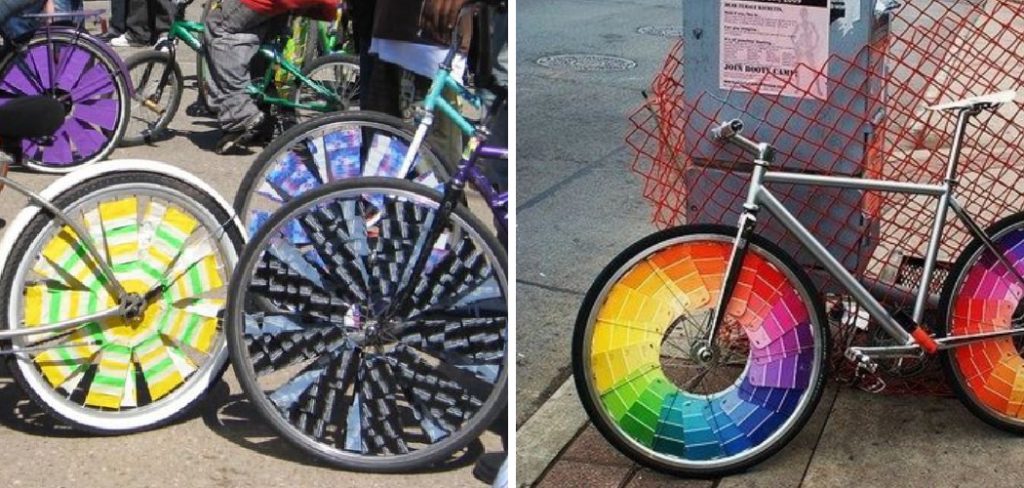
How to Decorate Bike Wheels
Decorating bike wheels is a fun and creative way to personalize your ride. Whether you want to add some color, show off your style, or make your bike more visible on the road, there are many ways to decorate your bike wheels.
In this guide on how to decorate bike wheels, we will go through different methods and ideas for decorating your bike wheels in Markdown format.
Tools You Will Need
Before you start decorating your bike wheels, make sure you have the necessary tools and materials. Here are some things that will come in handy:
- Bike Wheels: Obviously, you will need a bike with wheels to decorate.
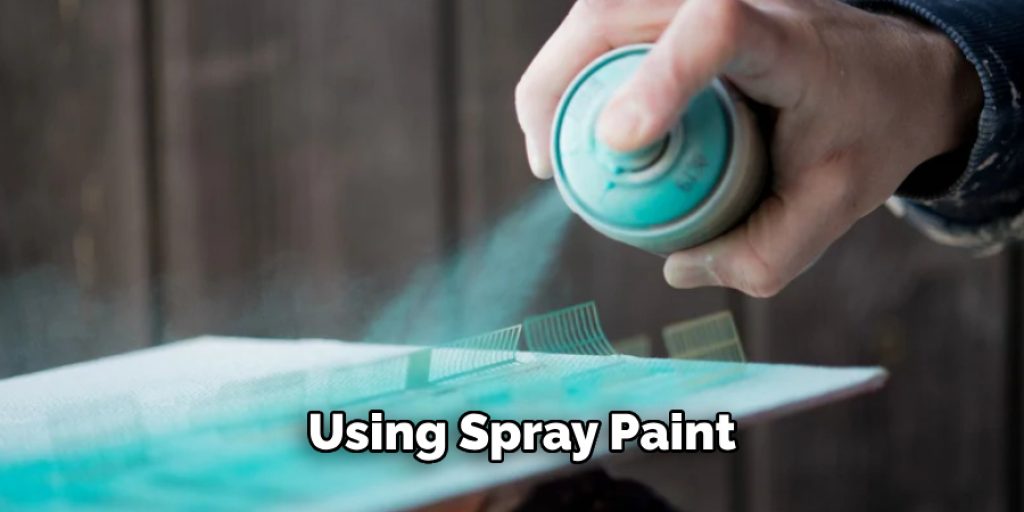
- Paint: Acrylic or spray paint works best for decorating bike wheels.
- Painter’s Tape: This will help create clean lines and prevent paint from getting on unwanted areas.
- Stencils: Stencils are great for creating intricate designs and patterns on your wheels.
- Paintbrushes: You will need different sizes of paintbrushes depending on the design you want to create.
- Clear Coat Spray: This will protect your design from chipping or fading over time.
12 Steps on How to Decorate Bike Wheels
Step 1: Clean and Prep Your Wheels
Before you start decorating, make sure your wheels are clean and free of any dirt or debris. Use a damp cloth to wipe down the wheels and let them dry completely. Soaking the wheels in warm, soapy water can help remove any stubborn dirt or grease.
Step 2: Remove the Wheels from the Bike
To make it easier to decorate your wheels, you can remove them from the bike. This will also prevent any paint or other materials from getting on other parts of your bike. And if you’re planning to change the tires, this would be a good time to do it.
Step 3: Choose Your Design
Think about the design or pattern you want to create on your bike wheels. You can choose a simple color scheme, use stencils for more intricate designs, or even create your own freehand design. Even if you’re not an artist, there are many online resources for bike wheel design ideas that you can use as inspiration.
Step 4: Protect the Spokes and Tires
Use painter’s tape to cover the spokes and tires of your wheels. This will prevent paint from getting on these areas and create clean lines once the tape is removed. While you’re at it, you can also cover the hub and rim if you want to keep those areas clean.
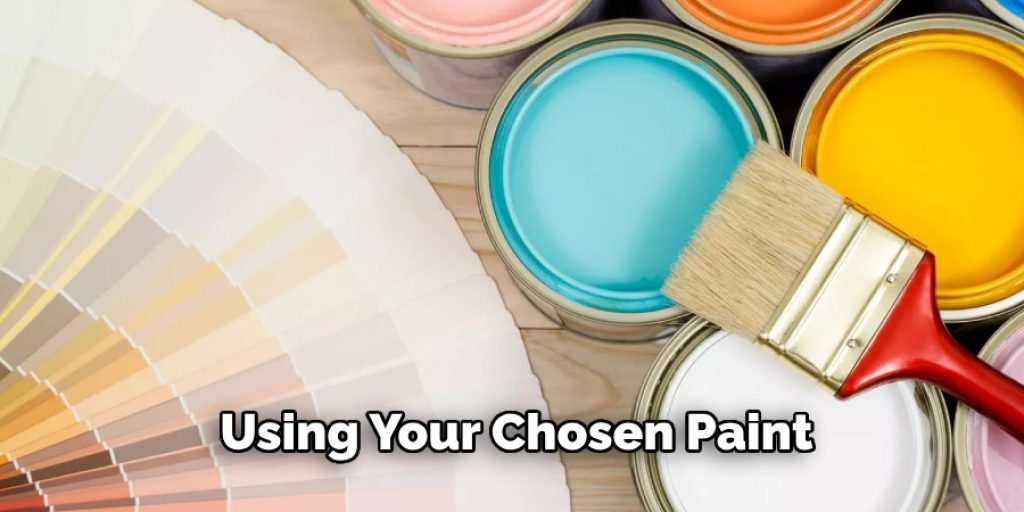
Step 5: Start Painting
Using your chosen paint and brushes, start painting your wheels. You can use multiple colors or just stick to one color. Make sure to apply thin layers of paint for a smooth finish, and let each layer dry completely before adding another one.
Step 6: Use Stencils for More Intricate Designs
If you’re using stencils, position them on your wheels and secure them with painter’s tape. Then, use a different color of paint to create the design on top of the base layer. You can also use multiple stencils to create layered designs.
Step 7: Let the Paint Dry
Once you’re done painting, let your wheels dry completely. This may take a few hours or even overnight, depending on the type of paint used and the weather. Even if the paint feels dry to the touch, make sure it is fully cured before moving on to the next step.
Step 8: Remove the Tape and Stencils
Once your wheels are completely dry, carefully remove the painter’s tape and stencils. Make sure not to smudge or damage your design as you do this. If you want to add more detail or touch-ups, now is the time to do it.
Step 9: Apply a Clear Coat
To protect your design from chipping or fading over time, spray a clear coat on top of your wheels. Make sure to do this in a well-ventilated area and follow the instructions on the can for best results. Keep in mind that multiple coats may be needed for a stronger and longer-lasting finish.
Step 10: Let the Clear Coat Dry
Just like with the paint, let the clear coat dry completely before moving on to the next step. This may take a few hours, so be patient and avoid handling or using your wheels until they are fully dried. However, if the weather is too humid or cold, it may take longer for the clear coat to dry.
Step 11: Reattach the Wheels
Once your wheels are fully dried and cured, you can reattach them to your bike. Make sure everything is tightened and aligned properly before taking your newly decorated bike for a spin. You can also add other accessories like colorful valve caps or spoke lights for an extra touch.
Step 12: Show Off Your Unique Bike Wheels
Congratulations, you have successfully decorated your bike wheels! Now, it’s time to take your bike out and show off your unique and personalized ride. Whether it’s a simple color scheme or a complex design, your bike wheels will surely turn heads and make your ride more enjoyable. So go ahead, grab your bike, and enjoy the ride!

Decorating your bike wheels is a fun and creative way to make your bike stand out and express your style. With the right tools, materials, and steps, you can easily turn ordinary bike wheels into unique works of art. So why settle for plain wheels when you can make them pop with color and design? Use this guide as a reference and let your imagination run wild.
9 Safety Measures to Keep in Mind
As with any DIY project, safety should always be a top priority. Here are some safety measures to keep in mind when decorating your bike wheels:
1) Wear Protective Gear
Make sure to wear gloves, safety glasses or goggles, and a mask when painting or using spray paint. This will protect your skin, eyes, and respiratory system from any harmful chemicals. And if you’re using a clear coat spray, make sure to apply it in a well-ventilated area.
2) Use Non-toxic Paint
To reduce any potential health hazards, choose non-toxic paints or ones specifically made for bikes or outdoor use. Always read the label and follow the instructions for safe handling and disposal. If possible, opt for water-based paints instead of oil-based ones.
3) Work in a Well-ventilated Area
Whether you’re using spray paint or brush-on paint, make sure to work in a well-ventilated area. This will prevent inhaling too many fumes and reduce the risk of fire hazards. If you’re working indoors, open windows or use a fan to circulate the air.
4) Protect Your Work Area
Lay down drop cloths or cardboard to protect your work area from any spills, drips, or overspray. This will make cleanup easier and prevent any damage to surfaces. You can also use old newspapers or magazines as an alternative.
5) Avoid Paint Getting on Other Parts of Your Bike
As mentioned earlier, use painter’s tape to cover the spokes, tires, hub, and rim. This will prevent paint from getting on these areas and creating a messy finish. If you accidentally get paint on other parts of your bike, wipe it off immediately with a damp cloth.
6) Keep Children and Pets Away
DIY projects can be fun for the whole family, but make sure to keep children and pets away from your work area. They may accidentally touch or ingest harmful substances, so it’s best to keep them at a safe distance.
7) Take Breaks

Painting can be tiring and repetitive, so make sure to take breaks every now and then. This will prevent any muscle strain and allow you to step back and assess your progress. Also, make sure to stay hydrated and drink plenty of water.
8) Follow Instructions
Whether it’s for the paint or clear coat spray, always follow the instructions on the label or can. This will ensure that you’re using the product correctly and getting the best results.
9) Store Materials Properly
After you’re done painting, make sure to properly store your materials in a safe and secure location. This will prevent any accidents and keep your supplies in good condition for future use.
By following these safety measures on how to decorate bike wheels, you can ensure a smooth and worry-free experience when decorating your bike wheels. Remember, safety comes first! So go ahead, have fun, and let your creativity shine on your bike wheels.
8 Things to Avoid When Decorating Your Bike Wheels
While there are plenty of ways to decorate your bike wheels, there are also some things you should avoid. Here are 8 common mistakes to steer clear of:
1) Using the Wrong Type of Paint
As mentioned earlier, make sure to use non-toxic and outdoor-friendly paints for your bike wheels. Avoid using oil-based or indoor paints, as they will not adhere to the surface well and may cause damage.
2) Rushing the Painting Process
To achieve a smooth and even finish, take your time when painting your bike wheels. Rushing can result in drips, smudges, or uneven coverage. Patience is key! While it may take longer, the end result will be worth it.
3) Skipping Prep Work
Don’t skip the prep work! Not properly cleaning or sanding your bike wheels can result in a poor paint job. It’s important to remove any dirt, rust, and old paint before applying new coats. But don’t worry; the prep work doesn’t have to be tedious, and it can actually be quite therapeutic.
4) Painting in Extreme Weather Conditions

Avoid painting your bike wheels in extreme weather conditions such as high heat or humidity. This can affect the drying time and result in a discolored or uneven finish. It’s best to wait for a day with mild temperatures and low humidity.
5) Neglecting to Protect the Spokes
The spokes of your bike wheels are an essential part and should be protected when painting. Make sure to tape them off with painter’s tape or use a spoke guard, if available. This will prevent paint from getting on them and causing damage.
6) Using Too Much Paint
Less is more when it comes to painting your bike wheels. Too many layers of paint can add unnecessary weight and cause the design to become blurry or muddy. Apply thin coats and wait for them to dry before adding more.
7) Forgetting to Check for Compatibility
Before applying any clear coat spray, make sure it is compatible with the type of paint you use. Some paints may require specific types of clear coat, so always double-check to avoid any problems.
8) Not Adding a Clear Coat
Applying a clear coat spray is essential for protecting your design and adding a glossy finish. Don’t skip this step, as it will prevent the paint from chipping or fading over time. Plus, it adds an extra layer of durability. So, make sure to follow these tips and avoid these common mistakes for a successful bike wheel decorating experience.
8 Additional Tips for Decorating Your Bike Wheels
Now that you know the do’s and don’ts of decorating your bike wheels, here are 8 additional tips to help you achieve a professional-looking design:
1) Experiment with Different Patterns
Don’t be afraid to get creative and experiment with different patterns. From stripes and polka dots to ombre and geometric designs, there are endless possibilities. Use stencils or freehand for a unique and personalized touch.
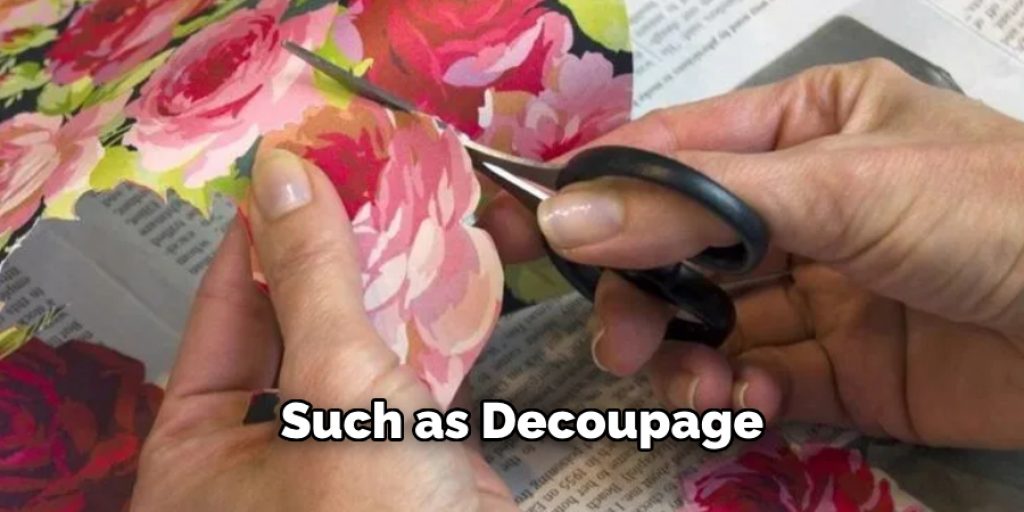
2) Try Different Techniques
Aside from painting, you can also use other techniques to decorate your bike wheels such as decoupage, washi tape, or vinyl decals. These can add texture and dimension to your design. Just make sure to seal them with a clear coat spray for durability.
3) Use Color Palettes
To achieve a cohesive and visually appealing design, choose a color palette before starting the decorating process. This will help guide your choices and prevent the design from becoming too chaotic.
4) Consider Your Bike’s Style
Take into consideration your bike’s style when choosing a design for your wheels. For example, if you have a vintage bike, a retro-inspired design would complement it well. Some bikes may also come in certain color schemes, so keep that in mind as well.
5) Coordinate with Other Bike Accessories
If you want a cohesive and coordinated look for your bike, consider decorating your wheels to match other accessories like handlebar grips or seat covers. This will add an extra touch of style to your overall bike aesthetic.
6) Use Specialized Paints
Aside from regular acrylic paints, you can also use specialized paints such as glow-in-the-dark or metallic paints for a unique and eye-catching design. These can add an extra element of fun to your bike wheels.
7) Add Reflective Tape
For added safety while riding at night, consider adding reflective tape to your bike wheels. This not only makes your bike more visible to others, but it can also add a cool and reflective touch to your design.
8) Don’t Be Afraid to Make Mistakes
Lastly, don’t be afraid to make mistakes! If you’re not happy with the outcome of your design, you can always start over or try a different approach. The key is to have fun and let your creativity flow. And remember, practice makes perfect!
So there you have it; with these tips on how to decorate bike wheels in mind, you’re ready to decorate your bike wheels like a pro. Have fun and ride on with your newly decorated wheels! So go ahead, have fun, and let your creativity shine on your bike wheels. Remember, safety comes first!
Frequently Asked Questions
Is it Necessary to Use a Clear Coat Spray After Painting My Bike Wheels?
While it may not be necessary, it is highly recommended for protection and added durability. Plus, it adds a glossy finish to your design.
Can I Use Regular Acrylic Paint for Painting My Bike Wheels?
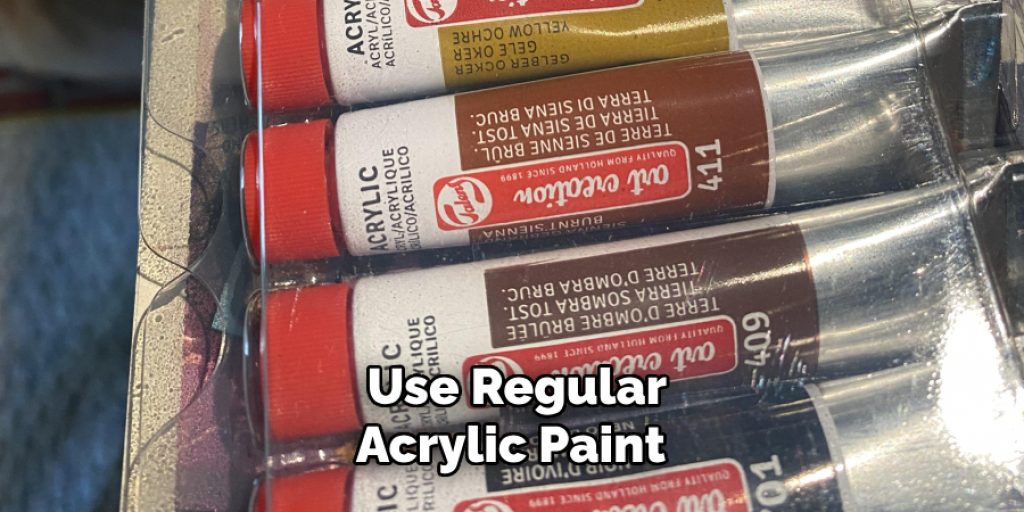
Yes, you can use regular acrylic paint to paint your bike wheels. Just make sure to use outdoor-friendly and non-toxic paints for safety reasons.
How Long Should I Wait Before Applying a Clear Coat Spray?
It’s recommended that you wait at least 24 hours for the paint to fully dry before applying a clear coat spray. Some paints may require longer drying times, so always double-check the instructions on the can.
Conclusion
Decorating your bike wheels is a fun and creative way to customize your ride. By following these tips on how to decorate bike wheels and avoiding common mistakes, you can achieve a professional-looking design that will make your bike stand out.
Remember to prioritize safety by choosing non-toxic materials and properly sealing your design with a clear coat spray. Keep these tips in mind and have fun with your bike wheel decorating project.
With the right materials and techniques, you can achieve a unique and personalized look for your bike wheels. And remember, always prioritize safety by using appropriate paints and sealants. So grab your tools and get ready to add a touch of personality to your bike with beautifully decorated wheels. And don’t forget to share your creations with others because inspiration is contagious!
Angela Ervin
Angela is the executive editor of DIY quickly. She began her career as an interior designer before applying her strategic and creative passion to lifestyle and home. She has close to 15 years of experience in creative writing and online content strategy for housekeeping, home decorations as well as other niche efforts. She loves her job and has the privilege of working with an extraordinary team. She lives with her husband, two sons, and daughter in Petersburg. When she's not busy working she spent time with her family.


