How to Decorate Tree With Mesh Ribbon
Decorating a Christmas tree with mesh ribbon adds a touch of elegance and flair that can transform your holiday decor from simple to spectacular. This versatile decorating material, available in a variety of colors and widths, allows for a wide range of creative expression. Whether you prefer a traditional look or something more modern and unique, incorporating mesh ribbon into your tree decorating scheme can create depth, texture, and visual interest.
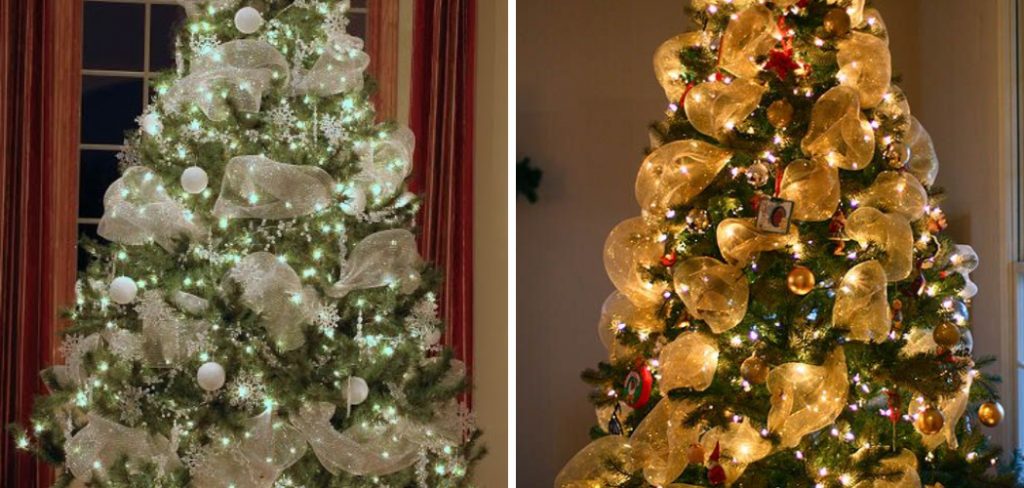
In this guide on how to decorate tree with mesh ribbon, we will walk you through the step-by-step process of decorating your tree with mesh ribbon, ensuring that your holiday season shines bright with festive charm.
What is Mesh Ribbon?
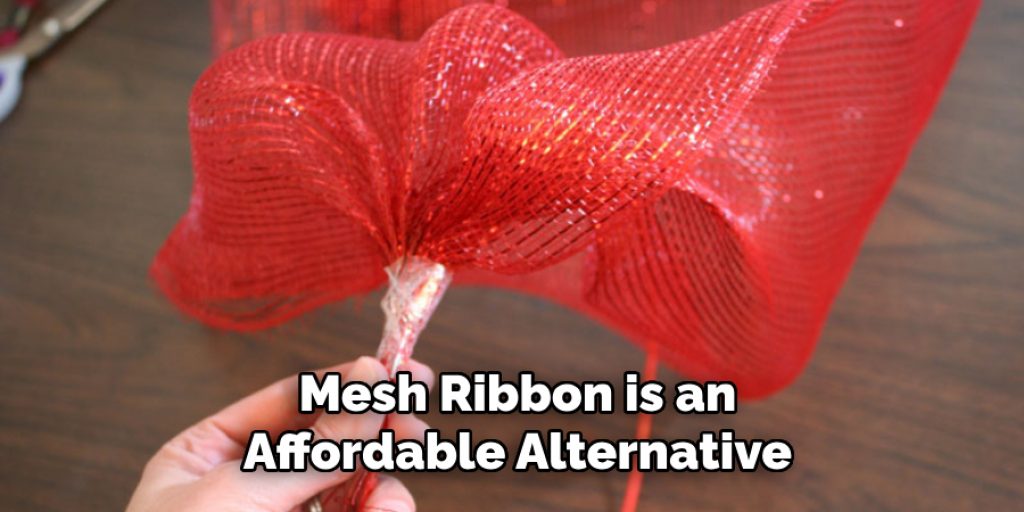
Mesh ribbon, also known as deco mesh or floral mesh, is a lightweight and pliable material made from a synthetic fabric like polypropylene. It comes in a variety of colors, patterns, and widths, making it an ideal choice for adding dimension and texture to your Christmas tree. Unlike traditional ribbons, mesh ribbon has a series of small holes throughout the fabric, allowing for easy manipulation and shaping.
But what sets mesh ribbon apart from other decorating materials is its versatility. You can use it as a garland, wrap it around the tree for a spiral effect, or create bows and other decorative elements to add visual interest to your tree.
Why use Mesh Ribbon for Tree Decoration?
There are several reasons why using mesh ribbon to decorate your Christmas tree is a great idea. Here are some of the benefits:
Versatility:
As mentioned earlier, mesh ribbon is incredibly versatile and can be used in various ways to decorate your tree. You can create bows, twists, spirals, or simply drape them around the tree for a garland effect.
Cost-effective:
Mesh ribbon is an affordable alternative to traditional ribbons and can save you money on your holiday decorating budget. Plus, because it is lightweight, you can use less of it to achieve a dramatic effect, making it a cost-effective option.
Durability:
Mesh ribbon is made from durable synthetic fabric that can withstand the wear and tear of being on a Christmas tree for an extended period. Unlike traditional ribbons, which can easily fray or tear, mesh ribbons will hold up well for multiple holiday seasons.
Easy to Work With:
The holes in the mesh ribbon make it effortless to manipulate and shape, making it a dream material for DIY decorators. You don’t need any special tools or skills to work with mesh ribbon, making it accessible for everyone.
12 Step-by-Step Guide on Decorating Your Tree With Mesh Ribbon
Step 1: Gather Materials
To decorate your tree with mesh ribbon, you will need the following materials:
- Mesh ribbon in your chosen color(s)
- Tree topper of your choice
- Ornaments and other decorations of various sizes and textures.
Step 2: Choose a Color Scheme
Before you begin decorating your tree, it’s essential to choose a color scheme. This will help guide your mesh ribbon selection and ensure that all the elements of your tree decorations are cohesive. You can choose traditional colors like red and green, opt for a monochromatic look, or go with a bold and bright color scheme. It’s entirely up to you! The key is to have a clear idea of the colors you want to incorporate into your tree decor. The mesh ribbon you choose should complement these colors and add depth to your overall design.
Step 3: Fluff Your Tree
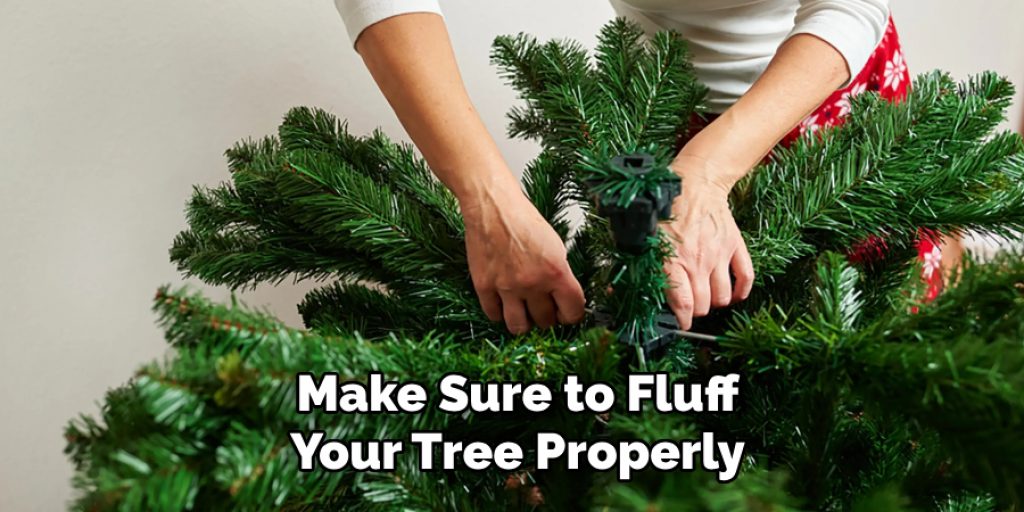
Before you add any decorations, make sure to fluff your tree properly. This will create a full and lush appearance that will serve as the perfect foundation for your mesh ribbon. But be sure to leave some space between the branches for the ribbon to peek through! You can also add any lights or other decorations at this stage before adding the mesh ribbon. The more layers and textures you have on your tree, the better. The mesh ribbon will add another dimension to the overall look.
Step 4: Create a Base with a Mesh Ribbon
To start decorating your tree, cut a piece of mesh ribbon to use as a base. The length will depend on the size of your tree, but it’s better to have too much than too little. Secure one end of the ribbon at the top of the tree near the trunk and then wrap it loosely around the tree in a spiral motion, securing it every few feet with a twist tie or ornament hook. It’s essential to keep the ribbon loose to create a full and textured look.
Step 5: Add More Layers
Once you have your base layer in place, it’s time to add more layers of mesh ribbon. Cut smaller pieces and create bows or twists that you can secure onto the tree using twist ties or ornament hooks. Be creative with your placement, and remember to keep the ribbon loose for a full effect. But don’t worry if it looks messy at this stage; we’ll fix that later! You can add as many layers as you’d like, depending on the look you’re going for.
Step 6: Add Ornaments
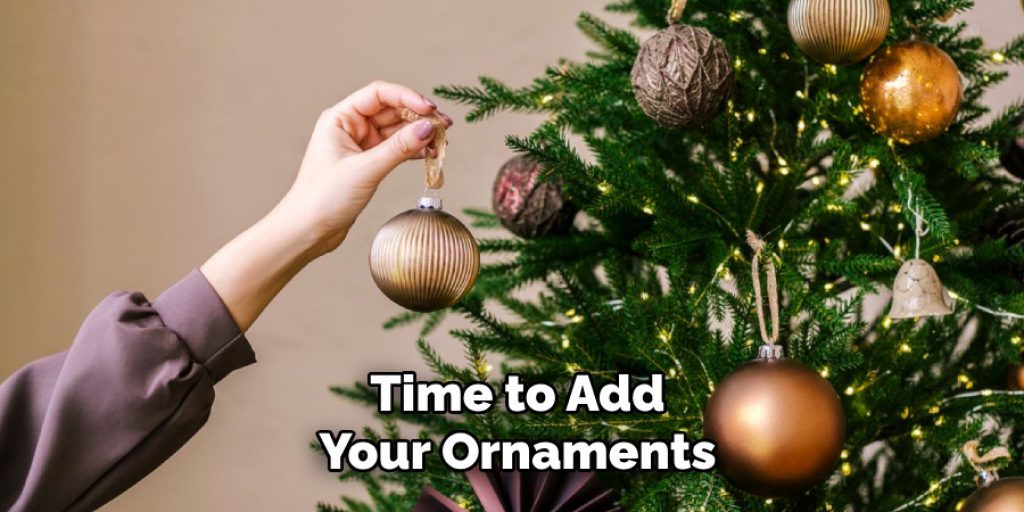
Next, it’s time to add your ornaments. You can use a variety of sizes and textures to create contrast and visual interest. Place them strategically around the tree to fill any gaps in the mesh ribbon layers and create a balanced look. You can also add smaller pieces of mesh ribbon to create bows or tuck them into the tree for added texture. Be sure not to overcrowd the tree and leave some space between each ornament. It’s best to start with larger ornaments and fill in any gaps with smaller ones.
Step 7: Add a Tree Topper
Once you have all your decorations in place, it’s time to add a tree topper. This could be a star, angel, bow, or anything else that represents the theme of your tree. Secure it at the top and let it be the finishing touch to your beautiful mesh ribbon-decorated tree. But don’t worry if it’s not perfect; we have one more step to complete!
Step 8: Trim any Excess Ribbon
Now is the time to go back and trim any excess mesh ribbon that may be sticking out too far or look messy. You can also add more ribbons if you feel like certain areas need more coverage. Don’t be afraid to play around with the placement and add more layers or textures until you’re happy with the overall look. It’s all about finding the right balance and creating a tree that reflects your personal style. You can also use this step to tuck in any loose or hanging ornaments.
Step 9: Step Back and Admire Your Work
Once you’ve completed all the steps, take a step back and admire your beautifully decorated mesh ribbon Christmas tree. You can make any final adjustments if needed, but now is the time to sit back, relax, and enjoy the fruits of your labor. The mesh ribbon adds a unique and textured look to your tree that will surely impress your guests. You can also customize this technique by using different colors or patterns of mesh ribbon to achieve different looks every year.
Step 10: Optional Finishing Touches
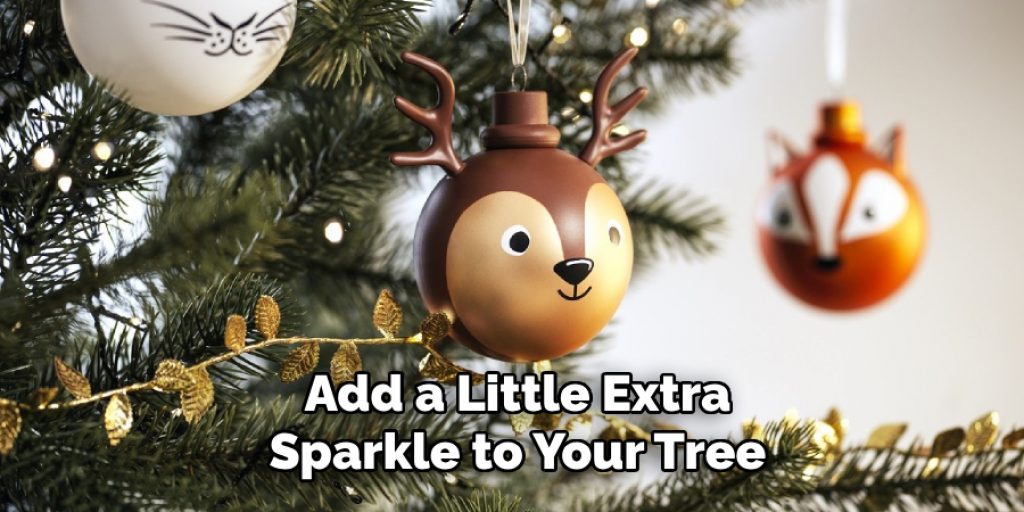
If you want to add a little extra sparkle to your tree, you can incorporate some other optional finishing touches. These could include string lights, garlands, or even faux snow for a winter wonderland feel. Just be sure not to go overboard and keep the focus on the mesh ribbon decorations. The key is to have fun and be creative with your final touches.
Step 11: Take Photos
Make sure to capture the beauty of your decorated tree by taking some photos. You can use these as inspiration for future decorating or share them with family and friends. A well-decorated Christmas tree is a work of art, so be proud of your creation and document it for years to come. You can also use these photos to compare and improve your decorating skills for next year’s tree.
But remember, the most important thing is to enjoy the process and create a tree that brings joy and happiness to your home during the holiday season. It’s not about perfection; it’s about the memories and traditions you create with your loved ones. You can also use this opportunity to teach others how to decorate a tree with mesh ribbon and spread the joy of holiday decorating.
Step 12: Enjoy Your Beautifully Decorated Tree
Finally, it’s time to enjoy your beautifully decorated tree. Turn on some festive music, make some hot cocoa, and gather around the tree with your loved ones. Bask in the warm glow of the lights and take a moment to appreciate the beauty of your creation.
Your mesh ribbon-decorated tree will surely be a show-stopper and add a special touch to your holiday celebrations. Make sure to give yourself a pat on the back for a job well done and take pride in knowing that you created a unique and stunning tree with just a little bit of creativity and some mesh ribbon.
Following these steps will help you create a gorgeous and one-of-a-kind mesh ribbon-decorated Christmas tree that will be the envy of all your friends and family. So go ahead, get creative, and have fun decorating your tree this holiday season!
Troubleshooting and Finishing Touches
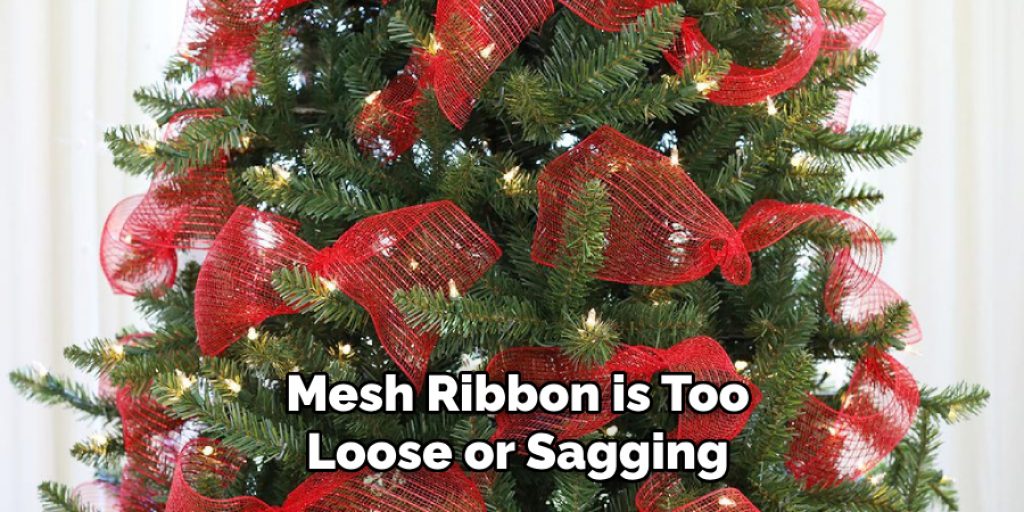
- If the mesh ribbon is too loose or sagging, you can secure it with additional twist ties or ornament hooks.
- To add extra texture to your tree, you can incorporate other materials such as burlap, feathers, or even tinsel.
- Experiment with different colors and patterns of mesh ribbon to create a unique and personalized look for your tree.
- Don’t be afraid to add other decorations like pinecones, berries, or even small figurines to your tree for added interest and dimension.
- Remember to turn off the lights before going to bed or leaving the house for safety reasons.
- Enjoy your beautifully decorated tree throughout the holiday season and make memories with your loved ones.
Maintenance and Care
- Keep an eye on the mesh ribbon to ensure it stays secure and doesn’t become tangled or loose.
- If any ornaments or decorations fall off, be sure to replace them promptly to maintain the overall look of the tree.
- Store the mesh ribbon carefully after use to prevent it from getting tangled or damaged for future use.
- When taking down the tree, carefully remove all the decorations and store them properly to ensure they can be used again next year.
- Lastly, don’t forget to take photos of your beautifully decorated tree before taking it down for future inspiration! Overall, decorating a Christmas tree with mesh ribbon is a fun and creative way to add unique texture and dimension to your holiday decor. With these steps and tips, you can create a stunning and personalized tree that will be the highlight of your holiday celebrations. Happy decorating!
Additional Tips

- Don’t be afraid to improvise and use other materials you have on hand, such as ribbons, bows, or even paper strips. The possibilities are endless!
- Make sure to fluff the branches of your tree before decorating to create a full and lush look.
- If using string lights, wrap them around the tree before adding the mesh ribbon for easier placement.
- Use a color scheme or theme to guide your decorating and help create a cohesive look.
- Don’t limit yourself to just one type of mesh ribbon; you can mix and match different sizes, colors, and materials for added interest.
- Take breaks while decorating to avoid getting overwhelmed or tired.
- Remember to have fun and enjoy the process! No matter the end result, the memories you create while decorating your Christmas tree are what truly matter.
- If possible, involve the whole family in the decorating process for a fun and festive bonding activity.
- Don’t stress about making everything perfect; imperfections can add character to your tree and make it more unique.
- Trust your instincts and let your creativity guide you – there is no right or wrong way to decorate a Christmas tree with mesh ribbon. So have fun, be creative, and make your tree uniquely yours!
Frequently Asked Questions
Q: Can I Use Any Type of Mesh Ribbon for This Technique?
A: Yes, you can use any type of mesh ribbon as long as it’s flexible and easy to manipulate. Some popular options include deco mesh, tinsel mesh, and wired ribbon. You can also mix and match different types of mesh to create a unique look. You can find mesh ribbons in various colors, patterns, and textures to suit your personal style.
Q: How Much Mesh Ribbon Should I Use for My Tree?
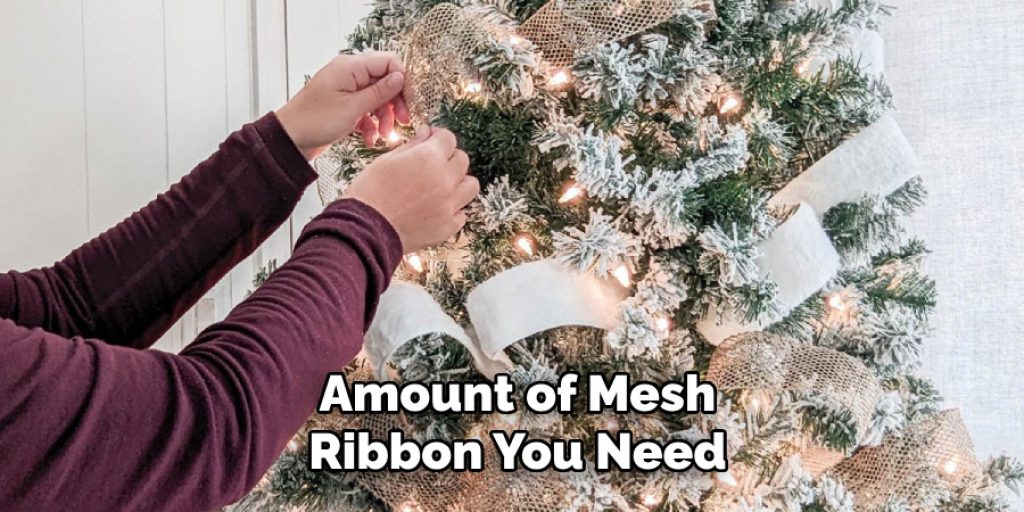
A: The amount of mesh ribbon you need will depend on the size and shape of your tree. As a general rule, you’ll need 1-2 rolls of 10-inch wide and 10-yard long mesh ribbon for a 6-7 foot tall tree. However, feel free to adjust the amount based on your personal preference and how full you want your tree to look.
Q: Can I Use This Technique on Artificial Trees Too?
A: Absolutely! This technique is versatile and can be used on both real and artificial trees. Just make sure that your artificial tree is sturdy enough to support the weight of the ornaments and mesh ribbon layers. But overall, this technique is a great way to spruce up any type of Christmas tree. It’s all about personalizing and making it your own. So go ahead and give it a try!
Q: How Do I Care for My Mesh Ribbon Decorated Tree?
A: To keep your mesh ribbon-decorated tree looking fresh, make sure to fluff and adjust any loose or hanging pieces regularly. You can also use a lint roller or cloth to remove any dust or debris from the mesh. When it’s time to take down the tree, carefully remove the mesh ribbon and store it in a cool, dry place for future use. You can also save any unique or sentimental ornaments and incorporate them into your decorations next year.
Conclusion
Decorating a Christmas tree with mesh ribbon is more than just an aesthetic undertaking; it’s a creation of a centerpiece that brings warmth, joy, and festive spirit into your home. By following the provided steps and tips, you can transform a simple tree into a dazzling display of holiday cheer. Remember, the key to a beautiful mesh ribbon tree lies not just in the techniques but in the personal touches that make it uniquely yours.
Whether you’re crafting a theme, mixing colors, or adding sentimental ornaments, each choice adds a layer of love and holiday spirit. So, as you step back to admire your work, know that you’ve not only decorated a tree, you’ve also woven a tapestry of memories that will enhance your holiday celebration. Happy holidays, and enjoy the magic your mesh ribbon tree brings to this special season.

