
How to Fix Copper Wire String Lights
String lights are great for creating a festive atmosphere at your next outdoor event. But sometimes, they can be a little too bright and need to be turned down a notch or two. How do you fix copper wire string lights? Here’s this guide; we will give you step-by-step instructions on how to fix copper wire string lights and also some tips and tricks to make the process easier.

Required Tools:
- Wire Cutters
- Needle Nose Pliers
- Electrical Tape or Masking Tape (to tape off the area)
- New String Light Replacement Kit
Directions for How to Fix Copper Wire String Lights:
Step One – Turn Off Power First
Turn off the power by flipping the breaker switch in your home panel box or turning off the fuse on your circuit breaker. Remove the cover from your home panel box. If you are working with a fuse, carefully unscrew the fuse from its socket. Place the hook end of the test light on the tip of the fuse that you have removed.
Step Two – Remove Old String Lights
Remove the old string lights by snapping or cutting them. If you’re using copper wire, make sure to cut it with a pair of wire cutters and not a knife. Use needle-nose pliers to remove any stubborn bulbs that will not come out on their own. Also, fold up all loose wire and tuck it away. Assemble the new string lights by screwing in the bulbs and hanging them. Make sure to hang them so that the excess wire is running behind the tree and not in front of it.
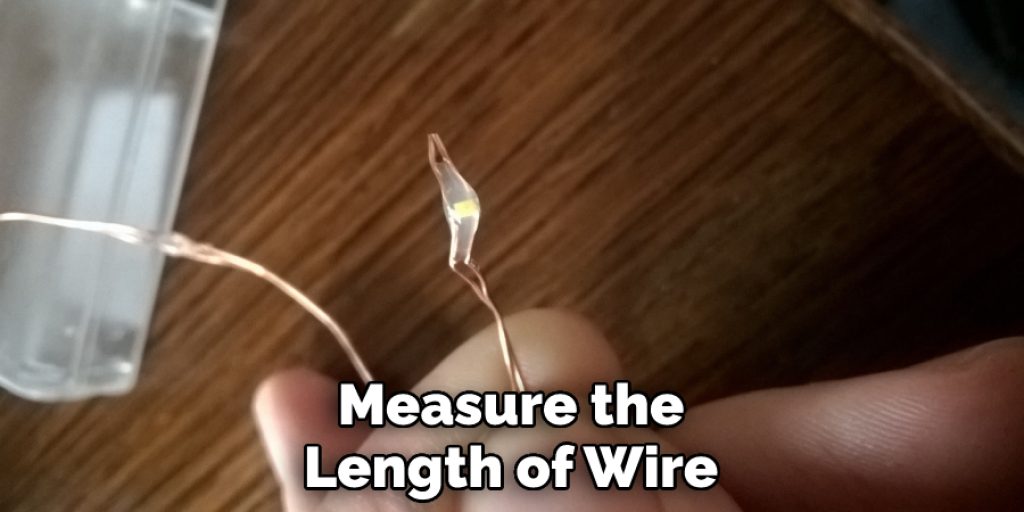
Step Three – Measure the Wire Length
In order to replace your old string lights, you will need to measure the length of wire that you will need. To do this, start at one end of the light’s cord and measure to the point where it is plugged into an outlet or extension cord. Then, measure again at eye level to get around any bends in the wire.
Step Four – Tie a Knot
To put up new string lights, tie the end of the new string to an exposed piece of copper wire on the old string. Make sure the new string is not too tight or too loose, but just enough for it to stay together and hold when hanging from your wires in between your light sockets. Then use needle-nose pliers to clip off the excess wire.
Step Five – Hang String Lights
Take your newly-made string lights and plug them into an outlet or extension cord. Then use a zip tie to attach the wire at one end of the light’s cord to any exposed piece of copper wiring in between your light sockets. Make sure it is not too tight, but just enough for it to stay together when hanging from your wire in between your light sockets.
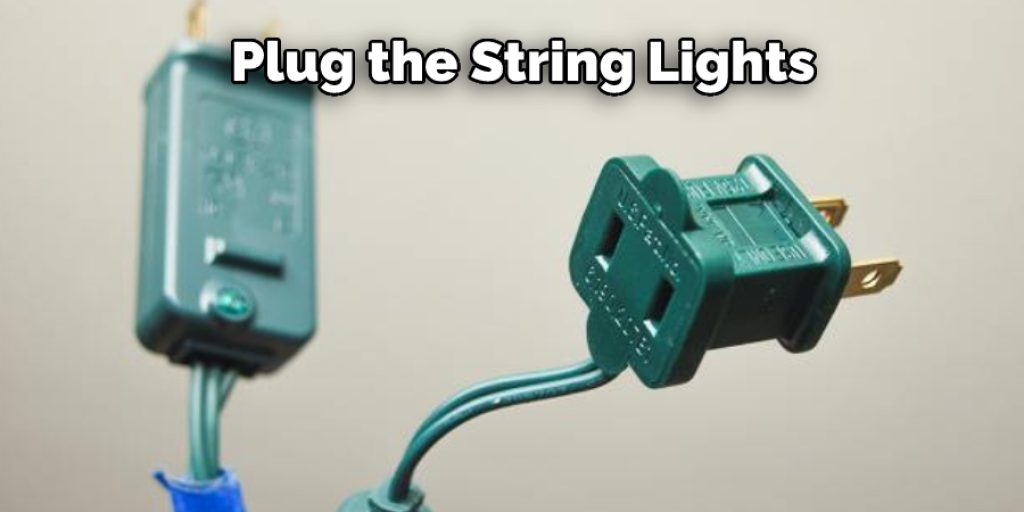
Step Six – Plug In Lights
In order to use string lights, you must plug them into an outlet or extension cord. You can also add more bulbs to each string of copper wiring by just plugging them in on either side of the previously-added bulb with things like twist ties or zip ties.
Step Seven – Prevent Future Issues
To prevent future issues with your string lights, always be sure to inspect the copper wiring in between sockets for any signs of wear or tear. If you see corrosion on the wire where it is exposed, replace it as soon as possible because this could cause a short and may result in fires!
Step Eight – Check String Lights
Check your string lights and make sure that they are still working properly before using them the next time. If a bulb is burnt out, replace it with another LED or incandescent bulb to match what was originally used in the installation process!
You Can Check It Out To Restick Led Lights
Some Tricks & Tips:
There are some tricks to fixing broken copper wire string lights to help make the process go smoother for you.
- First, remove any excess plastic coating from the ends of the wires with your fingers or a knife before trying to re-attach them. You may also need to strip off some of the insulation.
- After uncoiling the wires, use your pliers to twist them together.
- If you can’t get a good twisting grip because of wire insulation or plastic coating, try using some solder on this area first and then twisting the now-solder coated wires together.
- You may need to cut off excess lengths after twisting the wires together.
- Using a lighter, carefully heat the solder over one foot of wire. This will melt the solder and allow you to use it to re-attach wires together when needed.
- You may also use copper wire strippers to strip the insulation from wires without cutting them off.
Frequently Asked Questions:
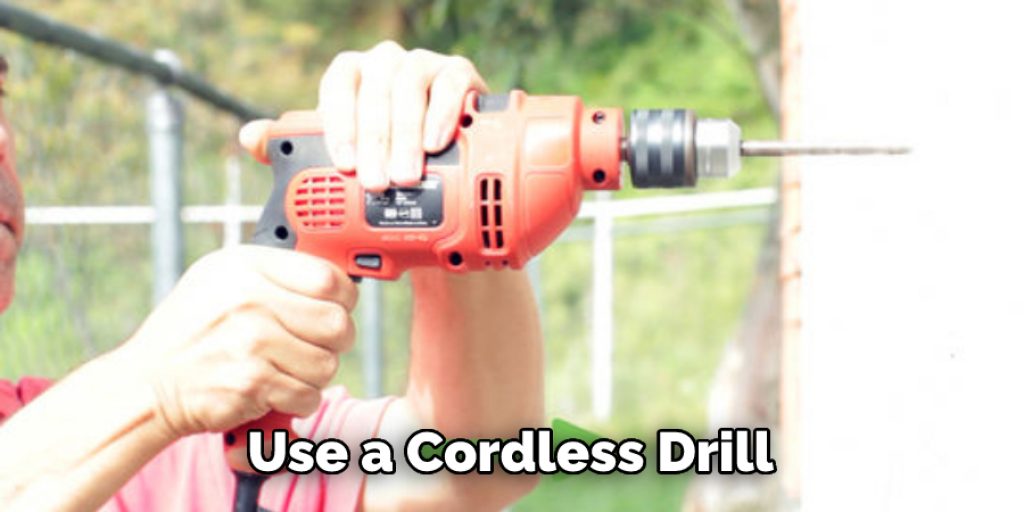
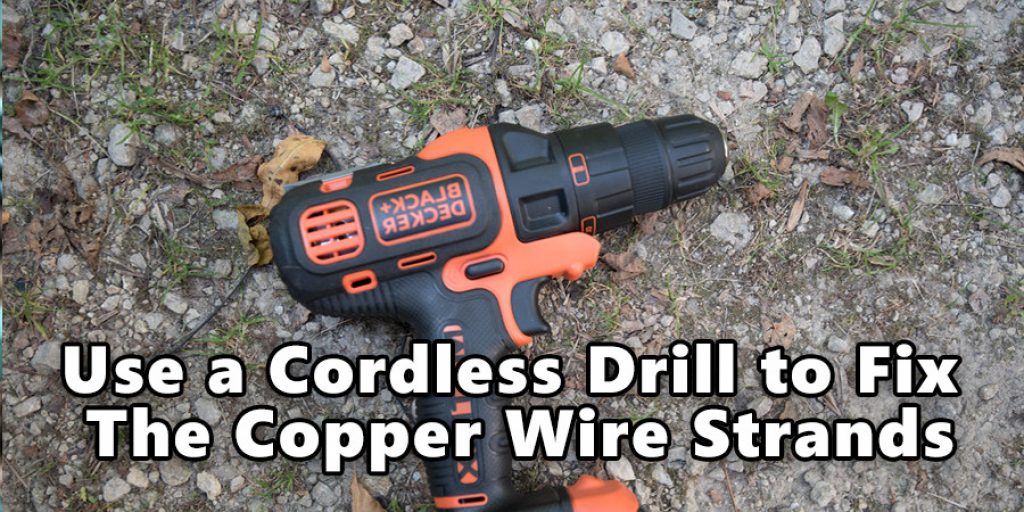
Q: How Can I Use a Cordless Drill to Fix the Copper Wire Strands?
A: You will need a cordless power drill with an appropriate-sized bit. If you are repairing just one strand, keep in mind that it might not have been damaged by something else like an excess weight on the string light or contact with water. This means if you replace this specific strand of copper wire – only one will work when turned back on! With any luck, replacing your metal wires should solve all your problems. However, for peace of mind, we recommend checking ALL strands once repaired before turning the lights back on double check everything looks good & hope for the best!
Q: How Do I Repair My Bulbs?
A: You can repair your bulbs by changing out individual strings or replacing them all. Either way, make sure you have enough spare strands before starting this project. This is easily done in two easy steps, and it will save you money on buying new bulbs in bulk for your entire string lights set. Before cleaning dirty strings with soap and water, though, be sure that they are unplugged from an electric outlet as well as the power source.
Check It Out to Learn to Make a LED Backlight for Stained Glass Panel.
Conclusion:
If you want to know how to fix copper wire string lights, follow the steps mentioned in this guide! The first step is to measure the length of each strand. This will determine how many strands you need and which size of copper wire should be used. The next thing that must be done is to decide on a design for the shape of the light pattern. It’s up to you if it’s going to be in straight rows or circular loops. After this, use scissors to cut into lengths accordingly, so they are about 6 inches long.
Now wrap them around your hand tightly until there is a nice tight spiral with no gaps between strings left over at the end. Next, put needle-nose pliers onto one end of the copper wire and wrap it around until you have a nice tight spiral, making sure not to leave any gaps. Finally, use pliers again on the other end of the copper wire string lights and tightly wrap them together with some pressure so that they stay in place. We hope you have enjoyed learning and will apply it to your next project! Let us know if you have any questions.


