How to Decorate Wedding Columns With Chiffon
Are you planning a wedding or special event and want to add some elegant décor to your venue? Decorating columns with chiffon is a beautiful and affordable way to transform plain pillars into stunning focal points.
Decorating wedding columns with chiffon can transform any venue into a dreamscape of elegance and romance. Chiffon, with its lightweight and sheer properties, offers a versatile and ethereal touch, perfect for creating an ambiance of soft sophistication. Whether the wedding theme is modern chic, rustic charm, or classic elegance, chiffon’s graceful drape can complement any setting.
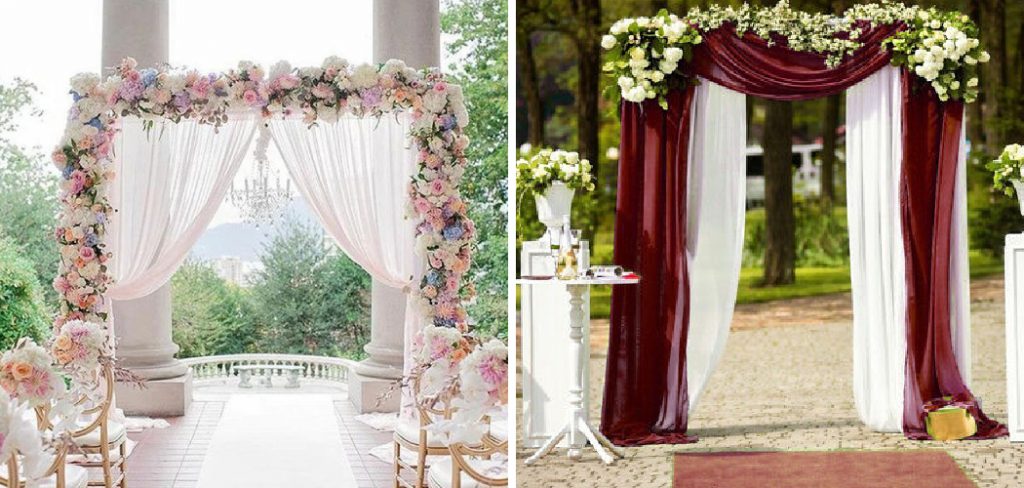
This guide will walk you through the steps on how to decorate wedding columns with chiffon, ensuring they become a significant highlight of your special day’s decor. From selecting the right fabric to tying the perfect bow, we’ll cover everything you need to know to make your wedding columns breathtakingly beautiful.
What are the Benefits of Decorating Wedding Columns with Chiffon?
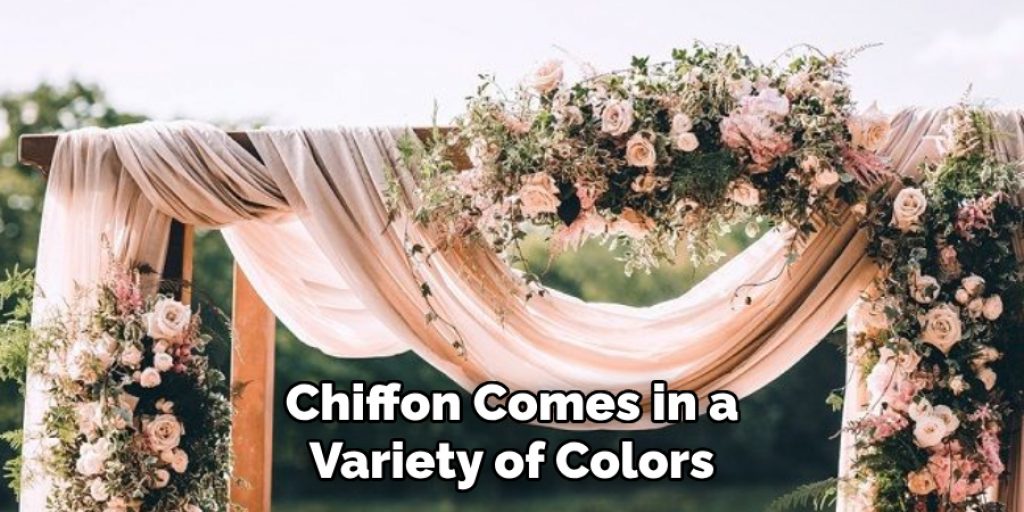
- Versatility: One of the biggest advantages of decorating columns with chiffon is versatility. Chiffon comes in a variety of colors, textures, and patterns, making it easy to match any wedding theme or color scheme. Plus, chiffon can be easily draped, pleated, or gathered to create different looks and styles.
- Affordability: Compared to other fabric types, chiffon is relatively inexpensive, making it a budget-friendly option for decorating wedding columns. You can achieve an expensive and luxurious look without breaking the bank.
- Soft and Elegant Look: Chiffon’s lightweight and sheer properties give wedding columns a soft, romantic, and elegant appearance. The fabric’s delicate and flowy nature adds a touch of whimsy and creates a dreamy atmosphere.
- Easy to Work With: Chiffon is a lightweight, pliable material that is easy to work with, making it an ideal choice for decorating wedding columns. It can be draped, tied, or gathered without being too bulky or heavy.
With these benefits in mind, let’s dive into the steps of decorating wedding columns with chiffon.
What Will You Need?
- Chiffon fabric in your desired color and texture
- Scissors
- Tape measure
- Zip ties or safety pins
- Step ladder (if needed)
Once you have gathered all your materials, it’s time to get started on decorating your wedding columns with chiffon.
10 Easy Steps on How to Decorate Wedding Columns With Chiffon
Step 1: Choose the Right Fabric
When selecting chiffon for decorating wedding columns, there are a few things to keep in mind:
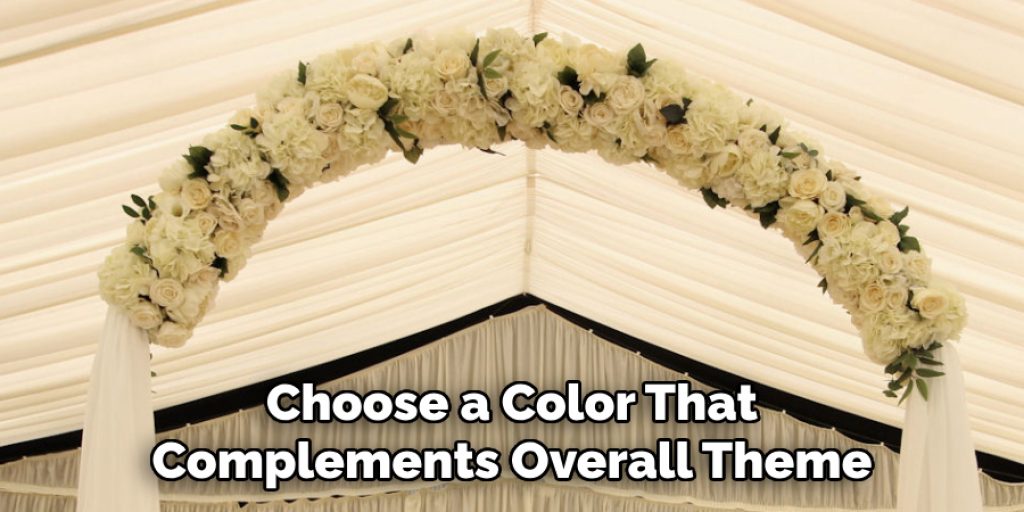
- Color: Choose a color that complements your overall wedding theme and color scheme. You can also opt for a neutral color like white or ivory for a classic and elegant look.
- Texture: Chiffon comes in various textures, such as smooth, crinkled, or pleated. Consider the desired look you want to achieve and choose the texture accordingly.
Step 2: Measure the Columns
Before you can begin the process of decorating your wedding columns with chiffon, it is crucial to have accurate measurements. This will ensure that you purchase the correct amount of fabric and that your decorations will have the desired effect.
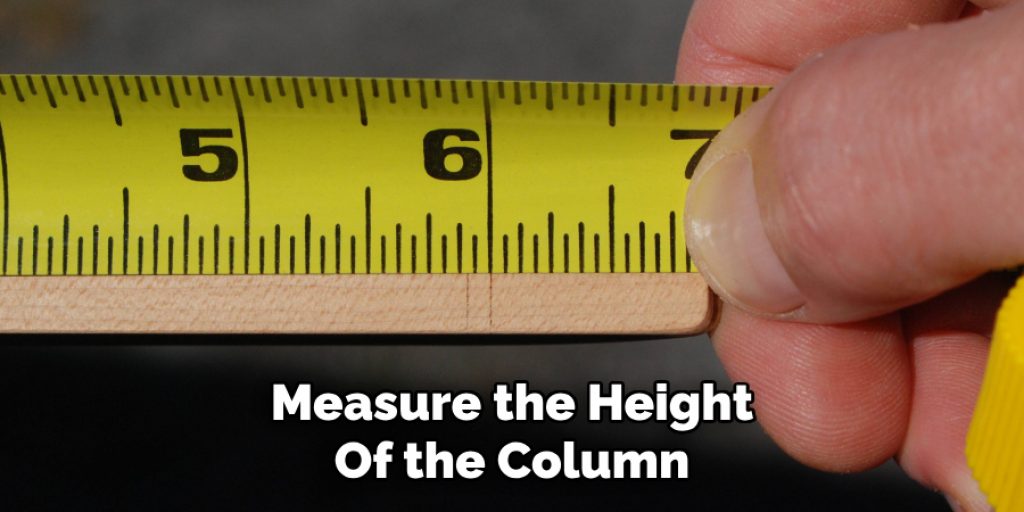
- Height: Measure the height of the column from the base to the top. Adding a few extra inches to this measurement will allow for a graceful drape at the bottom.
- Circumference: Measure around the widest part of the column. This measurement is important for determining how much fabric you will need to wrap around the column adequately.
Don’t forget to consider the amount of fabric needed for any additional decorative elements you plan to incorporate, such as bows or swags. It’s always better to have a little extra fabric than to find yourself short, especially when dealing with such a significant aspect of your event’s décor.
Step 3: Cut the Chiffon to Length
Once you have all your measurements, the next step is to cut your chiffon to the required lengths for each column. Lay the chiffon flat on a large, clean surface and use your tape measure to mark the length needed for each piece. Remember to add a few inches to each piece for draping or creating decorative effects at the base or top of the columns.
- Straight Cut: Use sharp scissors to make a clean, straight cut across the width of the fabric. If your scissors are dull, they may snag the chiffon, causing frays or uneven cuts.
- Safety First: Chiffon can be slippery, so take your time to ensure that the fabric is lying completely flat and smooth before you cut. This step ensures precision and reduces the risk of mistakes.
Repeat this process for each piece of chiffon needed for your wedding columns. Label each piece according to its corresponding column, especially if the columns vary in height or if you’re working with different lengths of chiffon for design variation.
Step 4: Secure the Chiffon to the Top of the Column
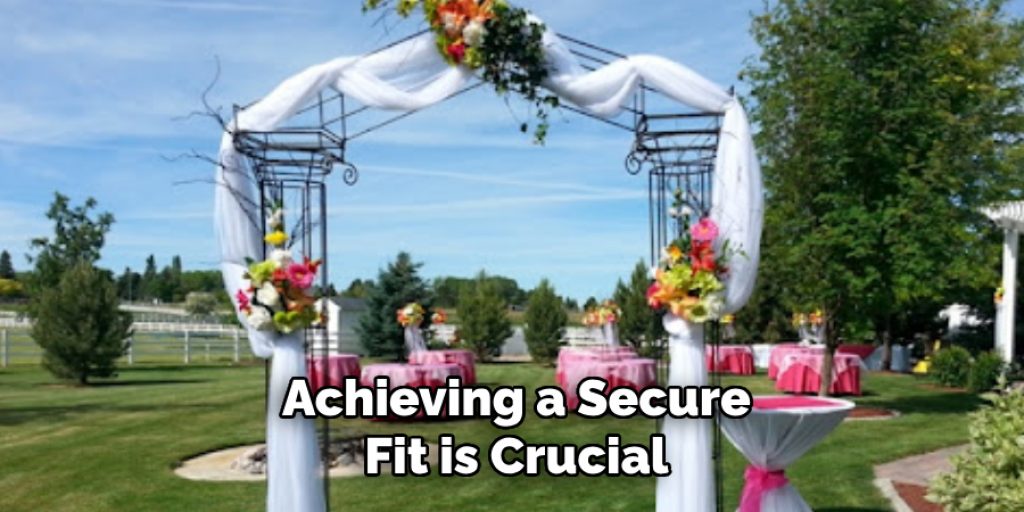
After cutting your chiffon to the appropriate lengths, the next step involves securing the fabric to the top of each column. Achieving a secure fit is crucial for ensuring that the chiffon drapes beautifully and remains in place throughout the event.
- Zip Ties or Safety Pins: Choose between zip ties or safety pins based on the column’s material and your preference for a temporary or more permanent attachment. Zip ties are excellent for a snug fit on harder materials, while safety pins may be better suited for softer, more delicate column surfaces.
- Attach the Chiffon: Start by folding the edge of the chiffon over to create a clean line or hem. This fold can be secured against the column’s top, either by tightly wrapping zip ties around the fabric and the column or by carefully pinning the fabric in place, ensuring not to damage the column’s surface.
- Check for Stability: Once attached, gently tug on the chiffon to ensure it is securely fastened. This check is vital for preventing any accidental slips or shifts in the fabric that could disrupt the overall appearance.
- Adjust for Draping: After securing the chiffon, adjust it to achieve the desired drape or effect. Whether you’re aiming for a simple, elegant drop or a more elaborate arrangement, how the fabric cascades down the column will significantly impact the final look.
Proceed with each column, ensuring consistency in the chiffon’s attachment and draping to maintain a uniform and harmonious aesthetic throughout the venue.
Step 5: Add Decorative Elements
With the chiffon now draping beautifully down your columns, it’s the perfect time to introduce decorative elements that will enhance the overall look. From floral arrangements to fairy lights, the choices are vast and can be tailored to match your theme and aesthetic. You could intertwine strings of lights within the fabric for a romantic, glowing effect in the evening or attach clusters of flowers at strategic points along the column for bursts of color and natural beauty.

These additions not only add to the visual appeal but also create focal points that draw the eye and contribute to the atmosphere. Remember, the key is in the details—small touches can make a significant impact, transforming your space into a magical setting.
Step 6: Secure the Chiffon at the Base
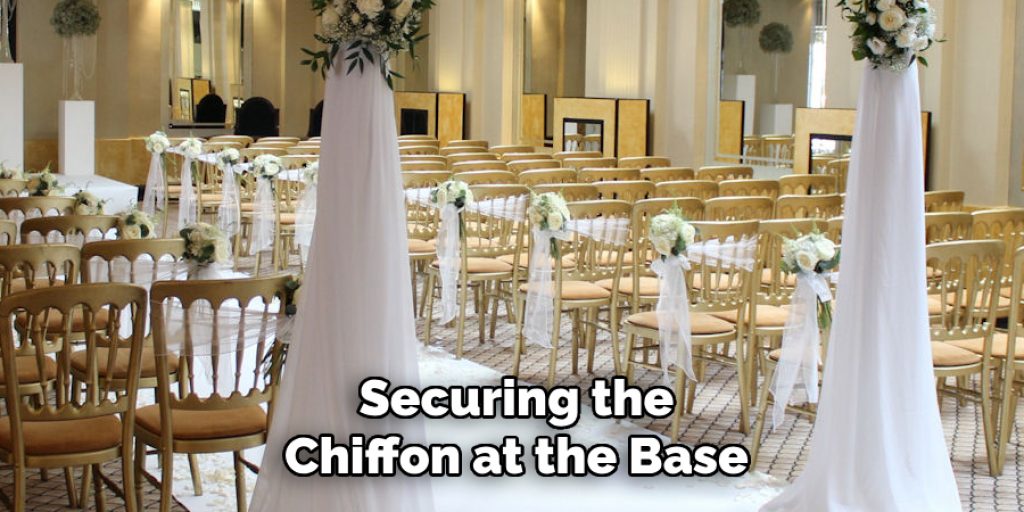
After beautifully adorning your columns with chiffon and adding those eye-catching decorative elements, securing the chiffon at the base is the next crucial step. This step ensures the fabric’s graceful flow and maintains the desired drape and placement throughout your event. To do this effectively, gather the edges of the chiffon gently at the column’s base.
Utilize a combination of clear or matching color zip ties and safety pins for a secure and discreet attachment. For an additional touch of elegance and to conceal the securing mechanism, consider wrapping a coordinating ribbon or a strand of flowers around the base. This not only hides any fasteners but also ties the entire decorative theme together, seamlessly blending the base with the column’s aesthetic. Ensuring the chiffon is secured properly at the base will prevent any unwanted movement, keeping your decor looking pristine and polished from start to finish.
Step 7: Final Adjustments and Inspection
With the chiffon securely attached to both the top and the base of the columns and all decorative elements in place, it’s time for the final adjustments and inspection. Walk around each column to view it from different angles, making sure the chiffon drapes evenly and the decorations are distributed beautifully.
Adjust the fabric or decorations as needed to achieve the desired effect, ensuring that each column looks cohesive and is in harmony with the rest of the event’s décor. Pay close attention to the overall balance and symmetry between columns, especially if they are part of a larger setup, such as a ceremony aisle or backdrop. This final step is crucial for ensuring that every detail is perfect, reflecting your vision, and contributing to an unforgettable atmosphere. Remember, the beauty lies in the details, and taking the time for this final inspection can make all the difference in creating a truly stunning and cohesive event space.
Step 8: Lighting and Ambience Enhancement
Once all the chiffon and decorative elements are in place, enhancing the lighting around your adorned columns can significantly influence the ambiance of your event. Consider incorporating various lighting options, such as spotlights, uplighting, or LED candles, to highlight the beauty of the chiffon and the decorations.
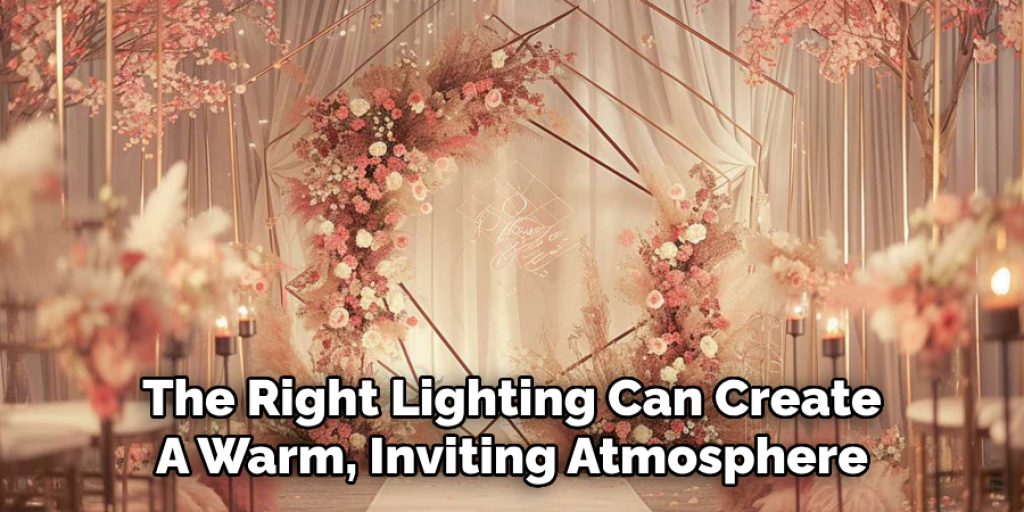
The right lighting can create a warm, inviting atmosphere or add a touch of drama and elegance, depending on the mood you wish to set. Strategically placed lights can accentuate the texture of the fabric, the color of the flowers, and the overall structure of the columns, making them stand out as key features of your event’s decoration.
Experiment with different lighting colors and intensities to complement the time of day and the event’s theme, ensuring a harmonious blend between natural and artificial light sources. This attention to lighting not only enhances the visual appeal of your columns but also sets the tone for an unforgettable experience.
Step 9: Cleaning Up and Disassembly Post-Event
After your event has concluded and the guests have departed, the process of carefully disassembling and cleaning up begins. This step is crucial for preserving the materials used and ensuring that the venue is returned to its original state. Start by gently removing the decorative elements, such as flowers and lights, taking care not to damage the chiffon or the columns themselves. Next, carefully undo the zip ties and safety pins, securing the chiffon at both the top and the base of each column.
Fold the chiffon neatly, inspecting it for any damages or stains that might need attention before its next use. Ensure all fastening materials are collected and properly disposed of or saved for future events. This systematic disassembly helps in avoiding any loss or damage to the decor items and assists in maintaining clean and organized storage for future occasions. Finally, conduct a thorough inspection of the venue with the venue’s management to ensure that everything is in order, expressing gratitude for their cooperation and securing a positive relationship for any future events.
Step 10: Feedback and Reflection
After the completion of the event and the disassembly process, it’s important to dedicate time for feedback and reflection. Engage with your team, clients, and possibly event guests to gather insights on the decoration, ambiance, and overall experience.
This feedback is invaluable for understanding what worked well and what could be improved in future events. Reflect on the ease of assembly and disassembly, the durability and aesthetic of the materials used, and the effectiveness of the chosen lighting and decorative elements. Documenting these findings will not only aid in refining your decoration skills but also in building a portfolio of successful case studies. Additionally, consider sharing your experiences and learnings with peers or through social media platforms to establish expertise and offer guidance to others in the event planning and decoration community.
By following these step-by-step instructions, you can create stunning chiffon columns that add a touch of elegance and sophistication to any event.
5 Additional Tips and Tricks
- Layering Colors for Depth: Create a visually stunning effect by layering multiple chiffon colors on a single column. This technique adds depth and can be used to complement the wedding theme or color scheme. Consider soft pastels for a spring wedding or richer tones for a fall celebration.
- Incorporating Lighting: Small LED lights or fairy lights intertwined with the chiffon fabric can turn your columns into glowing beacons of romance. This is especially effective for evening or indoor weddings where lighting can dramatically influence the ambiance.
- Adding Floral Accents: Attach fresh or silk flowers to the chiffon at intervals or at the top and bottom of the columns. Flowers can enhance the chiffon’s elegance and tie the decoration into the floral theme of the wedding.
- Utilizing Varied Textures: Mix chiffon with other fabrics like lace or burlap for a more dynamic look. This contrast of textures can add an interesting visual element and depth to your column decoration, making it stand out.
- Creating Patterns with Fabric: Instead of simply wrapping the columns, experiment with braiding, twisting, or creating rosettes with the chiffon. These patterns can add a unique touch and can be tailored to fit the sophistication or playfulness of the wedding theme.
With these additional tips and tricks, you can elevate your chiffon column decorations to the next level and make them truly unique for your special day.
5 Things You Should Avoid When Decorating Wedding Columns with Chiffon
- Avoid Overloading with Embellishments: While it’s tempting to add as many decorative elements as possible, too many embellishments on chiffon can make the columns look cluttered and detract from their elegance. Stick to a few key accents for the best visual impact.
- Don’t Use Heavy Fabrics or Decorations: Chiffon is a lightweight fabric, and using heavy decorations can cause it to sag or tear. Ensure that any additional decorations, such as lights or flowers, are securely and evenly distributed to maintain the integrity of the fabric.
- Steer Clear of Strong Adhesives: Using tapes or adhesives that are too strong can damage the delicate chiffon fabric or leave unsightly residues. Opt for gentle, fabric-friendly adhesives or secure decorations with ties or clamps that can be easily removed.
- Avoid Ignoring the Venue’s Aesthetics: Make sure that your column decorations complement rather than clash with the venue’s existing decor. Overly elaborate chiffon decorations in a venue that favors minimalism, for example, can seem out of place.
- Don’t Forget About Safety: When incorporating elements like lighting within chiffon decorations, ensure that all electrical components are safely installed and pose no fire hazard. Always prioritize safety to prevent accidents during your special day.
By avoiding these common pitfalls, you can ensure that your chiffon-decorated columns add to the beauty and ambiance of your wedding without any unwanted complications.
Conclusion
Chiffon is a versatile and elegant fabric that can be used to create stunning column decorations for weddings. With the right techniques, creative ideas, and careful consideration of potential challenges, you can transform plain columns into beautiful focal points that enhance the overall atmosphere of your special day.
Whether you choose to layer colors or incorporate lighting and floral accents, chiffon will add a touch of romance and sophistication to your wedding venue. So go ahead and explore the endless possibilities of decorating columns with chiffon and make your dream wedding a reality.
Hopefully, the article on how to decorate wedding columns with chiffon has provided you with some valuable insights and inspiration for your own wedding decor. Remember to have fun, be creative, and make sure that your decorations reflect your personal style and vision for your special day. Best of luck!


