How to Decrease a Stitch
Learning to decrease a stitch is important in knitting and crocheting, as it helps shape your project. Decreasing stitches allows you to create neat edges and curves on hats and sleeves, make holes for eyes or buttons, or create intricate patterns like cables.
Decreasing stitches is a simple yet effective way to shape your fabric or create unique patterns. It can also be used to close up openings in knitted and crocheted pieces. The most common ways of decreasing stitches are knit two together (K2tog), slip one, knit one, pass slipped stitch over (s1k1psso) and slip two, knit one, pass slipped stitches over (s2k1psso). Each of these methods has its advantages and disadvantages. In this blog post, You will learn how to decrease a stitch.
Step by Step Processes for How to Decrease a Stitch
Step 1: Inspect the Pattern Instructions
Most patterns will tell you what kind of stitch decrease to use. Pay attention to this if it is specified in the pattern, as each method produces a different result. Depending on the type of decrease used, you may need double-pointed needles, circular needles, or straight knitting needles. You’ll also want to have a pair of scissors and a tapestry needle nearby.
Step 2: Prepare the Stitch
First, ensure you are working with two separate stitches on the needle. If not separated, knit or purl one stitch into two identical halves. Knowing which decrease to use is important. Common types of decreases include k2tog (knit two together), ssk (slip, slip, knit), and skip (slip 1, knit 1, pass slipped stitch over).
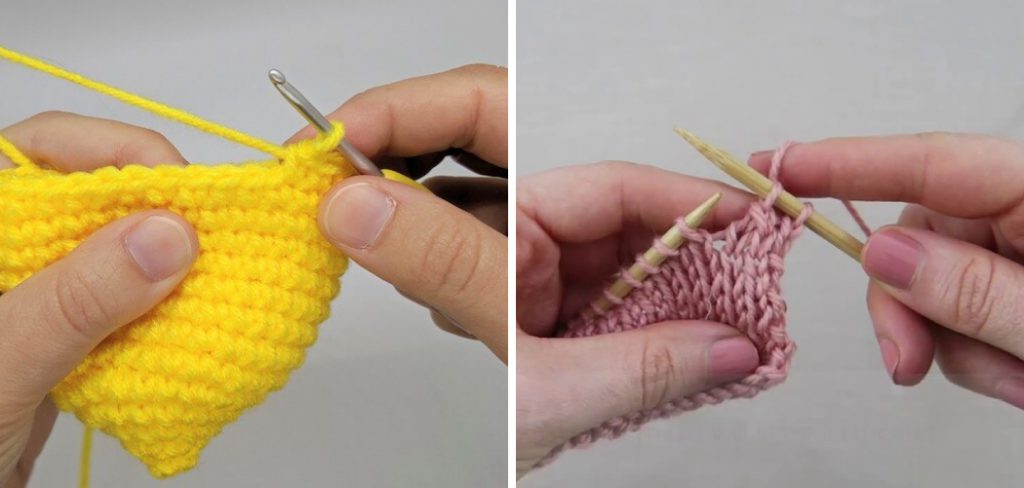
Step 3: Insert the Needle

Depending on the decrease you are using, insert the needle into both stitches at once for a k2tog or separately for an ssk. If you use a k2tog, wrap the yarn around the needle as if to knit and draw it through both stitches on the left-hand needle simultaneously. For an ssk, wrap and slip one stitch off the right-hand needle, then wrap and knit the other stitch together.
Step 4: Pull Yarn Through
After drawing the yarn through both stitches, pull the yarn so that the two stitches are tightened onto the right-hand needle. If you are using an ssk, pull the yarn firmly so there is no gap between the two stitches. Carefully slip the two stitches off of the left-hand needle. You’ve now successfully decreased one stitch.
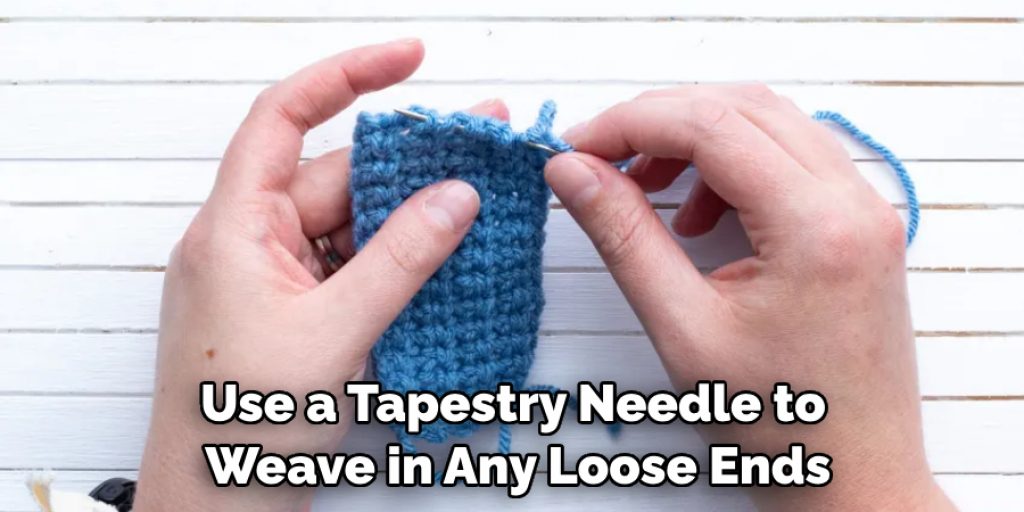
Step 5: Repeat the Process if Necessary
Depending on your pattern, you may need to repeat this process multiple times until you have decreased all the necessary stitches. Use a tapestry needle to weave in any loose ends.
With practice, you’ll soon be able to execute decreases like a pro. Be sure to check the pattern instructions and follow them carefully for best results.
Safety Precautions for How to Decrease a Stitch
- Use sharp, well-maintained needles that are the appropriate size for your yarn.
- Don’t rush; pay attention to your actions and take care when decreasing stitches.
- Hold your work securely in one hand as you decrease the stitch with the other hand; this will help ensure accuracy and prevent mishaps.
- Make sure you read and understand the pattern instructions before beginning so that you know how many stitches to decrease and when.
- Carefully count your stitches to ensure all decreases are done correctly; this will help prevent mistakes when knitting or crocheting in the round.
- If you encounter a problem, it’s better to stop and take the time to figure out what went wrong rather than continuing and making matters worse.
- Finally, always practice your newly learned skills on a swatch of fabric before applying them to a full-sized project. This will allow you to perfect your technique and gain confidence in your abilities.
Following these safety precautions can help ensure that you decrease stitches successfully.
When is the Best Time to Decrease a Stitch?
The time to decrease a stitch is when you’re following an established pattern, which calls for decreasing the number of stitches in a certain area. This usually happens when shaping something like armholes or necklines, where decreases help create the desired shape. When doing your design work, decreasing stitches can be used to alter the shape of various pieces or elements, such as shaping the crown of a hat or creating the flared section of a skirt.
When decreasing stitches, it’s important to pay attention to which kind of decrease is called for by the pattern. Generally, there are four different types of decreases: knit two together (K2tog), purl two together (P2tog), slip one, knit one, pass slipped stitch over (SKP) and slip two, knit one, pass slipped stitches over (SK2P). Each type of decrease will create a different effect depending on the look you want to achieve.
How Long Should You Hold the Yarn When You Decrease a Stitch?
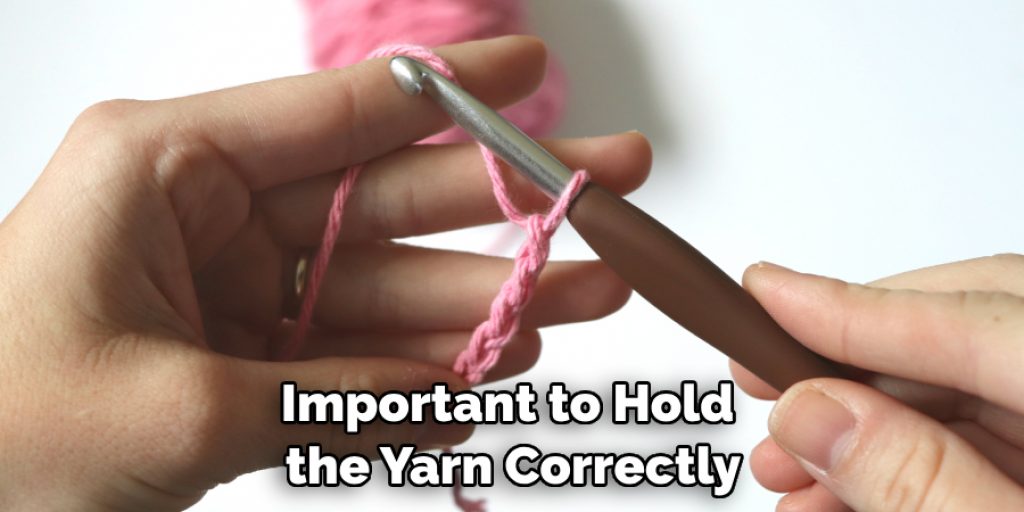
When decreasing a stitch, it’s important to hold the yarn correctly. Generally, hold the yarn behind your work when working on knit stitches and in front of your work when working on purl stitches. For decreases involving knit and purl stitches, hold the yarn as if to purl for the first stitch before continuing with a knit stitch(es). Once you have completed the decrease, keep the yarn in this position until your next stitch. This will ensure that the stitches are properly formed and your work looks neat and uniform.
It’s also important to keep the tension of the yarn consistent throughout a decrease so that each stitch has a similar size. To do this, wrap your thumb and forefinger around the yarn and hold it firmly but not too tightly. This will help you keep the tension even as you decrease, resulting in a well-formed stitch.
Are There Any Mistakes You Should Avoid When Decreasing a Stitch?
Yes, there are a few mistakes you should try to avoid when decreasing a stitch. The most common mistake is to knit or purl through the back loops of the stitches instead of the front. This will cause an increase in the number of stitches rather than a decrease.
Additionally, be careful not to drop any stitches off your needle while working on decreasing. If you do, it may be tough to correct the mistake, and your project could end up with an unwanted hole or gap. Finally, when decreasing two stitches, ensure you’re working the decrease in the same direction as the rest of your knitting pattern. Otherwise, you’ll disrupt the stitch count, and your project won’t look as good.
How Can You Make Sure the Stitches Look Consistent and Even After Decreasing?
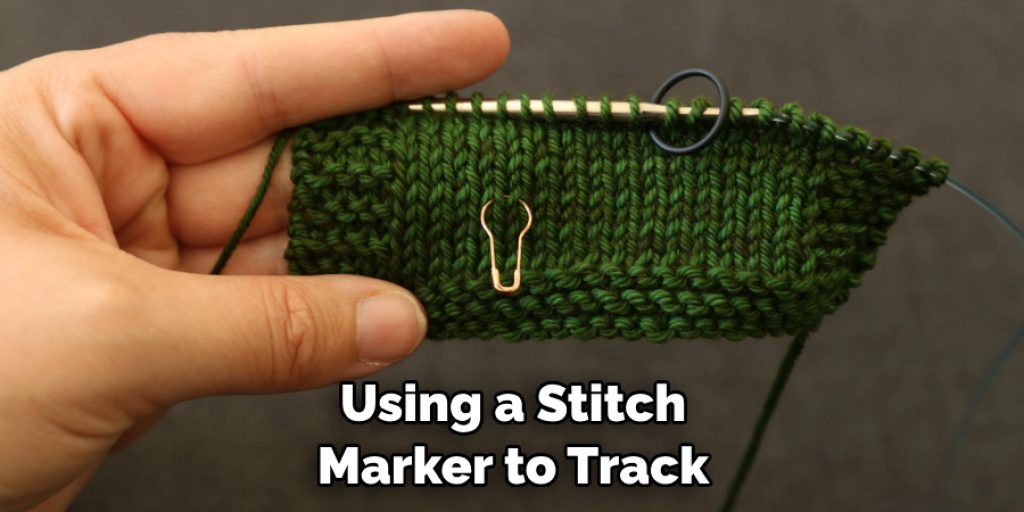
When decreasing a stitch, it is important to ensure the stitches look even and consistent. To achieve this, you should take your time when working on each decrease. It’s also helpful to count the number of stitches in between each decrease so that you can accurately create an even pattern throughout the project.
If you struggle with achieving a consistent look, try using a stitch marker to track where each decrease should occur. Additionally, it is important to pay attention to the type of decrease you are working on and ensure you are following established patterns or instructions for this particular stitch.
Following these steps can help ensure your project looks even and uniform when completed. Finally, if you make mistakes while decreasing stitches, taking a step back and assessing your work is important. If need be, you can undo the decrease and start again from the beginning to ensure that everything looks neat and even. Taking these extra steps can help ensure that your project looks neat and professional after all of your hard work.
Conclusion
The major disadvantage of decreasing a stitch is that decreasing a stitch may create an uneven or loose texture. This can make it difficult to maintain an even gauge when knitting, as the decreased stitches are usually smaller than those they replace. Additionally, depending on where in your pattern you are decreasing stitches, it may leave visible holes in the fabric, which could be considered unsightly.
In conclusion, decreasing a stitch is an essential skill for any knitter, regardless of experience. Decreasing a stitch can help you create intricate patterns and add texture to your projects. It’s important to remember that there are several methods of decreasing a stitch, and each one will produce different results depending on the project.
Practice the techniques until you feel comfortable with them, and experiment with different types of yarn to create unique designs. Reading this post has helped you learn how to decrease a stitch. Make sure the safety precautions are carried out in the order listed.
Nancy Behan
Nancy is an embroidery artist, fashion blogger and a full time editor at DIY quickly. Nancy edits the fashion section on DIY quickly, focusing on the embroidery and cross stitch articles, alongside with fabric and other costume design elements. She graduated from the University of Michigan with a Bachelor of Arts in Art History. She loves to work on her own projects, read books and watch romantic movies in her spare time.