How to Digitize Logo for Embroidery
Embroidery is an intricate and elegant art form that has been around for centuries. From intricate designs to company logos, embroidery adds a touch of charm and elegance to any fabric. However, with the advent of modern technology, the art of embroidery has evolved dramatically.
Embroidery machines have revolutionized the embroidery industry, making it easier and more efficient to create embroidery designs at scale. In this blog post, we’ll cover everything you need to know about how to digitize logo for embroidery.
Can You Digitize the Logo for Embroidery?
In today’s modern era, technology has made many things more convenient and accessible than they ever were before. One thing it has helped to streamline is the process of embroidery. Now, you may be wondering, can you digitize a logo for embroidery? The answer is a resounding yes! With the help of special software, a logo can be turned into a digital design compatible with embroidery machines.
This technology has revolutionized embroidery, allowing businesses to quickly and easily brand their products. Digitizing a logo for embroidery is a game-changer, and if you haven’t tried it yet, you’re missing out on a seamless and efficient branding solution.
Why Should You Digitize Logo for Embroidery?
In today’s digital age, it’s important to keep up with the latest tools and trends to stay ahead of the game – and that includes embroidery. Digitizing your logo for embroidery has numerous benefits, from improved accuracy and precision to better longevity and durability. By transforming your logo into a digital format, you can more easily customize, resize, and adjust it to suit your needs, whether you’re printing it on clothing, bags, or hats.
Plus, with advanced digitization technology, you’ll easily achieve even the most intricate designs and patterns. So whether you’re an individual hobbyist or a professional embroiderer, there’s no reason not to digitize your logo for top-tier results every time.
How to Digitize Logo for Embroidery: A Comprehensive Guide
Step 1: Choose the Right Software
The first step in digitizing your embroidery logo is choosing the right software. Embroidery digitizing software provides a platform for you to convert your logo into a format that is readable by your embroidery machine. There is a variety of embroidery software available in the market, but it is important to choose the one that best suits your needs.
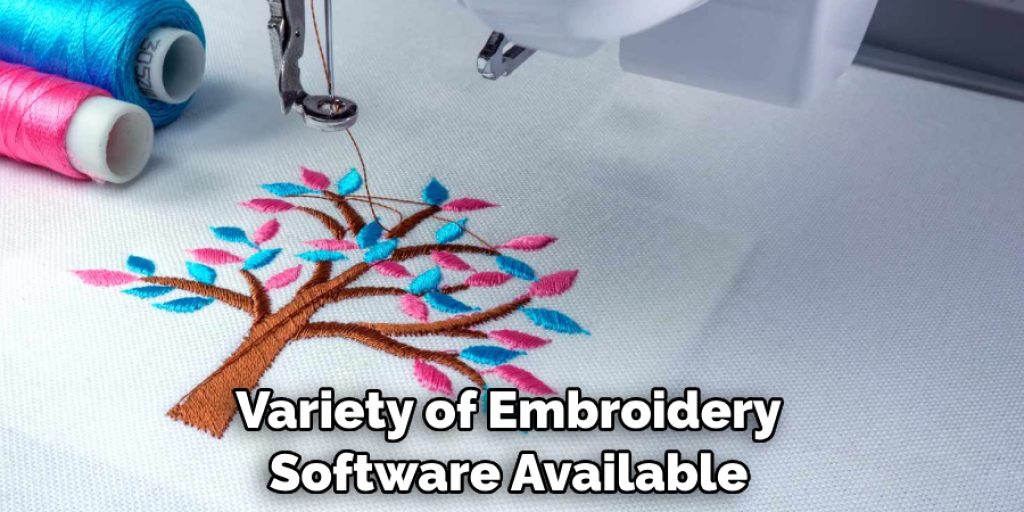
Some of the popular embroidery software include Maestro, Embird, and Wilcom. Finding software with advanced features, such as image tracing, object editing, and color palette management, is important.
Step 2: Understand the Limitations
Before you start digitizing, it’s important to understand the limitations of embroidery machines. They can only read a limited range of colors, use specific thread types, and are capable of certain stitch types. Designing within the constraints of these parameters will enable you to create a more successful embroidery design.
Try to think about colors and shapes that are easy to see or shapes that are easy to print on a shirt or display on a wall as you work on your design.
Step 3: Convert the Image
The third step involves converting the image file to a format compatible with your embroidery digitizing software. You can create vector files or any other file format that is compatible with the software. Save the file in a high-resolution format for better printing quality. Remember to import the design into the software and edit the stitches and colors to suit your preferences.
Step 4: Use High-Quality Threads
You need to make sure that the threads you use in your embroidery machine are of high quality. Cheap threads can lead to poor results, even with a well-designed pattern. High-quality threads, on the other hand, tend to be more durable and better at holding their colors over time. This means that your design will look great for years to come.
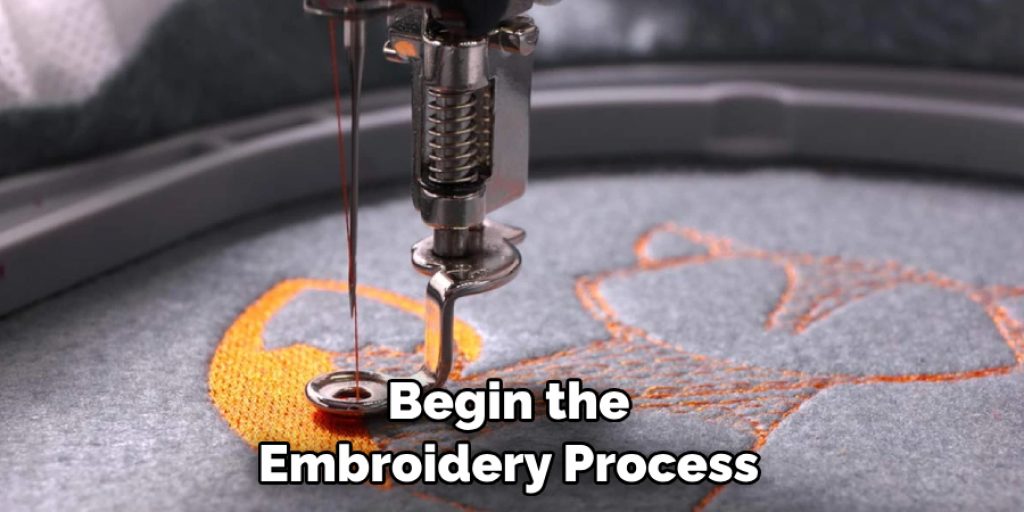
Step 5: Test Run and Adjustments
After you have digitized the design, it’s important to do a test run before you begin embroidering on the final fabric. The test run allows you to see how the design will look on the fabric and make any necessary adjustments. You can also get an idea of the thread colors and textures that will complement the final product. Once you’re happy with the design, begin the embroidery process.
Step 6: Save and Back Up the Digitized Design
Once you have completed the embroidery process, save a copy of your design. This way, if anything happens to the finished product, you can easily recreate it using the original file. It’s also important to back up your designs if something happens to your computer or storage device.
Step 7: Enjoy Your Finished Design!
Finally, you can enjoy your finished design! Embroidery is a great way to add visual interest to apparel and other products. With the right software and design skills, you can create unique embroidered logos that look great on any fabric or product. Don’t forget to share your masterpiece with friends and family!
That’s it! You’ve now learned the basics of how to digitize logo for embroidery. With patience and practice, you can create beautiful designs that will last for years.
5 Considerations Things When You Need to Digitize Logo for Embroidery
1. Vector File Format
When digitizing a logo for embroidery, it is important to make sure that the file is in a vector format. Vector files are composed of lines and curves rather than pixels, which makes them easier to scale without losing quality. Additionally, vector formats such as EPS or AI are preferred by most embroiderers as they are more compatible with their software.
2. Size and Scale
Another consideration when digitizing a logo for embroidery is the size and scale of the logo. Embroidered logos should be scaled to appear clear and legible when stitched onto fabric. This means the logo should not be too small or too large relative to other elements on the garment.
3. Color Palette
The color palette used for an embroidered logo should also be carefully considered. It is important to use colors that will stand out against the fabric and colors that work well together and complement each other. Additionally, some colors may need to be adjusted slightly to create a better contrast between different design elements.
4. Thread Type
Thread type is another important consideration when digitizing a logo for embroidery. Different thread types can have different effects on the look of the finished product, so it is important to choose a thread type that matches the desired aesthetic of the design. Additionally, some materials may require special thread types to ensure durability and prevent fraying over time.
5. Stitch Count
Lastly, it is important to consider stitch count when digitizing a logo for embroidery. The stitch count refers to how many stitches will be used in each element of the design, which will affect both its appearance and its durability over time.
Generally speaking, higher stitch counts result in smoother lines and more detailed designs but can also significantly increase cost and production time. Therefore, it is important to ensure that the stitch count of a logo is appropriate for the intended purpose.
Benefits of Digitize Logos for Embroidery
The art of embroidery has been around for centuries, but with the advancement of technology, digitizing logos for embroidery has become a game-changer for industry professionals and hobbyists alike. The benefits of digitization are vast, including greater accuracy and consistency in design, faster production times, and the ability to replicate logos across various fabrics and materials.
A digitized logo is essentially a digital file that can be programmed into a computerized embroidery machine, allowing intricate designs to be executed precisely. This process saves time and money and opens up endless design possibilities, making it a worthwhile investment for anyone looking to elevate their embroidery game.
With the ability to produce high-quality and professional-looking embroidery designs faster, it is no wonder why the digitization of logos has become so widely adopted in the embroidery industry.
Some Common Mistakes People Make When Trying to Digitize Logo for Embroidery
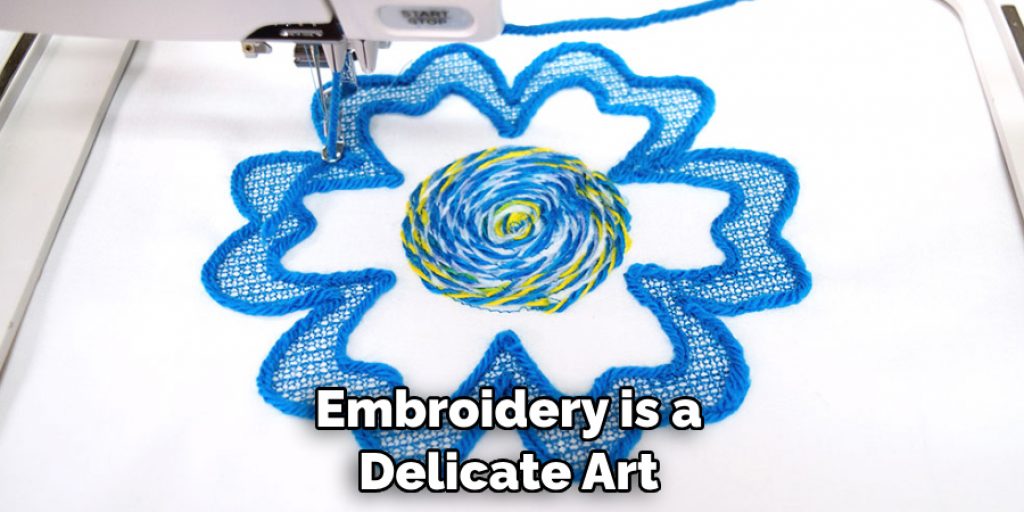
Embroidery is a delicate art that requires precision and finesse. When you decide to get your logo digitized for embroidery, there are a few common mistakes that you should avoid. One of the most significant errors is choosing a low-quality logo. The digitizing process can only work with what has been given so that a low-resolution image produces a low-quality embroidery design.
Another common mistake is not being mindful of the thread count. Too few threads can result in an incomplete design, while too many can create a bulky and distorted image. Overall, digitizing a logo for embroidery takes patience and attention to detail, so be sure to take your time to avoid these common mistakes.
Conclusion
Digitizing your logo for embroidery can be challenging, but with the right software and high-quality threads, you can create beautiful designs that last for years. It’s important to keep in mind the limitations of embroidery machines while creating the design and to do a test run before starting the final embroidery process.
Taking the time and effort to create a well-digitized logo will make your designs stand out and add sophistication to any fabric or clothing item. We hope our comprehensive guide has helped you in learning how to digitize logo for embroidery. Happy Digitizing!
Nancy Behan
Nancy is an embroidery artist, fashion blogger and a full time editor at DIY quickly. Nancy edits the fashion section on DIY quickly, focusing on the embroidery and cross stitch articles, alongside with fabric and other costume design elements. She graduated from the University of Michigan with a Bachelor of Arts in Art History. She loves to work on her own projects, read books and watch romantic movies in her spare time.