How to Display Shells
Displaying shells can be a delightful way to showcase nature’s artistry and add a touch of marine beauty to your home decor. Whether you’re an avid collector or simply appreciate the unique forms and colors of these ocean treasures, creating a captivating display can enrich your space and serve as a conversation starter.

In this guide on how to display shells, we will explore various methods and ideas for elegantly arranging shells, ensuring they are highlighted while maintaining their natural charm. From shadow boxes to glass jars, we aim to inspire creative ways to celebrate these gifts from the sea.
Why Display Shells?
Before diving into the different ways to display shells, let’s first understand why it is worth showcasing these natural wonders.
Aesthetics:
Shells come in a variety of shapes, sizes, and colors, making them visually appealing and adding depth and texture to any space. They can be used as standalone decor pieces or combined with other elements like driftwood, coral, or sand to create a beachy vibe.
Sentimental Value:
For many people, collecting shells is more than just a hobby; it holds sentimental value and fond memories of time spent on the beach. Displaying these shells elevates their significance and serves as a reminder of cherished moments.
Education:
Shells are not only beautiful but also have interesting stories to tell. From their scientific names to their habitats and unique features, they can teach us about marine life and our environment.
Things to Consider Before Displaying Shells:
Now that we’ve established the importance of displaying shells let’s discuss a few things to keep in mind before creating your display.
Cleaning and Preservation:
Before displaying shells, it is essential to clean them properly to avoid any unpleasant odors or damage. Start by gently brushing off any debris or sand using a soft-bristled brush. For tougher stains or buildup, you can use a mixture of water and mild soap. Ensure the shells are completely dry before displaying them to prevent mold growth.

Preserving shells is also crucial in maintaining their natural beauty. To do so, you can coat them with mineral oil or clear varnish.
Choosing the Right Display Method:
When selecting how to display your shells, consider their size, shape, and fragility. Some methods may be more suitable for smaller shells, while others may work better for larger ones. It is also important to choose a display that will protect the shells from dust and damage.
Placement:
Where you choose to display your shells can greatly impact their aesthetic appeal. Consider incorporating them into existing decor or creating a dedicated space for them. Natural light can also enhance the colors and textures of the shells, so keep that in mind when deciding on placement.
7 Step-by-step Guidelines on How to Display Shells
Step 1: Prepare the Shells
Preparing your shells is a vital first step in creating an attractive display. Begin by gathering your shells and inspecting each one for cleanliness and condition. Use a soft-bristled brush to gently remove any sand, dirt, or debris clinging to the surface. If you notice any stubborn stains, a mixture of warm water and mild soap can be used to clean them thoroughly.
After washing, rinse the shells under clean water to remove any soap residue, and then allow them to dry completely on a clean towel or drying rack. Once dry, assess each shell for any cracks or damage, as this will help you determine the best display method for each piece. To enhance their natural beauty and protect them, consider applying a light coat of mineral oil or clear varnish before proceeding to the actual display.
Step 2: Choose a Display Method
Selecting the appropriate display method for your shells is critical in ensuring that they are highlighted beautifully while also remaining protected. There are several creative options to consider:
Shadow Boxes:
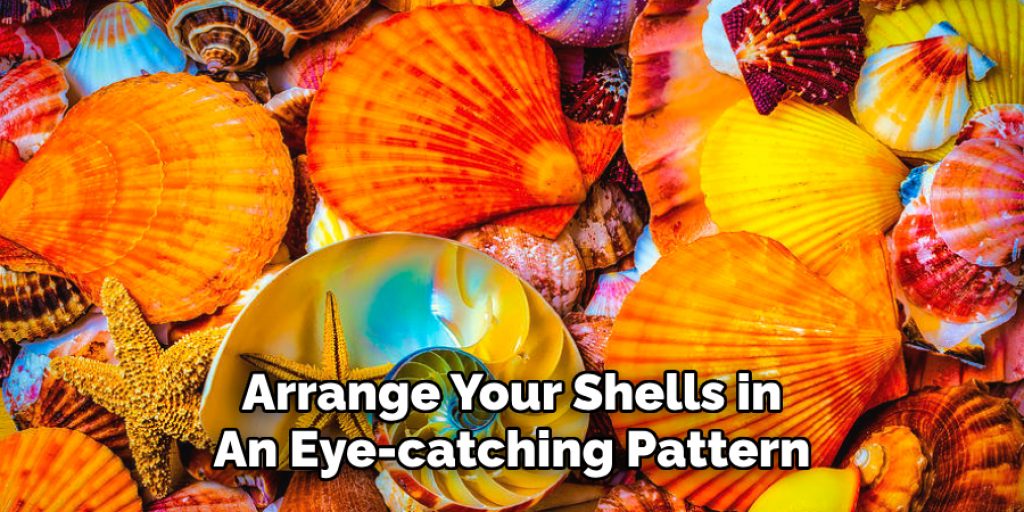
A shadow box allows you to create a three-dimensional display, making it ideal for showcasing shells alongside other natural elements like sand and driftwood. Arrange your shells in an eye-catching pattern and secure them with glue or small pins. Place the shadow box on a stand or hang it on the wall for an elegant display.

Glass Jars or Containers:
Clear glass jars or containers are perfect for displaying smaller shells, as they allow you to see the intricate details of each shell. Layer different types and sizes of shells in a jar, and top it off with a cork lid for a nautical touch. You can also experiment with adding other elements like colored sand or dried seaweed to create an eye-catching layered effect.
Trays or Plates:
For a simple yet elegant display, arrange your shells on a decorative tray or plate. This method works well for larger shells and can be easily moved around as needed. You can also add a small stand to elevate the shells and create visual interest.
Wreaths:
Create a unique display by incorporating your shells into a wreath. Use a foam or wire wreath form as the base and secure your shells using hot glue or floral wire. This method is perfect for showcasing smaller, lightweight shells and adds a touch of beachy charm to any room.
Step 3: Consider the Shells’ Size and Placement
When it comes to displaying your shells, paying attention to their size and placement is crucial for creating a balanced and visually appealing arrangement. Begin by grouping shells of similar sizes together, as this can help create a harmonious look. Larger shells can serve as focal points in your display, while smaller shells can complement them, adding detail without overwhelming the overall composition.
In terms of placement, think about the height and visibility of your display. Ensure that larger displays are at eye level to be easily appreciated, while smaller, intricate arrangements can find a home on shelves or tabletops. Additionally, consider the surrounding decor—incorporating shells alongside other elements like plants or art can enhance their visual effect. Moreover, utilize natural light effectively; placing your shells where they can capture light can accentuate their colors and textures, bringing your display to life.
Step 4: Get Creative with Arrangements
To create a captivating display, think outside the box and experiment with different arrangements. Don’t be afraid to mix and match shells of various shapes, sizes, and colors to create unique patterns or textures. You can also incorporate other natural elements like driftwood, sand dollars, or sea glass to add depth and interest.
It can also be beneficial to play around with different display methods and placement options to find what works best for your shells. Don’t be afraid to switch things up and try new arrangements until you find the perfect fit.
Step 5: Add Labels or Descriptions
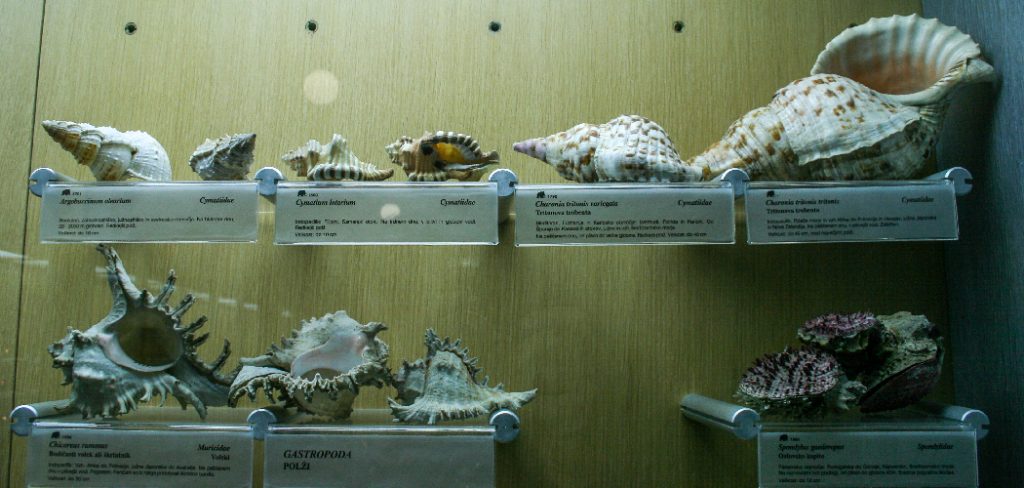
If you have a collection of rare or unique shells, consider adding labels or descriptions to your display. This adds an educational element and allows viewers to learn more about each shell’s characteristics. You can create simple labels using cardstock and attach them using small pins or hot glue.

You can also include information about where and when each shell was found, giving your display a personal touch.
Step 6: Rotate Your Display
To keep your shell display fresh and engaging, consider rotating the shells periodically. This practice not only enhances the longevity of your collection but also allows for changing aesthetics within your space. By swapping out some of the shells for others from your collection, you can create new visual narratives and highlight different pieces that might have been overlooked.
This change can also reinvigorate your decor—bringing a sense of novelty and keeping your display dynamic. When rotating, take the opportunity to inspect each shell, ensuring they remain in good condition, and possibly clean them again if necessary. Additionally, experimenting with different arrangements during each rotation can lead to exciting new compositions that continuously showcase the beauty of your collection.
Step 7: Share with Others
Lastly, once you have created a beautiful display of your shells, consider sharing it with others. Invite friends or family over to showcase your collection and share the stories behind each shell. You can also take pictures of your display and post them on social media or create a scrapbook to document your collection’s growth and evolution over time.
Sharing your passion for shells can spark conversations and inspire others to start their own collections. It also allows you to appreciate your collection from a different perspective, making it an even more rewarding experience.
Following these steps on how to display shells can help you create a stunning and meaningful display of your shell collection. Remember to have fun, get creative, and let your love for shells shine through in every aspect of your display.
Frequently Asked Questions
Q: Can I Use Shells Collected From the Beach for Display?
A: Yes, shells found on the beach can be used for display as long as they are properly cleaned and dried before being incorporated into your arrangement. It is essential to follow ethical and legal guidelines when collecting shells from the beach, such as not taking live shells or damaging natural habitats.

Q: Is There a Limit on How Many Shells I Can Display?
A: No, there is no limit to how many shells you can display. However, it is best to consider your available space and arrange it in a way that does not overwhelm the overall aesthetic of the room. You can also rotate your display periodically to showcase different pieces without overcrowding.
Q: What Other Elements Can I Incorporate into My Shell Display?
A: Along with other natural elements like driftwood and sea glass, you can also add decorative items like candles or books to your shell display. These items can complement the aesthetic and add depth and interest to your arrangement.
Conclusion
In conclusion, displaying your shell collection can transform simple treasures from the ocean into stunning decor that tells a story. By thoughtfully selecting your display methods on how to display shells, considering size and placement, and embracing creativity in arrangements, you can showcase the unique beauty of each shell.
Adding elements like labels can enhance the educational aspect while rotating displays keep your arrangement fresh and engaging. Ultimately, sharing your collection not only allows you to relive cherished memories but can also inspire others to appreciate the wonders of nature. Embrace the process, let your creativity flow, and enjoy the journey of crafting a captivating shell display that reflects your personal style.


