
How to Distress a Shirt with Bleach
Introduction
Having a vintage look on your shirt is always an exciting thing to wear. There are many ways that you can easily make your shirt get a vintage look. Today we are going to suggest a technique on how to distress a shirt with bleach. We have shortlisted some easy steps that you can follow. The method is simplified below with a proper explanation.
Processes on How to Distress a Shirt with Bleach
Process One:
First, lay your shirt flat on a table. Make sure that any parts of the shirt with holes or stains are at the top for easy access later on.
Next, mix your bleach solution- to create an oxidizing chemical reaction, mix one part chlorine water (or Clorox) and two hydrogen peroxide. Next, dip cotton balls into your mixture until they become saturated, as this will be used to apply the stain evenly across all areas of the fabric surface area.
Similarly, if using liquid bleach instead, pour some onto a rag and dip it into a sink full of warm water for cleaning up afterward. Now you’re ready! Use each ball/rag to apply the bleach evenly across a section of your shirt, starting with any stains or holes.
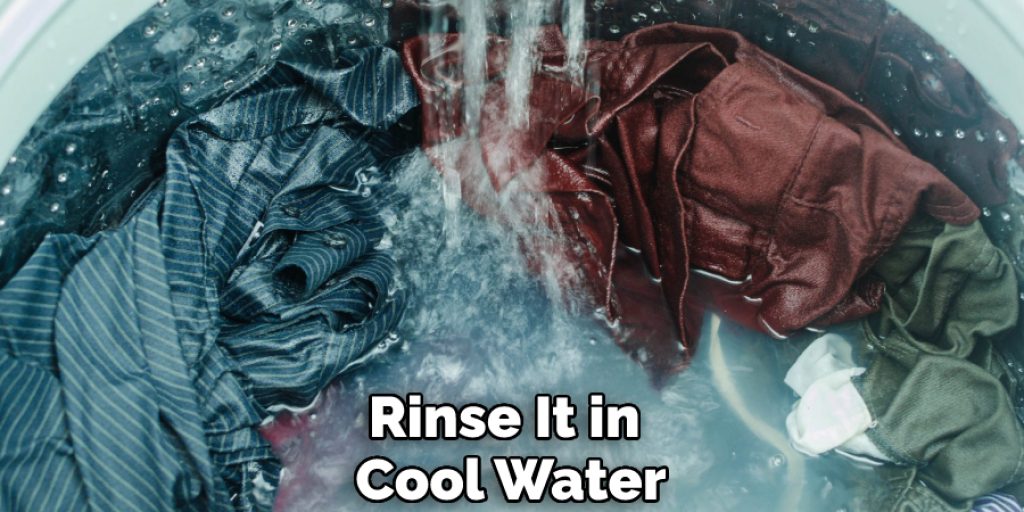
After soaking that area for about five minutes with gentle pressure from either your fingers or an old toothbrush, rinse it in cool water and watch as the color starts to fade away.
Process Two
Step One:To distress your shirt, you will need a few supplies. This includes an old t-shirt. You can also use new ones if you prefer. Then you will need sandpaper. A scissor and tweezers. You will also need chalk and some bleaching powder. Once you have gathered all these materials, you can start the process. Now you have to select a shirt, and it is better to use a thin shirt with cotton fabric. Thick fabrics are much trickier to distress.
Check it out to learn to mix tannerite and chalk powder.
Step Two: Now you have to take the shirt and place it on a cutting board, making sure to leave a substantial back part. After you have set the shirt, take sandpaper and start rubbing it, starting from the edges and moving lengthwise to the shoulders. Then cover the whole area of the shirt. Once you have finished the basic elements, you can start the process of distressing.
Step Three: Now, you can use chalk to rub the shirt. This will provide a vintage vibe too. Then, after the distress procedure is complete, you have to bleach the shirt. For this, you can use regular spray and apply it throughout the shirt. And lastly, you have to apply some fabric paint to the shirt. In this manner, the whole process will be completed.
Precautions
The bleach solution will cause skin irritation, so be sure to protect your hands and eyes.
Work in a well-ventilated area with good lighting. The fumes from the bleach can irritate or even damage lungs if not properly ventilated.
To keep your hands safe while working with chemicals, wear gloves and safety goggles. When mixing up the bleach solution, be careful not to splash it into your face. To protect pets, keep them out of the workspace until after you have rinsed off all of the chemical residues on yourself and any items that are being treated.
You do not need much fabric softener for use in this method; it is typically only added at a ratio of five or six tablespoons per gallon.
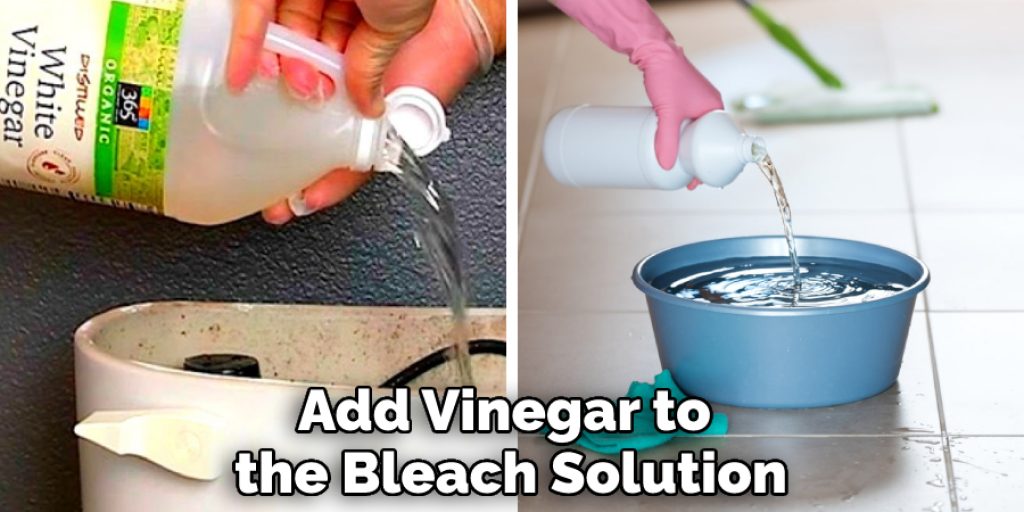
Is Vinegar Helpful for This Process?
Sometimes, people will add vinegar to the bleach solution. Vinegar is an acid, and acids react with alkalis (sodium hypochlorite) in a chemical reaction that produces water vapor.
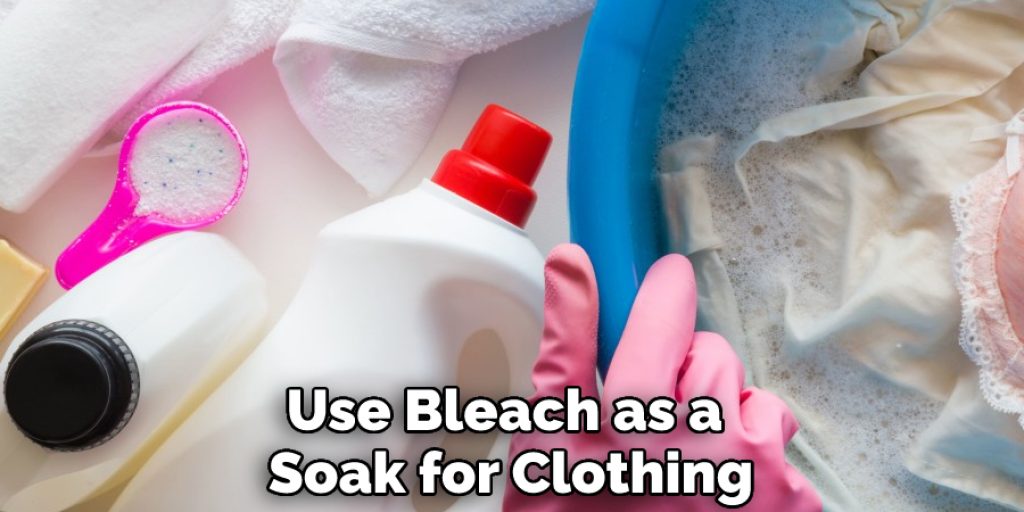
The process of changing clothes through this type of distressing method can be accomplished without using any additional chemicals or solvents by simply soaking them in diluted chlorine bleach for some time before washing as usual. This may not cause noticeable changes to the fabric’s appearance but should make it softer from natural fiber reactions with sodium hypochlorite.
The Science Behind Distressing Clothes
When you use household bleaches like Sodium Hypochlorite on your favorite shirt, they create new compounds called chlorinated hydrocarbons, which are not harmful to humans.
- You can use bleach as a soak for clothing without any adverse side effects!
- Chlorinated hydrocarbons are created in the reaction between sodium hypochlorite and fabric, neutralized by washing with soap or detergent. This prevents contamination of surface waters downstream from possible spillages during the handling, storage, or transport of these materials.
- The chlorination process removes organic matter like dirt, oily residue, bacteria and other contaminants that would otherwise require more time-intensive processes like solvent extraction to remove them before disposal.” “This results in lower water usage (reducing wastewater), less need for energy inputs such as heat input required for drying clothes after cleaning,” says an article
Conclusion
Lastly, we hope that the process we have stated here will surely help get a new look at your used shirt. The beginners can easily follow these steps and get the best result. Thank you for your time. Have a nice day!
You May Also Read- How to Cut a Shirt for Working Out
Nancy Behan
Nancy is an embroidery artist, fashion blogger and a full time editor at DIY quickly. Nancy edits the fashion section on DIY quickly, focusing on the embroidery and cross stitch articles, alongside with fabric and other costume design elements. She graduated from the University of Michigan with a Bachelor of Arts in Art History. She loves to work on her own projects, read books and watch romantic movies in her spare time.


