How to Diy Wedding Flowers
Planning a wedding can be an exciting yet overwhelming experience, and one of the most significant aspects is choosing the perfect floral arrangements. DIY wedding flowers offer a creative and personal touch to your special day while often being a more budget-friendly option.
In this guide, we’ll explore how to diy wedding flowers, centrepieces, and floral decorations, allowing you to express your unique style and vision. Whether you’re a seasoned florist or a complete novice, you’ll find practical insights to help you flourish in your flower arrangements.
Benefits of DIY Wedding Flowers
Choosing DIY wedding flowers comes with several advantages that can enhance both your wedding experience and final outcome. First and foremost, it allows for greater customization, ensuring that your floral arrangements reflect your personal style and theme. You’ll have the freedom to select specific blooms, colours, and textures that resonate with your vision, creating a unique aesthetic that standard floral packages may not provide. Additionally, DIY flowers can significantly reduce costs.
By sourcing your blooms directly from wholesalers or local markets, you can save on the price markup typically charged by professional florists. The process can also be a rewarding and collaborative experience, allowing friends and family to lend a hand, creating cherished memories together as you prepare for the big day. Finally, having control over your floral timeline means reduced stress; you can arrange them at your own pace, ensuring everything is ready well before the wedding day.
Planning Your Wedding Flower Arrangements
When it comes to planning your wedding flower arrangements, the first step is to establish a clear vision. Begin by gathering inspiration from various sources such as bridal magazines, social media platforms, and Pinterest boards. Consider the overall theme of your wedding—whether it be rustic, romantic, or modern—and select flowers and colours that will complement this theme.

Next, create a detailed list of all the floral elements you need, including bouquets, boutonnieres, centrepieces, and any decorative arrangements for the ceremony and reception. Determining the quantity and types of flowers required will help streamline your shopping experience and budget. Once you have your list, it’s time to choose your flowers based on seasonality and availability to ensure freshness.
Finally, schedule a timeline for sourcing, preparing, and arranging your flowers, allowing adequate time for each step to avoid last-minute stress. This careful planning will help ensure that your DIY wedding flowers are not only beautiful but also perfectly aligned with your vision for the big day.
9 Methods How to Diy Wedding Flowers
1.Planning and Designing Your Floral Arrangements
The foundation of successful DIY wedding flowers begins with careful planning and design. Start by defining the overall theme and color scheme of your wedding, as these elements will guide your floral choices. Consider the types of arrangements you need: bouquets, centerpieces, boutonnieres, and corsages. Sketch a rough design of each arrangement to visualize how they will look and fit into your wedding décor.
Research various floral styles and trends to find inspiration, and create a mood board with images of flowers, colors, and designs that resonate with your vision. Planning is crucial as it helps streamline the process, ensuring that your floral arrangements align with your wedding theme and personal preferences.
2.Selecting the Right Flowers
Choosing the right flowers for your wedding involves considering factors such as seasonality, color, and durability. Start by selecting flowers that are in season during your wedding date, as they are more affordable and fresher. Popular wedding flowers include roses, peonies, lilies, and orchids, each offering a distinct look and fragrance. Decide on a color palette that matches your wedding theme and choose flowers that complement each other.
Additionally, consider the size and shape of the flowers, ensuring they work well in your intended arrangements. For example, large blooms like hydrangeas are ideal for centerpieces, while smaller flowers such as baby’s breath are perfect for bouquets.
3.Gathering Tools and Supplies
Before you begin arranging your flowers, gather all the necessary tools and supplies. Essential items include floral foam, floral tape, wire cutters, scissors, and floral glue. Floral foam helps secure flowers in place and provides hydration, while floral tape and wire are used to create structure and support. Scissors and wire cutters are essential for trimming stems and cutting floral wire. You will also need vases or containers for centerpieces, bouquet holders for bridal bouquets, and ribbon or other decorative elements for finishing touches.

3.Preparing Flowers for Arrangements
Proper preparation of flowers is key to ensuring they remain fresh and vibrant throughout the wedding day. Begin by removing any foliage from the lower parts of the stems to prevent it from rotting when submerged in water. Trim the stems at an angle to improve water absorption and increase their longevity. If you’re using floral foam, soak it in water until it’s fully saturated before using it in your arrangements.
For flowers that need to be prepped in advance, such as those requiring hydration, place them in water with floral preservatives to keep them fresh.
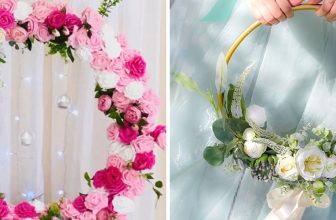
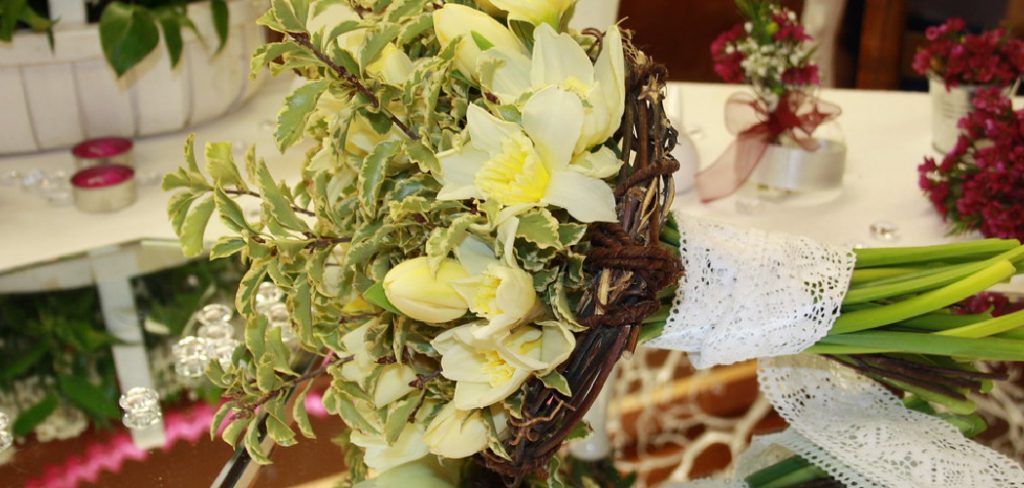
4.Creating Bouquets
Crafting bridal and bridesmaid bouquets involves combining your selected flowers into a cohesive and aesthetically pleasing arrangement. Start by arranging your flowers in a loose bunch to determine the overall shape and composition of the bouquet. Begin with a central focal flower and arrange surrounding blooms around it, adjusting the heights and angles to create a balanced look. Use floral tape or wire to bind the stems together, and trim them to the desired length.
Wrap the stems with ribbon or decorative tape to create a polished finish. For added texture, consider incorporating greenery or filler flowers such as baby’s breath or eucalyptus.
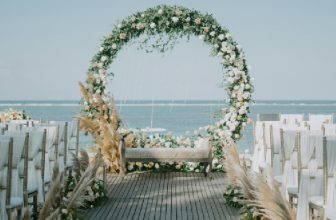
5.Assembling Centerpieces
Designing centerpieces involves arranging flowers in a way that complements your table settings and enhances the overall ambiance of your reception. Start by selecting a suitable container or vase for your centerpiece. If using floral foam, secure it in the container and arrange your flowers by placing larger blooms in the center and smaller ones around the edges. Add greenery or filler flowers to create depth and texture.
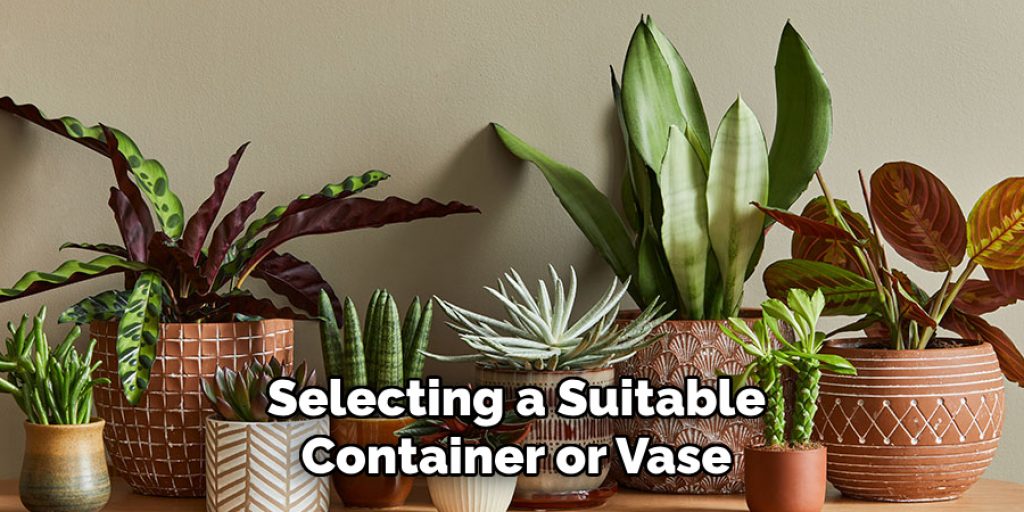
Ensure that the arrangement is balanced and visually appealing from all angles. For a more dramatic effect, consider using tall vases or incorporating elements such as candles or decorative accents.
6.Making Boutonnieres and Corsages
Boutonnieres and corsages are smaller floral arrangements worn by the groom, groomsmen, and female guests. To make boutonnieres, start by selecting a small focal flower and pairing it with complementary greenery or filler flowers. Trim the stems to a short length and secure the arrangement with floral tape or wire. Attach a pin to the back of the boutonniere for easy fastening. Corsages are typically larger and worn on the wrist or pinned to clothing.
Create a corsage by arranging a combination of flowers and greenery on a decorative base, such as a ribbon or floral wire. Secure the arrangement with floral tape and attach it to a corsage pin or bracelet.
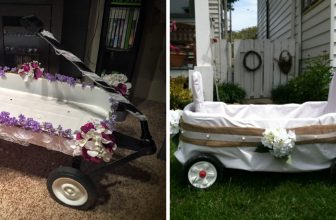
7.Handling and Transporting Flowers
Proper handling and transporting of flowers are crucial to maintaining their freshness and appearance before the wedding. Keep flowers in a cool, dark place to prevent wilting or discoloration. If you need to transport flowers, use a floral box or container with water to keep them hydrated during transit. Avoid exposing the flowers to direct sunlight or extreme temperatures. For longer distances, consider using floral hydration solutions or gel packs to maintain moisture. Handle flowers gently to avoid bruising or damaging the blooms.
8.Assembling Floral Arrangements on the Wedding Day
On the wedding day, it’s important to assemble and finalize your floral arrangements in a timely manner. Begin by setting up your workspace and organizing all your prepared flowers and supplies. Assemble your bouquets, centerpieces, and other arrangements as close to the event as possible to ensure freshness. If you’re working with floral foam, keep it hydrated and maintain a clean workspace to avoid contamination.
Once the arrangements are complete, carefully transport them to the venue and set them up according to your planned design. Check each arrangement for any necessary adjustments and ensure that they are placed in suitable locations.
9.Preserving and Extending the Life of Wedding Flowers
After the wedding, preserving and extending the life of your floral arrangements can be a meaningful way to remember your special day. Consider drying or pressing flowers to create keepsakes such as framed displays or shadow boxes. To dry flowers, hang them upside down in a cool, dry area away from direct sunlight. For pressing, place flowers between sheets of parchment paper and press them under a heavy book.
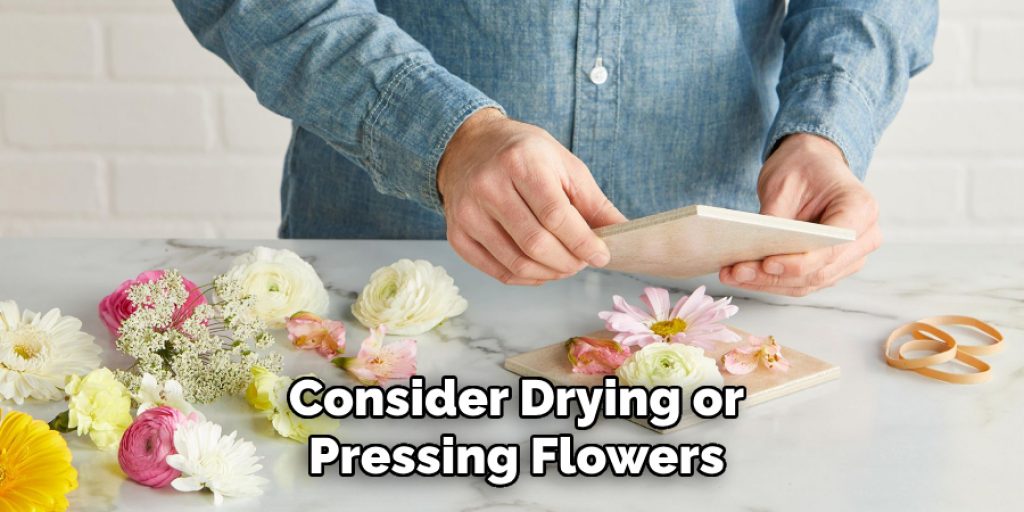
Once dried or pressed, you can create decorative items such as wreaths, bookmarks, or ornaments. For any leftover fresh flowers, consider donating them to a local hospital or nursing home to brighten someone else’s day.
Conclusion
In summary, creating DIY wedding flowers involves a blend of planning, creativity, and practical skills. From selecting and preparing flowers to arranging and preserving them, each step plays a crucial role in ensuring that your floral arrangements enhance the beauty and atmosphere of your wedding. Thanks for reading, and we hope this has given you some inspiration on how to diy wedding flowers!
Elizabeth Davis
Elizabeth is a creative writer and digital editor based in the United States. She has a passion for the arts and crafts, which she developed from a young age. Elizabeth has always loved experimenting with new mediums and sharing her work with others. When she started blogging, she knew that DIYquickly would be the perfect platform to share her tutorials and tips. She's been writing for the blog from the beginning, and her readers love her helpful advice and easy-to-follow instructions. When she's not writing or editing, Elizabeth enjoys spending time with her family and friends.