How to Do a Running Stitch
Have you ever wanted to learn how to do a running stitch? If so, you’ve come to the right place! Today we’ll be covering the basics of the running stitch, as well as exploring some tips and tricks for making sure that your project looks neat and professional.
We’ll go over everything from gathering the necessary supplies to mastering this useful sewing technique. Whether you’re experienced with hand sewing or just starting out, our guide will get you in stitches in no time! So let’s get started—soon enough, you’ll be whipping up fancy quilts and lovely garments like a pro.
This hand-sewing technique has been used since ancient times and is one of the first hand-stitching methods taught to those who are new to sewing. The beauty of this tried and true method, besides its ease in execution, is that it can be used on many different types of fabrics including thin outdoor material like canvas, leather products, and clothing made from heavier fabrics such as wool. In order to make sure you execute a perfect running stitch every time, keep reading for step-by-step instructions!
Why May You Want to Do a Running Stitch?
1. To Know How to Repair Clothing
The running stitch is the most basic type of stitch used in sewing. It can be used for a variety of tasks, from mending torn clothing pieces to reinforcing hems and seams. Also make sure to practice the running stitch on scrap fabric before attempting it on a project.
2. To Embellish Clothing
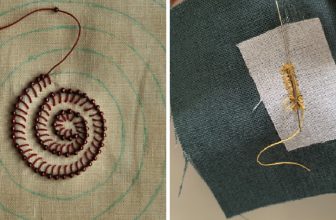
The running stitch can be used to make decorative patterns and designs, adding embellishment and texture to clothing pieces. The stitching can be done with different colored threads for more visual impact. Be creative and have fun – the possibilities are endless!
3. To Join Seams and Hems
The running stitch can be used to join two pieces of fabric securely. It’s a good idea to use a backstitch at the start and end of each seam as it will provide extra reinforcement. And, for hems, you can use the running stitch to secure the edge without adding bulk or stiffness.
How to Do a Running Stitch in 5 Easy Steps
Now that you know why you may want to do a running stitch, it’s time to learn how! The good news is that the running stitch is an easy technique for beginners. It requires few tools and materials, making it an ideal option for first-time sewers. Here’s what you need to get started:
Step 1: Gather All The Materials You Will Need
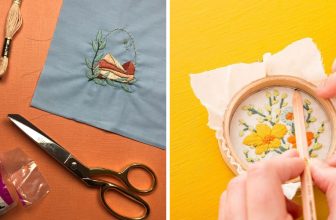
The very first step is to get all your materials together. You will need a needle, thread, fabric, and scissors. Choose a type of thread that’s compatible with the fabric you are using.
Step 2: Thread The Needle
Once you have all your supplies ready, it’s time to thread the needle. Insert one end of the thread into the eye of the needle, and pull it through. Leave a tail of thread on one side that’s about 4 inches long.

Step 3: Knot The Thread
You’ll want to secure the thread in place by making a knot at the end. Take the short tail of thread and loop it around your finger twice, then pull it tight against the needle. This will form a small knot that will keep your thread from slipping out of the needle during sewing.
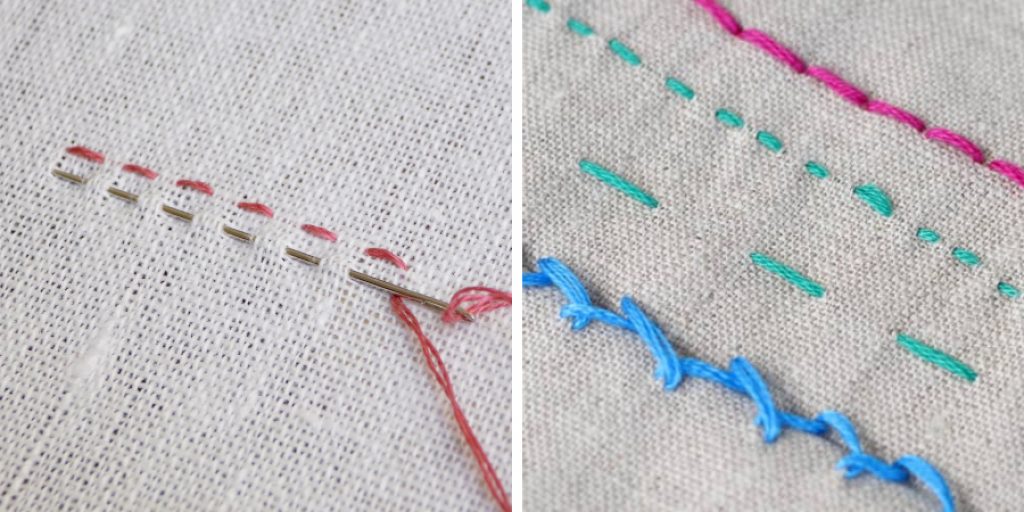
Step 4: Begin Sewing With A Running Stitch
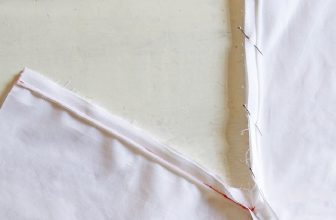
Now you’re ready to start sewing with a running stitch. Start by pushing the needle down through the fabric from the top side. Make sure you leave a small loop of thread on the backside of your fabric when you pull the needle up. Continue this process, making loops of thread on both sides of your fabric as you go along.
Step 5: Finish Up
When you’re done sewing, knot the thread on the back side of your fabric. Cut off any excess thread, and that’s it! You have now successfully completed a running stitch.
Some Extra Tips to Do a Running Stitch
1. Do Not Pull the Thread Too Tight
This is one of the most common mistakes made when learning how to do a running stitch. If you pull the thread too tight, it will cause the fabric to bunch up and can make your stitches look uneven. It is important to loosely hold the thread as you sew so that you maintain even tension throughout your stitching.
2. Use an Appropriate Thread Length
When doing a running stitch, it is important to use an appropriate thread length. If the thread is too short, you will have to constantly rethread your needle and it may make your seams more visible than desired. An ideal thread length should be at least 18 inches long.
3. Use a Square Knot
When finishing off a running stitch, it is important to use a square knot. This is a very secure knot that can be easily tied and will help your stitches stay in place. To do a square knot, take the two threads and make two loops going in opposite directions. Cross the left loop over the right one, then pass it under the right loop. Pull tight and repeat for extra security.
4. Use a Thimble
If you are using a thicker thread or fabric, it is important to use a thimble when doing a running stitch. This will help protect your fingers from the needle as well as make it easier to push the needle through the material. It can also be helpful for manipulating the fabric and keeping the tension consistent throughout your stitching.
5. Use Even Pressure
When doing a running stitch, it is important to use even pressure throughout. If you press too hard, your stitches can become bulky and uneven. On the other hand, if you don’t press hard enough, your stitches may not be secure enough to hold the seam together. A good rule of thumb is to keep your needle as close to the fabric as possible and use consistent pressure throughout your stitching.
These tips can help you learn to do a running stitch without any difficulties. With a little bit of practice, you will be able to produce beautiful seams with ease!
Frequently Asked Question
What Precautions Should I Take When Doing a Running Stitch?
When doing a running stitch, it is important to ensure that you are using the correct needle and thread for the fabric you’re working with. Too thick of a needle or too thin of a thread can cause damage to the fabric or make it difficult to complete the stitching correctly.
It is also important to knot off the thread securely after each stitch and to make sure that your tension is even throughout the entire process. Finally, take care not to pull or tug too hard on the thread as this can cause it to break or fray.
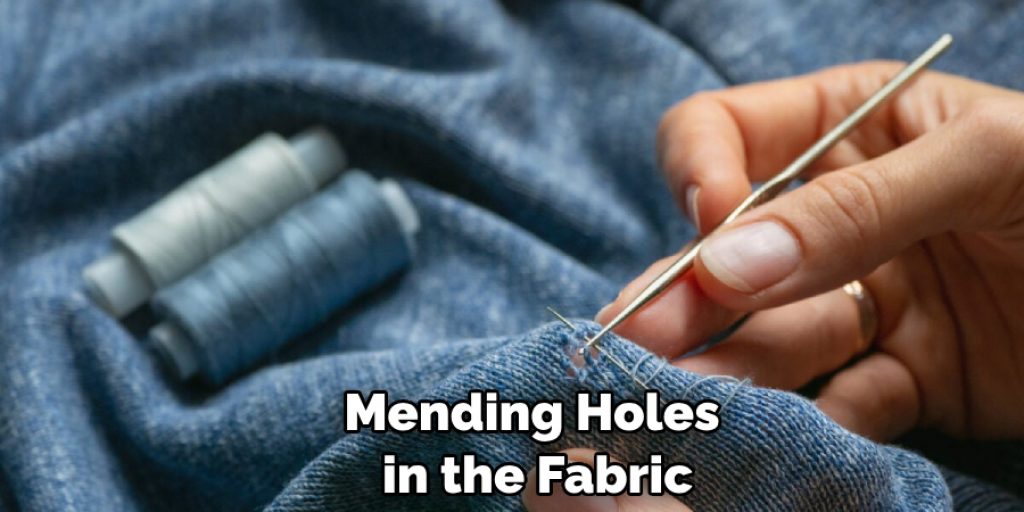
What Are Some Common Uses for a Running Stitch?
A running stitch is often used in clothing construction, such as hemming garments or sewing on buttons or patches. It is also useful for quilting and making decorative embroidery, as well as mending holes in the fabric. This stitch can even be used to make small repairs on leather goods such as bags and shoes.
What Are Some Tips When Using a Running Stitch?
When doing a running stitch, it is important to use even, consistent stitches. Try to keep the same stitch size for each stitch and make sure that your tension is even throughout the process. Additionally, it is important to knot off the thread at the end of each stitch in order to ensure it will remain secure. Finally, practice this type of stitching on scrap fabric before attempting it on a finished garment or project.
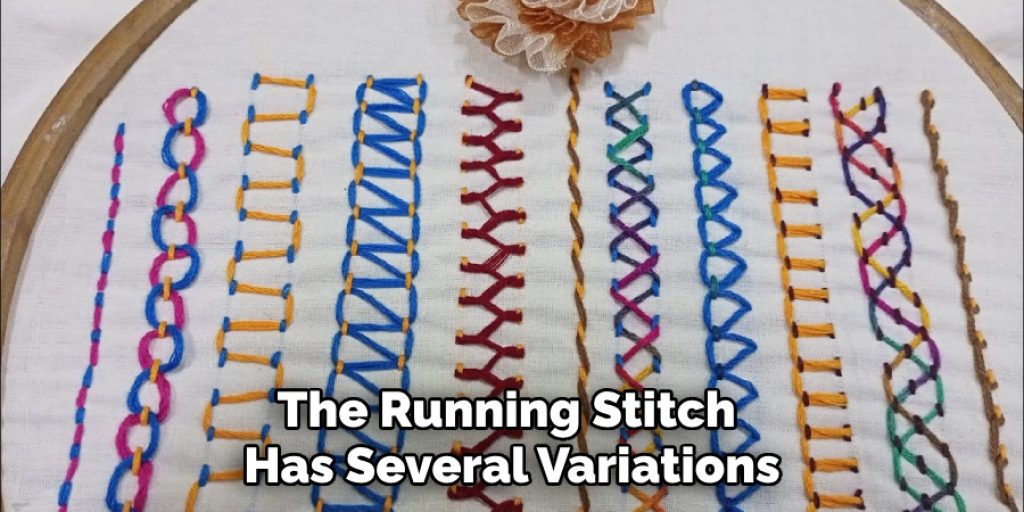
What Are Different Variations of the Running Stitch?
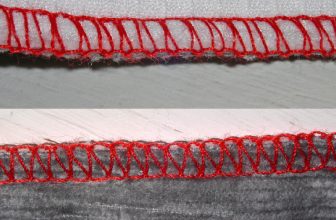
The running stitch has several variations, such as backstitching and double running stitch. Backstitching involves making a separate stitch in the reverse direction after each regular stitch and is used for added strength. The double running stitch is similar to the normal running stitch but twice as long with two stitches between each knot. This version is often used for decorative purposes.
Conclusion
Congratulations! You’ve made it to the end of our tutorial on how to do a running stitch! We have explored the essential equipment you need, from sewable materials to needle and thread, discussed the differences between backstitch and running stitch, and finally offered step-by-step instructions for bringing your ideas to fruition.
With practice, patience, and repetition, you can become an expert in the art of hand-stitching in no time! Who knows? You might even start your own business designing handmade clothing or crafting unique gifts. Whatever direction you choose to take your newfound skill, we hope that this tutorial has given you the knowledge and confidence you need to get there. Bonne couture!
Nancy Behan
Nancy is an embroidery artist, fashion blogger and a full time editor at DIY quickly. Nancy edits the fashion section on DIY quickly, focusing on the embroidery and cross stitch articles, alongside with fabric and other costume design elements. She graduated from the University of Michigan with a Bachelor of Arts in Art History. She loves to work on her own projects, read books and watch romantic movies in her spare time.