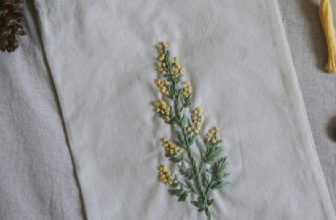
How to Do Embroidery on Clothes
Are you looking for a creative way to spruce up your wardrobe? Why not try your hand at embroidery? Want to take your wardrobe up a notch with some beautiful embroidery? This ancient art form combines stitching, fabric manipulation, and artistic design into one beautiful piece of textile. Embroidery can be an inexpensive, yet powerful way to accessorize and add personality to any clothing item.
Embroidering clothes allows you to show off your design chops while also creating something unique and personal. And best of all, it’s a fun craft that even the most inexperienced crafter can master! In this blog post, we’ll teach you how to do embroidery on clothes quickly and easily. Learn everything from what supplies are needed to helpful tips – by the end, you’ll be able to create Instagram-worthy designs in no time!
What to Keep in Mind While Doing Embroidery on Clothes?
1. The Right Kind of Fabric
Before getting started, you should keep a few things in mind. First and foremost, be sure to select the right kind of fabric for your project. Cotton is great for beginners since it’s easy to sew and manipulate. Also, make sure to plan out your design before you start stitching – having a clear vision of what you want will save you time and energy in the long run.
2. Choose Your Threads Wisely
Next, be sure to select threads that are appropriate for the fabric type you’re using. Not all threads will work on every material, so make sure to check the label before purchasing so as to avoid any missteps. Also, consider the color and type of thread – different materials will give off different effects, so be sure to choose wisely.
3. Get the Right Supplies
To ensure a successful embroidery project, you’ll need a few basic supplies. These include an embroidery hoop (or frame), scissors, needles, and thread – all of which can usually be found in any craft or fabric store. Additionally, you’ll also need an iron and some embroidery transfer paper to transfer your design onto the fabric.
Required Items for Embroidery
- Threads
- Needles
- Embroidery hoop (or frame)
- Iron
- Scissors
- Embroidery transfer paper
How to Do Embroidery on Clothes in 10 Steps
Step 1: Practice Makes Perfect
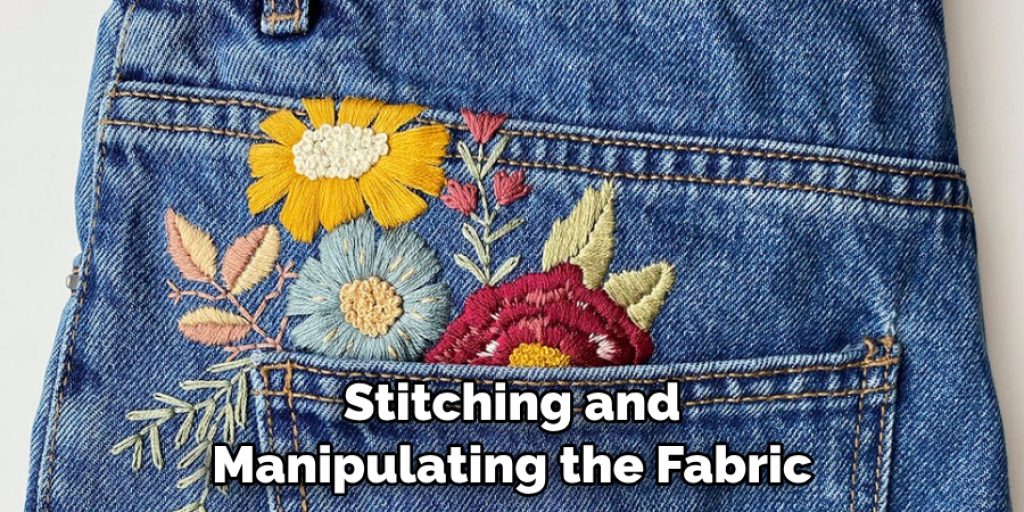
First off, take some time to practice your technique before jumping into a project. The more comfortable you are with stitching and manipulating the fabric, the better your project will turn out.
Step 2: Transfer the Design
Once you’ve mastered the basics, it’s time to transfer your design onto the fabric. To do this, use a special type of transfer paper that can be printed from a computer or photocopied from an existing design. Place the paper on top of the fabric and iron until the design is transferred.
Step 3: Prepare the Fabric
Next, you’ll need to prepare your fabric for stitching. Place the fabric in an embroidery hoop or frame to keep it taut while you work. You can also use a stabilizer (an additional piece of fabric that keeps the threads from slipping) if you’re working with a lightweight fabric.
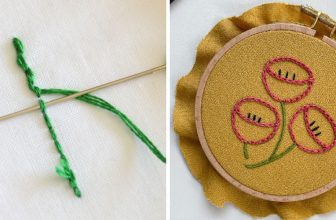
Step 4: Start the Outline
Once the fabric is prepared, it’s time to begin stitching! Start by outlining the design with a basic stitch – running stitches are great for this step. This will serve as your guide and make it easier to follow when adding more details later on.
Step 5: Add Detail
Once you’ve finished the outline, start adding in more detailed stitches, such as chain stitch or satin stitch to add texture and depth to your design. Experiment with different types of stitches until you find a combination that works for your project.
Step 6: Fill in Colors
If you’re using multiple colors, begin by filling in the larger areas with one color before adding in smaller details. This will make it easier to keep track of which thread is used for what area and avoid any mistakes or confusion.
Step 7: Add Finishing Touches
Once you’ve finished the main stitching, add any additional embellishments or details, such as beads or sequins. These will add texture and a hint of sparkle to your design, making it truly unique.

Step 8: Block the Fabric
After you’ve finished adding all the details, take some time to block the fabric. Blocking helps keep the fabric taut and also helps even out any bumps or creases from the stitching.
Step 9: Remove from Hoop
Once the fabric is blocked, remove it from the hoop and trim away any excess threads on the back of the fabric. Then, turn your project over to admire your beautiful design!
Step 10: Wear It Proudly
Last but not least, it’s time to show off your masterful creation. Wear your embroidered piece proudly, and don’t forget to post a picture on social media!
Following these steps will help you master the art of embroidery in no time! With a few basic tools and supplies, you’ll be able to turn plain clothes into unique works of art. So go ahead – give it a try and add some flair to your wardrobe today!
8 Common Mistakes to Avoid When Doing Embroidery on Clothes
- Not measuring your fabric first. Most people tend to just dive in and start embroidering, only to find that their work doesn’t fit the garment as expected. Before you get started, take a few minutes to measure your fabric and plan out your design accordingly.
- Skipping the stabilizer. Stabilizers are essential for keeping your fabric in place while you work and ensuring that the embroidery stitches hold up over time. Be sure to use a water-soluble stabilizer when working with fabrics like cotton, silk, or linen so that it will wash out easily when you’re finished.
- Not choosing the right thread type. You want to choose an embroidery thread that is strong and colorfast. Cotton threads are great for most projects, but polyester threads are also a good choice if you’re looking for durability.
- Using the wrong needle size. The size of your needle should be determined by the weight of your fabric and the type of thread you’re using. A heavier fabric will require a larger needle, while a lighter fabric may require a smaller one.
- Not marking your design first. If you’re working with intricate details or fine lines, be sure to use a water-soluble fabric pen or pencil to draw out the design before you begin stitching. This will make it easier to keep track of where you are in the process and ensure that everything looks as expected when you’re finished.
- Working too quickly. Embroidery can be a slow and tedious process, so it’s important to take your time and make sure that each stitch is perfect before moving on to the next one.
- Not using the right hoop size. Your embroidery hoop should be large enough to accommodate your entire design but not so large that it makes maneuvering the fabric difficult.
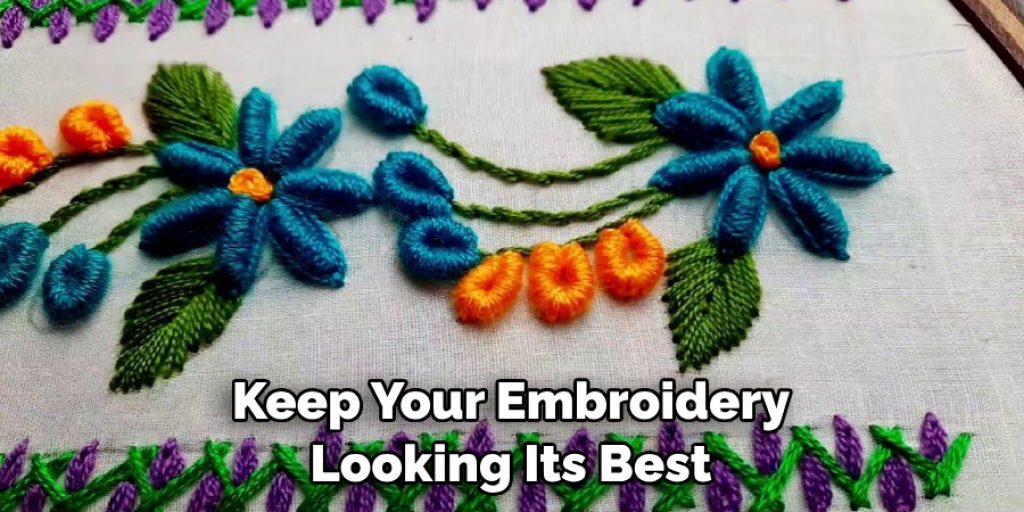
- Not cleaning your stitches when done. To keep your embroidery looking its best over time, it’s important to clean up any stray threads or excess stabilizers before you move on to the next project. This will ensure that the design looks as crisp and vibrant as possible for years to come.
Tips for Embroidering on Different Fabrics
When it comes to embroidery, not all fabrics are created equal. Here are a few tips to keep in mind when embroidering on different types of fabric:
- Cotton and linen require a medium-weight stabilizer as well as a sharp needle for best results.
- Synthetic fabrics like polyester and nylon should be embroidered with a heavy-weight stabilizer and large needle to prevent the fabric from puckering.
- Delicate fabrics such as silk or chiffon can be tricky to work with, so it’s best to use a lightweight water soluble stabilizer and small needle for these materials.
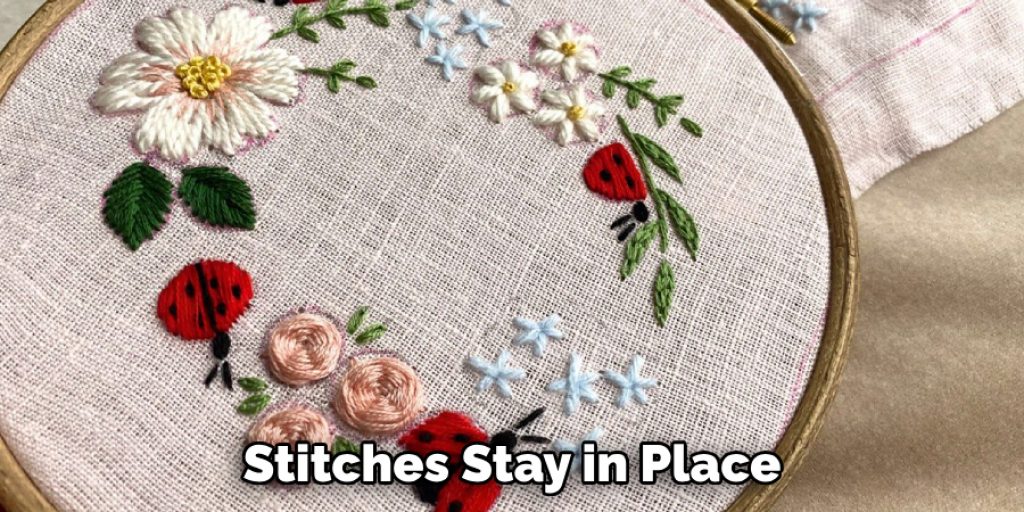
- Stretchy fabrics should also be embroidered with a heavy-weight stabilizer and a larger needle to ensure that the stitches stay in place.
By following these tips, you can ensure that your embroidery projects look their best no matter what type of fabric you’re working with!
Conclusion
To sum it up, embroidery on clothes can be a great way to spruce up an old piece of clothing or create something new. With the right tools and knowledge on how to do embroidery on clothes, this craft is relatively easy for anyone, from beginners to experienced artisans.
If you are eager to give this craft a try, take courage in knowing that as long as you properly set up your fabrics, threads, and needles and keep practicing with simple stitches like back stitch and chain stitch, then you’ll be surprised at just how nice your end project will look.
So gather those supplies and just go ahead – start regular sewing today! Who knows where this new interest might take you? Practicing hand embroidery can bring out endless creativity that you never knew was possible within yourself. Go ahead – get stitching!
Nancy Behan
Nancy is an embroidery artist, fashion blogger and a full time editor at DIY quickly. Nancy edits the fashion section on DIY quickly, focusing on the embroidery and cross stitch articles, alongside with fabric and other costume design elements. She graduated from the University of Michigan with a Bachelor of Arts in Art History. She loves to work on her own projects, read books and watch romantic movies in her spare time.