
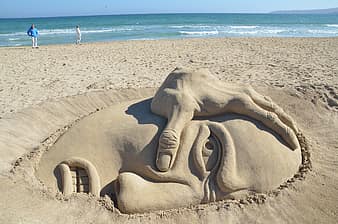
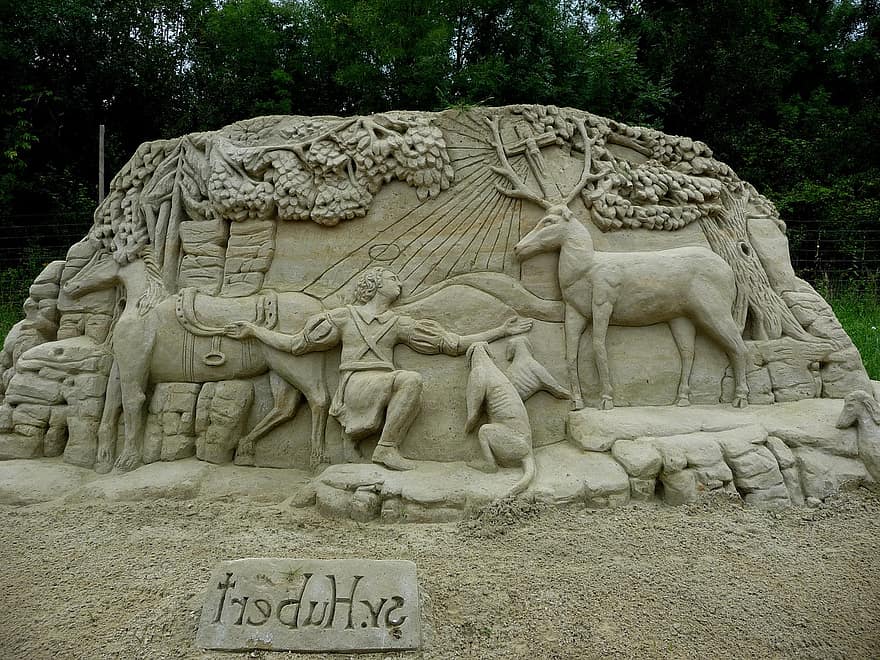
How to Do Sand Art Craft Things at Home
Colored sands are really versatile can be used for different types of art crafts. It can be used for playing too. The good thing is that colored sands are easily available in every hobby shop. And if it is not, you can also make them in a convenient way. Okay, leave these for now, we all know this, but the question is, how to do sand art craft things at home?
There are different ways to turn your house from boring to something interesting. And you would definitely like to choose one. Colored sand will enable you with a different convenient way to spruce up your home and boost your interior design. That’s with small investment only. Interesting, right? I have got some wonderful ideas with some simple steps, and I am going to show you right here in this article. So, without any delay, let’s have a look at them.
How to Do Sand Art Craft Things at Home
Below you will get some wonderful ideas to make beautiful sand craft things.
Colored Sand Bowl
You can make your own colored sand bowl. For that, you will need glue, plastic-covered bowl, and sand obviously. You will need these supplies before diving into the deep. First, you will have to mix a little bit of the sand with some glue. Make sure that the glue does not cover all the sand. After that, start pouring this mixture into the bowl and let it dry for some time.
Supplies
- Bowl
- Colored Sand
- Tie-dye
- Ziploc bags
- Plastic wrap
Step 1 – First of all, you have to take out the sands from the plastic bags and mix them. In this case, you can use some additional colors to make them more attractive. In order to make the liquid plaster more dense, you have to add some water and mix it properly. In case of mixing by hand, then you can use a small mixer or blender. You can also prepare small molds for pouring the plaster into them.
Step 2 – Wrap the bowl with plastic; it will allow the sands to stick on the bowl without letting the glue get directly contacted with the bowl. Pour glue into the bowl and add a bit of water to it.
Step 3 – Now mix the glue and sand, and then put your bowl into the mixture. Cover the entire surface properly and then let it dry for 24 hours, at least. Trim the additional plastic parts, and thus your beautiful bowl is ready. You can use the same method to make different shapes, such as leaves and flowers, too.
Vintage Sand Wall Art
Supplies
- Small boards, canvas or something like that
- Fast grab tacky glue
- Sand
- Pen
Step 1 – Draw a beautiful vintage picture in an embroidery pattern. I had drawn a mushroom and some bugs surrounding it. It is easier than others; you can also try this one out. However, you can draw anything that you prefer., Here is a beautiful vintage picture of a mushroom and some bugs surrounding it in an embroidery pattern.
Step 2 – Now, apply the glue and sprinkle the sands according to the colors of your picture. It may take a while, but do not hurry. It may hamper the picture. Once you complete it by using different colored sands, it will look more beautiful, and you can put them anywhere to catch the attraction of your guests. That’s it! You have done it. You can also use this project to make a design on the wall in your room or in any other place.
Conclusion
There are several other ways to make sand art crafts, but I have covered the easiest one. Hopefully, you have understood them.
Elizabeth Davis
Elizabeth is a creative writer and digital editor based in the United States. She has a passion for the arts and crafts, which she developed from a young age. Elizabeth has always loved experimenting with new mediums and sharing her work with others. When she started blogging, she knew that DIYquickly would be the perfect platform to share her tutorials and tips. She's been writing for the blog from the beginning, and her readers love her helpful advice and easy-to-follow instructions. When she's not writing or editing, Elizabeth enjoys spending time with her family and friends.


