How to Do Satin Stitch Embroidery
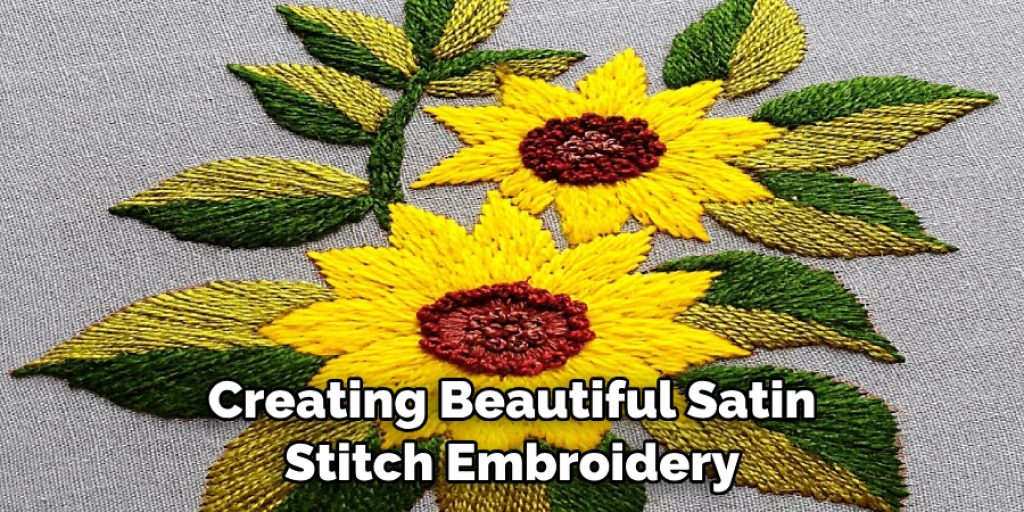
Embroidery has been around for centuries. It is a popular craft that has gained more popularity recently, and with online tutorials and social media, it’s easier now than ever before to learn new techniques. One of these techniques is satin stitch embroidery, which is the go-to stitch for filling in any design.
It’s a beautiful stitch that gives an incredible finish to any embroidery project. In this blog, we will go through the basic steps required how to do satin stitch embroidery.
Can You Satin Stitch Embroidery?
Embroidery is a beautiful art form that has been around for centuries. While there are many techniques to master in embroidery, satin stitching is a classic and versatile stitch that is often used to fill in large areas of an embroidery design. Satin stitching produces a smooth and glossy finish that gives an elegant look to any piece.
However, mastering this stitch takes patience, practice, and skill. It requires precision and attention to detail to achieve even coverage and tension. So, can you satin stitch embroidery? With dedication and practice, anyone can learn this skill and create stunning designs that celebrate the beauty of embroidery.
Why Should You Satin Stitch Embroidery?
Embroidery has been a beloved pastime for centuries, and the satin stitch is one of the most popular stitches for good reason. This particular stitch is characterized by its smooth, shiny finish and is often used to fill in designs or create floral motifs. But satin stitching isn’t just beautiful, it also serves a practical purpose.
By completely covering the fabric with stitches, this technique creates a sturdy and durable design that will last for years. So if you’re looking to add a touch of elegance to your next embroidery project or want to ensure that your design will withstand the test of time, consider satin stitching.
How to Do Satin Stitch Embroidery: Mastering the Art of Satin Stitch Embroidery
1. Preparing Your Fabric
The first step to creating beautiful satin stitch embroidery is to prepare the fabric. You need to ensure that the fabric is clean and free from any dirt or dust. You may also need to iron it to remove any wrinkles. Stabilizers can also prevent the fabric from shriveling, curling, or puckering. Choose the appropriate stabilizer depending on the kind of fabric you are working with. To avoid distorting the design, be sure to mark the outline of your design accurately.
2. Selecting The Right Threads
It is essential to choose the right thread to achieve the desired effects. It is advisable to use six strands of embroidery floss, as the thickness of the floss will help you to create the perfect satin stitch. The thread you use should be high-quality, durable, and colorfast. You can use threads of different colors to add depth to your embroidery projects.
3. Starting Your Satin Stitch
Start by bringing the needle up to one side of the design and take it down at the other side of the design. Then bring the needle back up through the fabric, close to the starting point. The needle should come up halfway between the first and the next stitch. Repeat the same process to make a straight line.
When you have the desired number of straight stitches to fill the design, take your next stitch over the previous stitch’s centerline. This will help the stitches lay flat and enhance the embroidery’s overall look.
4. Filling the Design with Satin Stitch
Continue to do the satin stitch over your chosen design. When you finish one section, move to the next until the design is filled. You can change the direction of the stitches at each section to create different effects and textures. If you need to switch the thread or take a break, avoid stitching past the outlined design to keep things neat and even.
5. Finishing the Satin Stitch
Once you complete the satin stitch, use sharp scissors to trim off any excess threads from the back of the fabric. This will help keep your embroidery neat and professional-looking. For added protection against fraying in high-wear areas, you can apply an invisible hem tape or a few drops of fabric glue.
6. Finishing the Embroidery Project
Finish off your embroidered design with a border stitch, or use the satin stitch to outline your design for added definition. You may embellish it further by adding beads and other decorative stitches to add flair. For a professional finished look, avoid stretching or tugging the fabric while working.
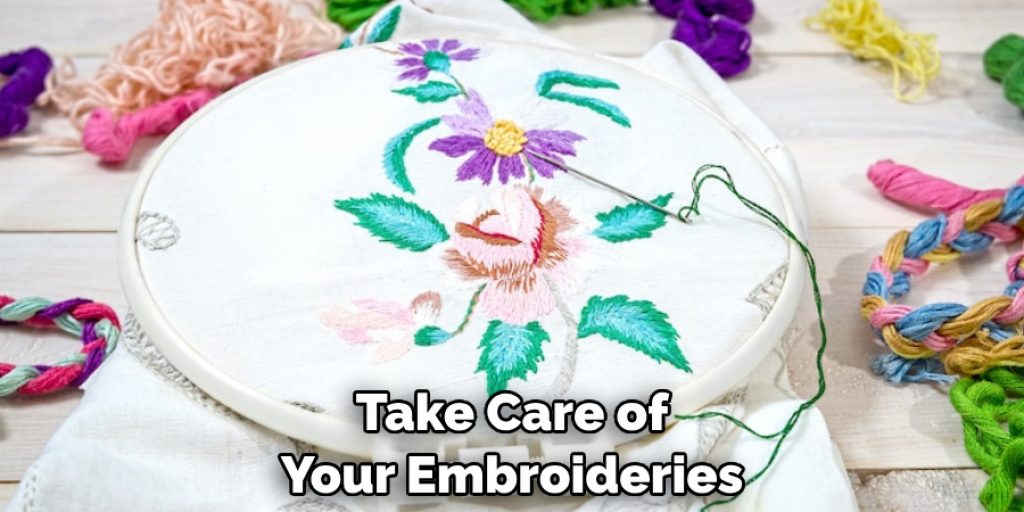
7. Caring for Your Embroidery
Take care of your embroideries by storing them away from direct sunlight or in a climate-controlled environment to prevent fading and discoloration. You can also use an acid-free archival box to properly store your artwork for long-term protection. And finally, give it a gentle hand-wash with a mild detergent and let it air dry for best results.
Using these essential steps, you can now create beautiful satin stitch embroidery pieces that will last for years to come! Have fun exploring the world of embroidery and unleash your creativity!
5 Considerations Things When You Need to Satin Stitch Embroidery
1. Thread
When satin stitching, it is important to choose the right thread for your project. The best thread for satin stitching is a silk thread that has a sheen. This will give your embroidery a more professional look and feel. Additionally, it is important to choose a thread that matches the fabric so that it blends in with the overall design.
2. Needles
It is also important to choose the right needles when satin stitching. Satin stitches are usually done with size 7 or 8 embroidery needles, which have slightly larger eyes than regular sewing needles. This makes them easier to thread and helps prevent the thread from breaking or fraying while you stitch.
3. Stabilizer
Stabilizers are essential when doing any type of embroidery, but they are especially important when satin stitching, as they help keep the fabric from puckering or stretching while you stitch. Many different types of stabilizers are available, including tear-away and cut-away stabilizers, so be sure to choose one suitable for your project.
4. Hoop
A hoop is an essential tool when satin stitching as it helps keep your fabric taut and prevents it from shifting while you stitch. It is also helpful for keeping your stitches neat even as you work on your project. When choosing a hoop, make sure it fits snugly around your fabric without being too tight or too loose so that you can easily move it around as needed while stitching.
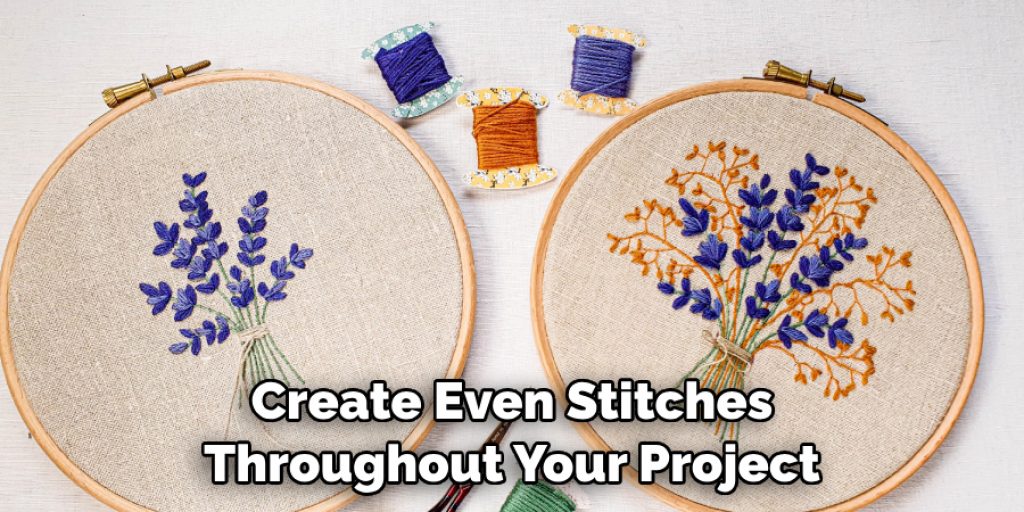
5. Pattern
Finally, when satin stitching, it is important to use a pattern or template to ensure accuracy and consistency in your stitches. Using a pattern will help you create even stitches throughout your project and ensure all of the design details are correct before starting to stitch on the fabric itself. Additionally, patterns can help you save time by allowing you to stitch multiple pieces of fabric all at once without having to redraw the design each time.
Following these five considerations when satin stitching ensures that your project looks professional and polished. With a bit of practice and patience, you can easily create beautiful embroidered designs!
Benefits of Satin Stitch Embroidery
Satin stitch embroidery is a beautiful craft that can elevate any garment or fabric with its stunning texture and vibrant colors. There are numerous benefits to using satin stitch, including its versatility and durability. Not only can it be used to create intricate designs and lettering, but it also holds up remarkably well over time, making it perfect for items with a lot of wear and tear.
Additionally, satin stitch embroidery offers endless customization options, allowing you to express your unique style and creativity. Whether you’re looking to spruce up an old jacket or add a personal touch to a gift, satin stitch embroidery is a timeless technique that will delight both the creator and the beholder.
Some Common Mistakes People Make When Trying to Satin Stitch Embroidery
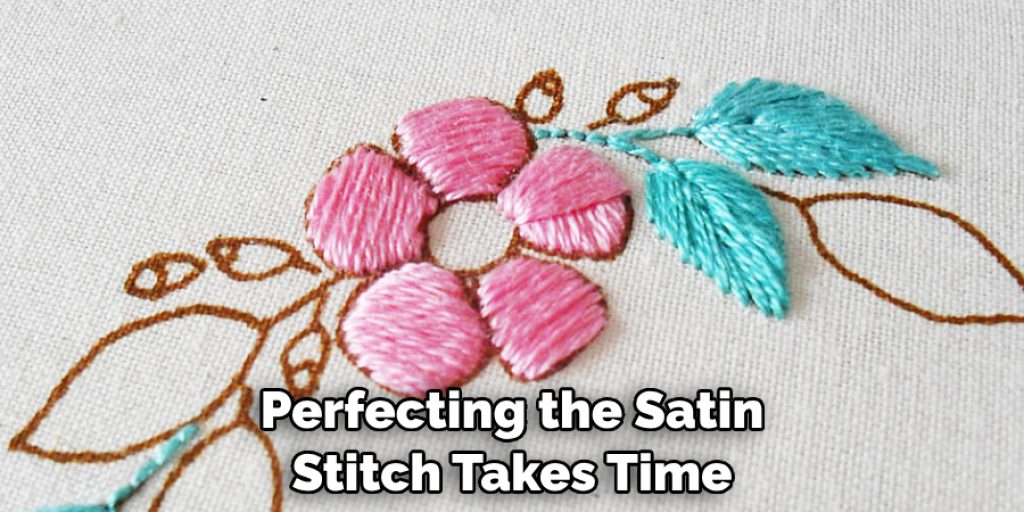
Regarding embroidery, the satin stitch is popular for making designs pop. But it’s not always as easy as it looks. One common mistake people make is starting with the wrong fabric. It’s crucial to choose a stable and sturdy fabric to prevent the satin stitch from puckering or pulling. Another issue can arise from the thread tension.
The stitches will look uneven and messy if it’s too loose or tight. Lastly, a lack of patience can lead to imperfect results. Perfecting the satin stitch takes time and practice, so don’t rush the process. Avoid these mistakes, and you will soon have a beautiful satin-stitched embroidery masterpiece!
Conclusion
Satin stitch embroidery is an elegant and versatile style that can help bring your design to life. With the basic knowledge we’ve provided in this blog and plenty of practice, you can create beautiful satin stitch embroidery designs that impress your friends and family. Follow the above steps and tips, and you will be ready to create stunning satin stitch embroidery designs. Thanks for reading our post about how to do satin stitch embroidery.
Nancy Behan
Nancy is an embroidery artist, fashion blogger and a full time editor at DIY quickly. Nancy edits the fashion section on DIY quickly, focusing on the embroidery and cross stitch articles, alongside with fabric and other costume design elements. She graduated from the University of Michigan with a Bachelor of Arts in Art History. She loves to work on her own projects, read books and watch romantic movies in her spare time.