How to Do the Buttonhole Stitch
The buttonhole stitch is a versatile and practical technique commonly used in sewing and embroidery. This stitch not only serves to finish the edges of buttonholes but also adds a decorative touch to various fabric projects. Understanding how to execute the buttonhole stitch can enhance your sewing skills, giving your garments and crafts a polished and professional appearance. In this guide, we will explore the step-by-step process of how to do the buttonhole stitch, along with tips and tricks to ensure your stitches are neat and secure.
Importance and Applications of the Buttonhole Stitch
The buttonhole stitch is crucial not only for finishing edges but also for reinforcing areas that experience significant wear, such as buttonholes on garments. Its ability to prevent fraying makes it an essential technique in tailoring, where precision and durability are paramount. Beyond functional uses, this stitch is widely applicable in various fabric crafts, including quilting, appliqué, and embroidery, allowing crafters to create intricate designs with a professional finish. Additionally, the buttonhole stitch can be adapted for decorative purposes, enabling sewists to explore their creativity by incorporating different thread colours and textures to enhance their projects.
Understanding the Buttonhole Stitch
The buttonhole stitch, often referred to as the eyelet stitch, creates a sturdy and finished opening in fabric that can accommodate buttons. This stitch forms a loop-like structure that is easy to thread through, ensuring the button remains securely in place. To begin, the stitch starts at the edge of the fabric, looping the thread around itself, which not only adds strength but also provides a decorative element to the design.
A key aspect of the buttonhole stitch is its versatility; it can be executed in varying widths and lengths to accommodate different fabric types and button sizes. By mastering this technique, sewists can elevate their projects, transforming simple garments into beautifully finished pieces. Understanding the nuances of the buttonhole stitch allows crafters to explore diverse applications, enhancing both the functionality and aesthetic appeal of their work.
10 Methods How to Do the Buttonhole Stitch
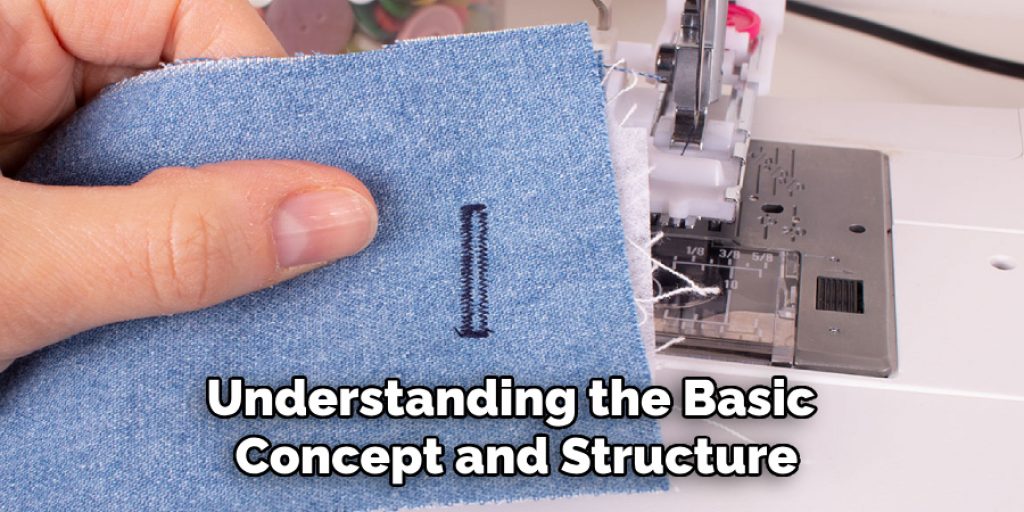
1. Understanding the Buttonhole Stitch
The buttonhole stitch is a technique that creates a neat and reinforced edge around a buttonhole or other openings in fabric. This stitch provides a sturdy finish that prevents fraying and ensures the longevity of the garment or textile. It involves forming a series of looped stitches that encase the edge of the fabric, often finished with a small knot or decorative detail. Understanding the basic concept and structure of the buttonhole stitch is essential for executing it effectively and achieving a clean, professional-looking result.
2. Selecting the Right Fabric and Thread
Choosing the appropriate fabric and thread is crucial for successful buttonhole stitching. This technique is typically used on fabrics that can handle stitching without fraying, such as cotton, wool, or denim. For the thread, opt for a strong and durable type, such as polyester or embroidery floss, that matches or contrasts with the fabric. Ensure that the thread is thick enough to provide reinforcement but not so bulky that it creates an uneven finish. Proper fabric and thread selection ensures that the buttonhole stitch is effective and visually appealing.
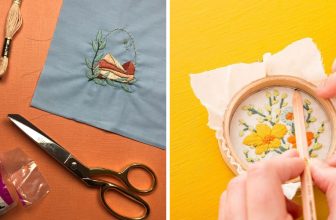
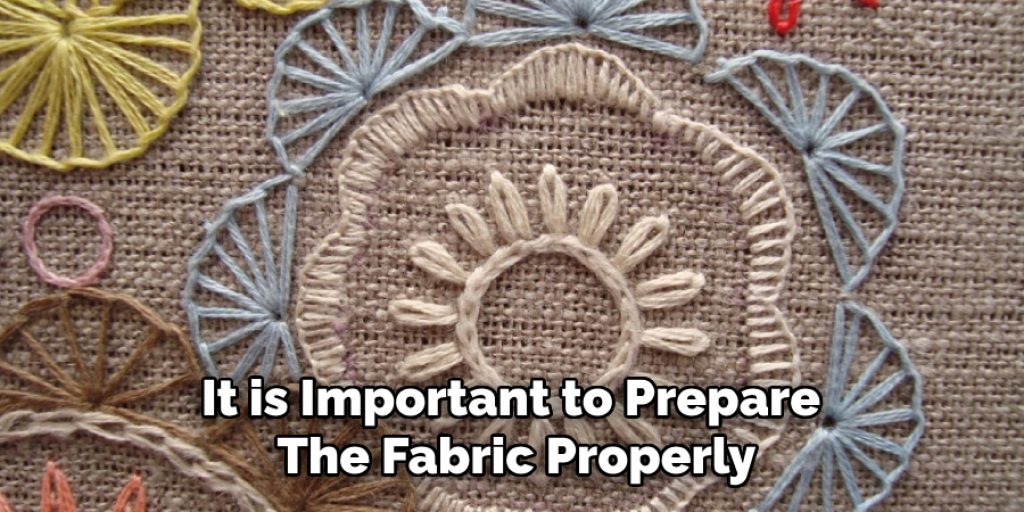
3. Preparing the Fabric
Before beginning the buttonhole stitch, it is important to prepare the fabric properly. Mark the location and size of the buttonhole on the fabric using tailor’s chalk or a fabric marker. Ensure that the fabric is clean and pressed to remove any wrinkles that could affect the stitching process. If working with a fabric that tends to fray, consider applying a stabilizer or interfacing to the area around the buttonhole to provide extra support. Proper fabric preparation helps to ensure accurate stitching and a clean finish.
4. Drawing the Buttonhole Outline
To create a precise buttonhole, draw the outline on the fabric before stitching. Use a ruler or measuring tape to mark the length and width of the buttonhole according to the size of the button you intend to use. Draw the outline with tailor’s chalk or a fabric marker, ensuring that the lines are straight and accurately placed. This outline will serve as a guide for your buttonhole stitch, helping to maintain uniformity and precision throughout the stitching process.
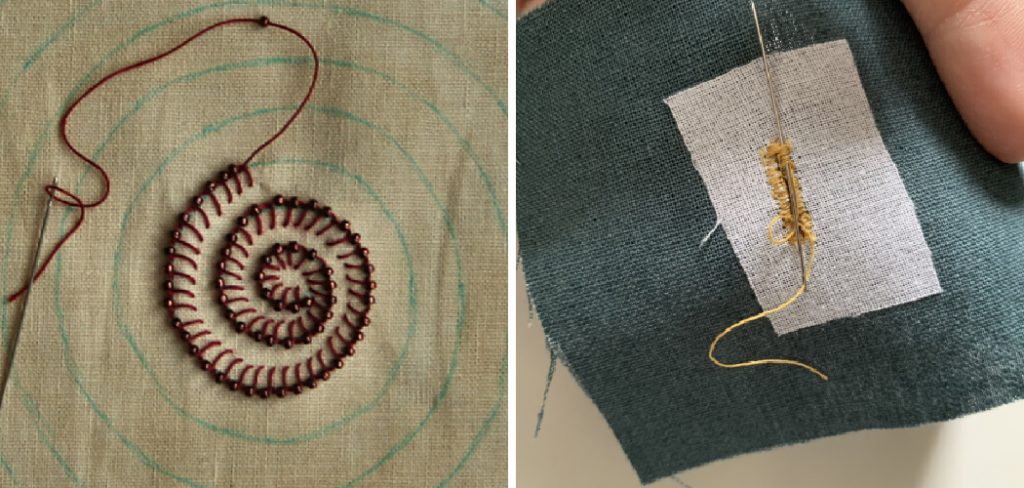
5. Starting the Buttonhole Stitch
Begin the buttonhole stitch by securing your thread at one end of the buttonhole outline. Insert the needle from the back of the fabric to the front at the starting point, bringing the thread up through the fabric. Loop the thread around the edge of the buttonhole outline, making sure to keep the loops evenly spaced and consistent in size. Pull the thread tight to create a secure and neat stitch. Starting the buttonhole stitch with precision ensures a strong foundation for the rest of the stitching.
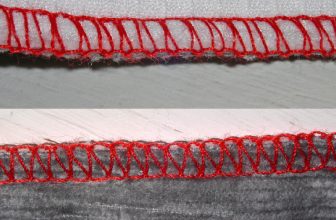
6. Stitching Along the Buttonhole Edge
As you work along the buttonhole outline, continue creating buttonhole stitches by looping the thread around the edge of the fabric. Maintain consistent spacing between each stitch to ensure a uniform appearance. Keep the loops close together to create a sturdy and reinforced edge that will hold up well during use. Use small, even stitches to ensure that the buttonhole is both functional and decorative. Careful stitching along the edge contributes to a polished and professional finish.
7. Handling Corners and Curves
When working on corners or curves of the buttonhole, take special care to maintain smooth and even stitching. At corners, make small, precise stitches to avoid creating sharp angles or uneven edges. For curves, adjust the tension of the thread as needed and gently ease the fabric to follow the curve smoothly. If necessary, make small adjustments to the stitching to ensure that the buttonhole maintains a consistent shape and that the finished edge looks clean and well-defined.
8. Finishing the Buttonhole Stitch
To finish the buttonhole stitch, secure the thread at the end of the buttonhole outline. Make a small knot on the backside of the fabric to anchor the thread and prevent it from unraveling. Trim any excess thread with sharp fabric scissors, being careful not to cut the stitches. If desired, you can add a small decorative knot or stitch at the ends of the buttonhole to enhance its appearance. Proper finishing ensures that the buttonhole stitch is secure and that the buttonhole is ready for use.
9. Reinforcing and Testing the Buttonhole
After completing the buttonhole stitch, it is important to reinforce and test the buttonhole to ensure its functionality. Gently trim any excess fabric from the inside of the buttonhole, being careful not to cut into the stitching. Test the buttonhole by inserting the button to ensure that it fits properly and that the stitching holds up well. If necessary, make any adjustments to the size or stitching to achieve a perfect fit. Reinforcing and testing the buttonhole ensures that it functions correctly and that the stitching is durable.
10. Applying Buttonhole Stitch to Various Projects
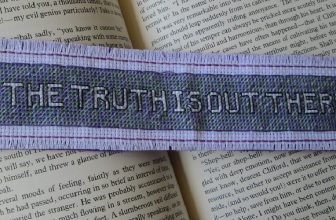
The buttonhole stitch is versatile and can be applied to a variety of projects beyond traditional buttonholes. Use this technique to create decorative edges on garments, accessories, or home decor items. You can experiment with different thread colors, stitch lengths, and patterns to achieve unique and personalized designs. Incorporating buttonhole stitching into various projects adds a touch of craftsmanship and enhances the overall quality of your creations. Embrace the versatility of the buttonhole stitch to elevate your sewing and embroidery projects.
Things to Consider When Choosing Buttonhole Techniques
When selecting a buttonhole technique, there are several factors to consider to ensure the best outcome for your project. Firstly, assess the type of fabric you are using; some methods may work better on thicker materials, while others are suitable for lighter fabrics. Additionally, think about the intended use of the buttonhole; for functional buttonholes on garments, a more durable technique may be necessary, while decorative buttonholes can afford to be more intricate and detailed. Consider the button size, as well—larger buttons may require wider buttonholes, influencing the stitching method you choose.
Common Mistakes to Avoid
When creating buttonholes, it’s essential to be aware of common pitfalls that can compromise the quality of your work. One frequent mistake is miscalculating the size of the buttonhole, leading to a fit that is either too tight or too loose for the intended button. Always double-check the size of your button and refer to your outline before starting the stitch. Another common error is inconsistent spacing between stitches, which can create an unprofessional appearance. Aim for even and uniform stitches by practicing your technique. Additionally, neglecting to reinforce the buttonhole can result in wear and tear over time; always secure your stitches properly to ensure durability.

Conclusion
The buttonhole stitch is a valuable technique in embroidery and sewing that provides both functional and decorative benefits. By understanding the basics of the stitch and following detailed methods for preparation, stitching, and finishing, you can achieve professional results that enhance the quality and appearance of your projects. From selecting the right materials and preparing the fabric to handling corners and testing the buttonhole, each step plays a crucial role in creating a clean, durable, and aesthetically pleasing buttonhole. Mastering the buttonhole stitch allows you to add a touch of craftsmanship to your garments and textiles, making your projects stand out with precision and style.
Elizabeth Davis
Elizabeth is a creative writer and digital editor based in the United States. She has a passion for the arts and crafts, which she developed from a young age. Elizabeth has always loved experimenting with new mediums and sharing her work with others. When she started blogging, she knew that DIYquickly would be the perfect platform to share her tutorials and tips. She's been writing for the blog from the beginning, and her readers love her helpful advice and easy-to-follow instructions. When she's not writing or editing, Elizabeth enjoys spending time with her family and friends.