How to Finish Edges of Aida Cloth
Prevent fraying by using a permanent or temporarily side polish on your sewing material as you thread. Normally the method doesn’t take quite a long time, so it helps to stitch smoother because you won’t have mischievous thread patterns while you function. These involve a sewing machine (or a pal who has had one), while others simply require a few more simple tools to manually build a point. For the embroidery design you’ve worked on, use the approach which looks nice.
Try to break off the selvage from the cloth before layer-finishing the sewing thread. This self-hemmed side of the garment is denser and may trigger the embroidery hoop to fail to blend excellently, and the selvage has very little giving. If you’re a power tool, overcasting is a simple and effective method to protect a fabric’s ends. In fact, this sort of side completion might well be seen on processed sewing garments which arrive pre-cut and completed.
Overcasting:
To ensure optimal performance, select the standard zigzag stitch on your machine and make it slightly wider than the regular setting. Narrow zigzag settings will not secure the warp yarn strings properly and fraying may still occur.
Just use an overlock stitching on your serger to overcast the sides of the cloth, too. Whatever tool you select, make sure the stitching is protecting the fabric’s zigzag stitch. To avoid fraying, the sewing helps to enclose the threads around each portion of the cloth.
Pinked sides:
Using pinking shears to build a zig zag pattern-cut edge across the cloth of the embroidery which prevents fraying. Match the cloth pattern before cutting or pre-marking sharp angles on both surfaces. Any fraying will also happen but this style of scissors recognized as pinking shears will reduce it.
Fringed Borders:
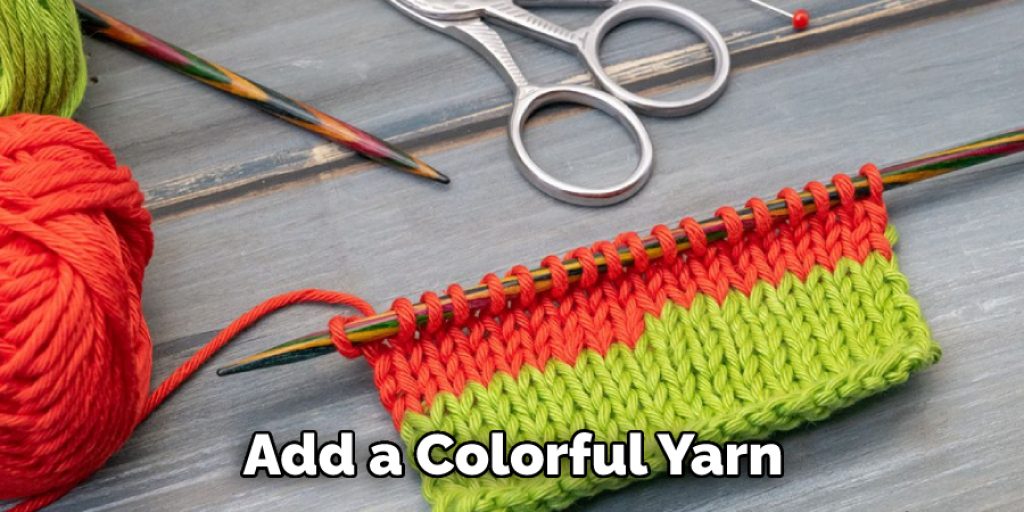
Add a colorful yarn and hemstitching method to create fringed margins. This can be used on anything, even woven cloth. By avoiding fraying, you can create a beautiful finish on your embroidery. You might also use a particular strategy to cover the side of the cloth while working and only incorporate it at the edge.
Hemming:
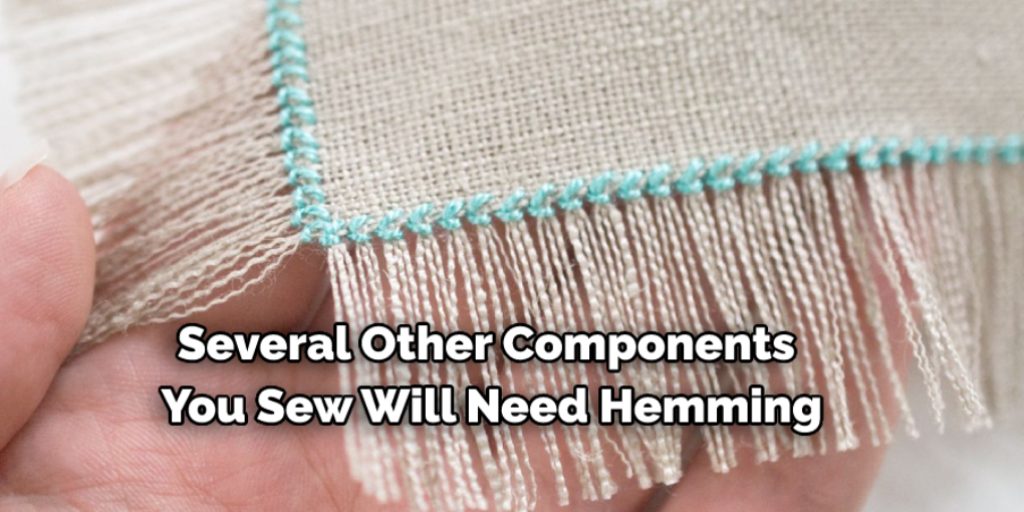
Several other components you sew will need hemming, like tea towels, photo frames, placemats, etc. Before having to work on the stitching, it is easiest to hem the garment for that to seal the corners and to consider giving a wrap-up that manages well laundering.
Pick your beloved technique of hemming either by hand and use the hemstitch or popped hem or by machine have double-folded straps, edge-serging etc. Seek iron-on or press-on tapes which are built to hem without stitching for a simple end. This approach can also save you hours whenever the job is over by not getting to work the way it is.
Bias links:
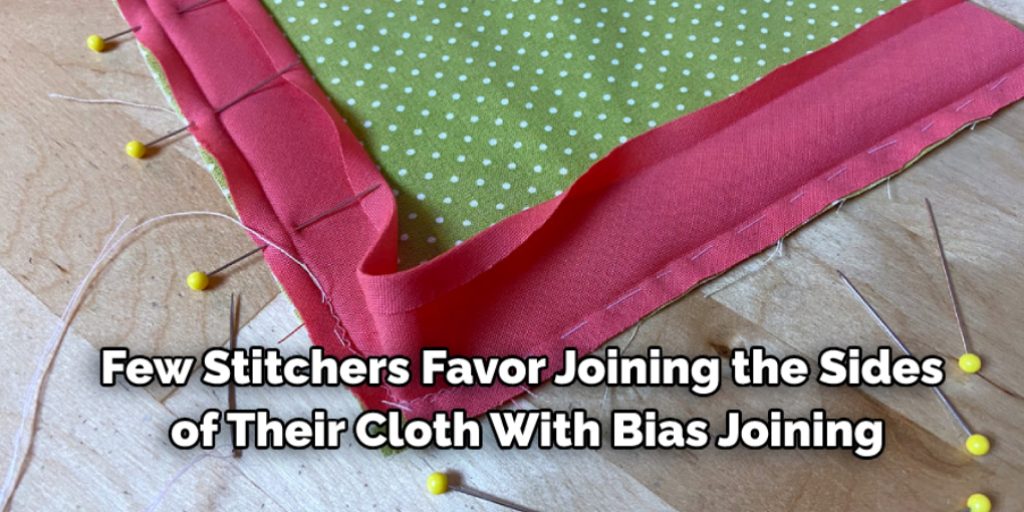
Joining the sides of cloth with bias joining is not a favorite among stitchers, as it requires encompassing the bare sides of the cloth entirely. This is especially true for larger-scale projects that require a great deal of management.
You could even pre-purchase single- or double-fold bias binding tape in three-yard bundles, or you could just create your own. Once the embroidery has been finished, this linkage could be easily separated using a seam puller. Or hold it in position for a closed, final inspection, comparable to a quilt.
Different Types of Edge Finishes in Sewing:
1. Frayed Edges:
Preferred method of finishing edges on Aida cloth. This is done by first washing the fabric than ironing it to remove all of the water. The next step is to fray the edge of the material on either side with a pair of scissors or with tweezers (a needle will leave little holes along its path).
2. Overcast with Fabric or Thread:
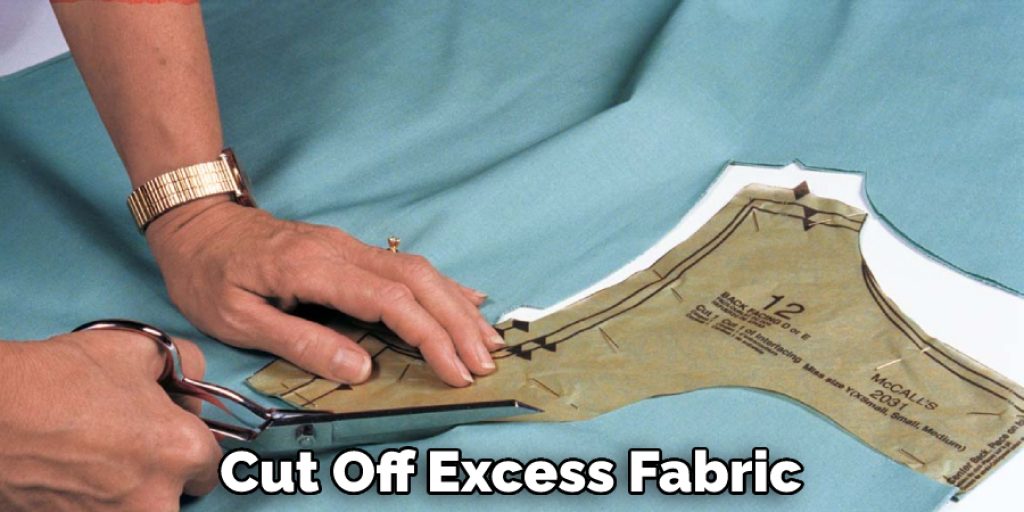
After sewing, cut off excess fabric from around stitches with scissors and trim the frayed threads from around the edges of the Aida cloth topper to make it nice and neat. Use matching thread in the color of your choice is and sew over the outside of the stitches in any pattern you like. You can use a running stitch to make your edging more secure.
3. Drawn Thread Work:
To create a French seam, start by stitching two pieces of fabric together along the seam line with the wrong sides facing each other. Then, cut a small slit in the seam allowance of one side of the fabric, and turn the fabric inside out so the seam is now on the inside. Finally, stitch the seam allowance together, enclosing the raw edges of the fabric.
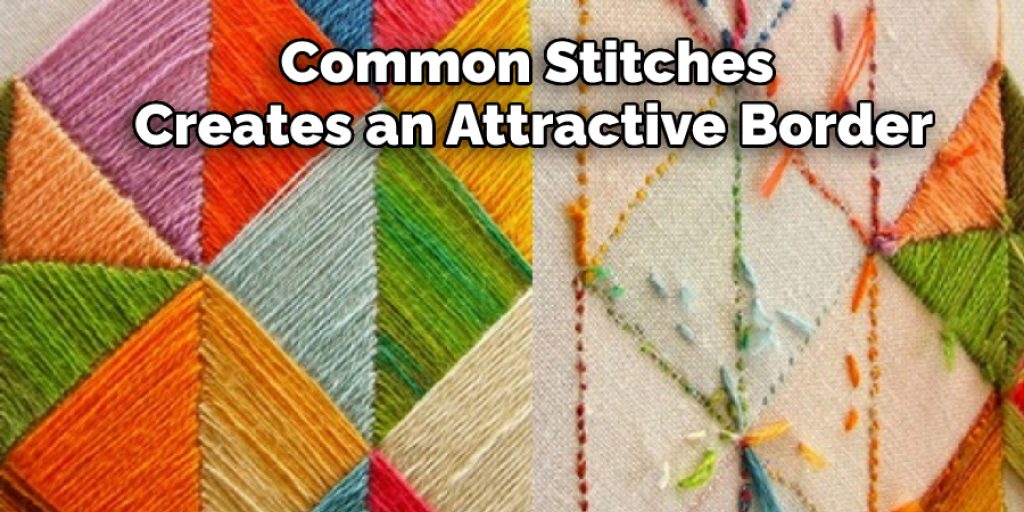
4. Satin Stitch:
Satin stitch is one of the most common embroidery stitches, and it creates an attractive border that can be used on its own or as part of a larger design. To create a satin stitch, work closely spaced parallel diagonal stitches on the fabric so that these stitches are short enough to show some of the background fabric but long enough not to disappear.
5. Buttonhole Stitch:
To create a buttonhole stitch, place a piece of thread across the width of the fabric and form horizontal stitches over this thread at regular intervals. It’s essential to keep these stitches very small so that the buttonhole stitch doesn’t overwhelm the fabric below it.
Some Helpful Tips and Suggestions:
1. Make sure you don’t start with a too-long piece.
2. Sub-cut the fabric into pieces no wider than 20 inches (50cm) wide before sewing or blocking.
3. If a piece is too long, trim it to the correct width and sew in pieces no wider than 20 inches (50cm) wide.
4. Use a piecing pattern to keep the design continuous if you need to assemble pieces. Piecing will require that you remove the selvage edges and sew them together.
5. Plan and leave extra fabric at the beginning and the end of each length.
6. Allow a little extra yardage for trimming and piecing together to avoid an odd number of inches in your final length.
7. To square off selvages, use pinking shears or cut them diagonally with scissors.
8. Use the selvage as part of the finished piece; do not cut off the selvages until you are ready to wash your finished piece.
Five Simple Ways to Stop Cross Stitch Fraying:
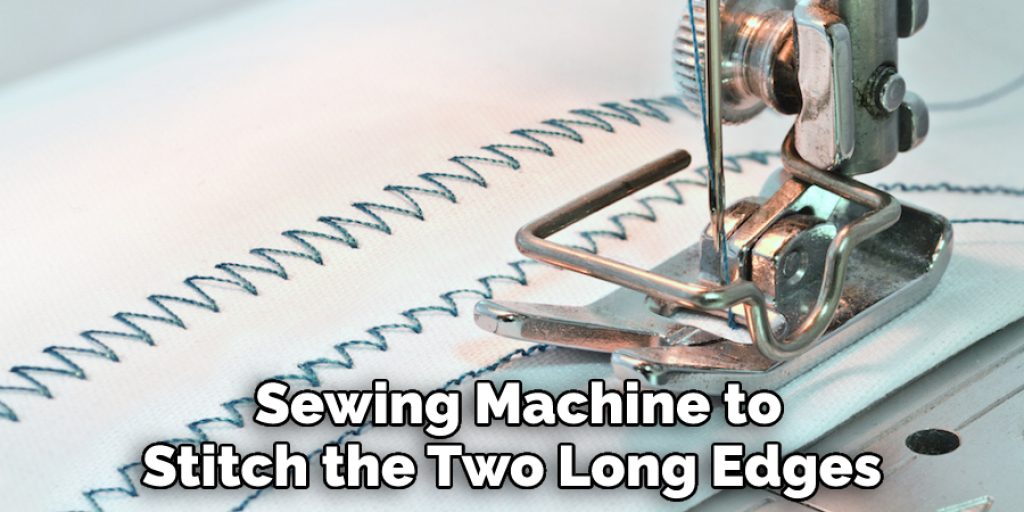
1. Machine Sew The Edges:
This is the quickest and easiest way to finish cross stitch edges: use a sewing machine to stitch the two long edges, then go over that stitching with a fairly large cross stitch to hold it all together. It can be a little stiff to work with, and the stitches may show around the edges, but it is very secure and makes for a neat-looking finish.
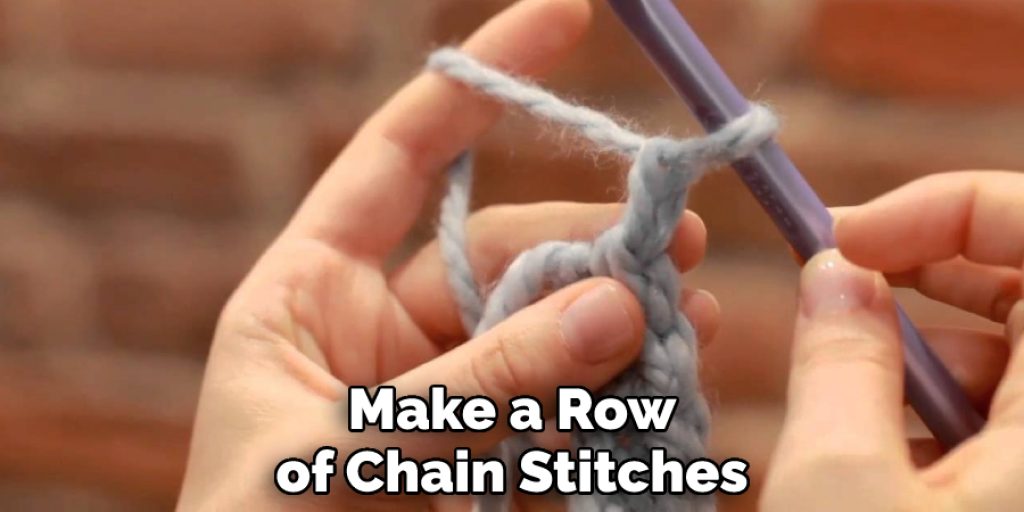
2. Make A Decorative Scalloped Edging:
Using either crochet thread or fine yarn that matches your cross stitch fabric, make a row of chain stitches along each edge that needs finishing. You can either crochet them directly onto the fabric or attach them by sewing a running stitch in place and then pulling it up and over the edge of the cross-stitched area.
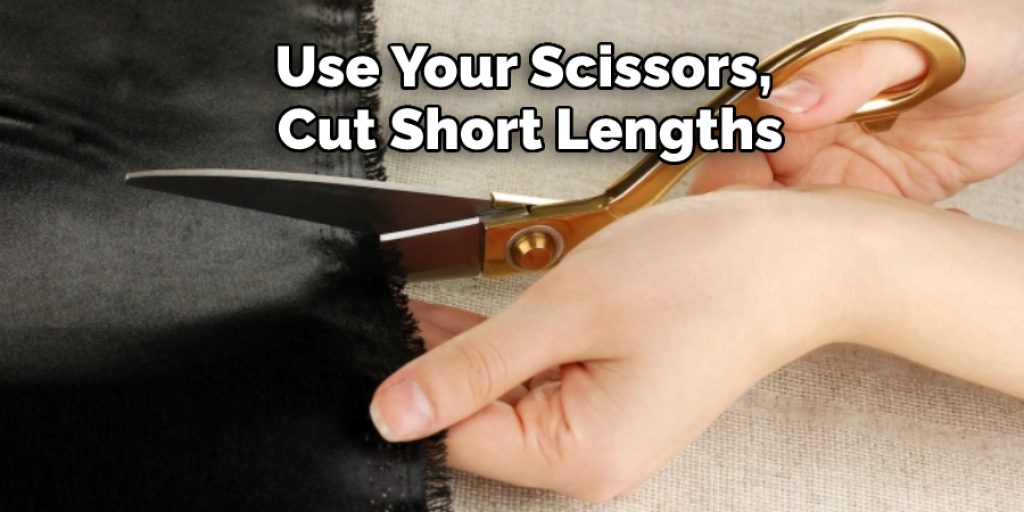
3. Make A Fringed Edging:
Using your scissors, cut short lengths (approx 3mm) from several pieces of yarn in different colors. Try to vary the lengths as you go along since this will give a more natural look. Please do not cut them from one long piece of yarn at a time.
Layout a double layer of fabric and pin it in place with safety pins or tacks. Then glue the pieces of yarn onto the edge with a hot glue gun. If desired, you can add a few beads and sequins to the edge.
4. Add Ribbon:
Measure and cut two lengths (approx 2 inches longer than your cross-stitched area) of 1/8 inch ribbon. Fold the edges of your cross-stitched cloth under and pin them to the backside of the Ribbon. Sew them in place with a slip stitch (invisible stitch).
5. Add Fray Check:
As an alternative, you can put a drop of clear “Fray Check” on each edge after you’ve finished stitching your cross stitch project. This will seal the edges of your fabric, preventing them from fraying. It won’t make the edges any stiffer to work with, but it will prevent them from fraying.
How Do You Seal the Edges of Aida Cloth?
Sealing the edges of your Aida cloth is to prevent it from fraying. Sealing the edges of your Aida cloth is essential for finished pieces of cross stitch and embroidery. Cross stitching, needlepoint, and embroidering on even-weave fabric create a more professional look.
When you finish cross-stitching or embroidering on an Aida piece, it’s time to seal the edges. Depending on your project, there are several ways to seal the edge. Generally, sealing Aida cloth edges involves heat and moisture.

How Do You Use Fringe Aida Cloth?
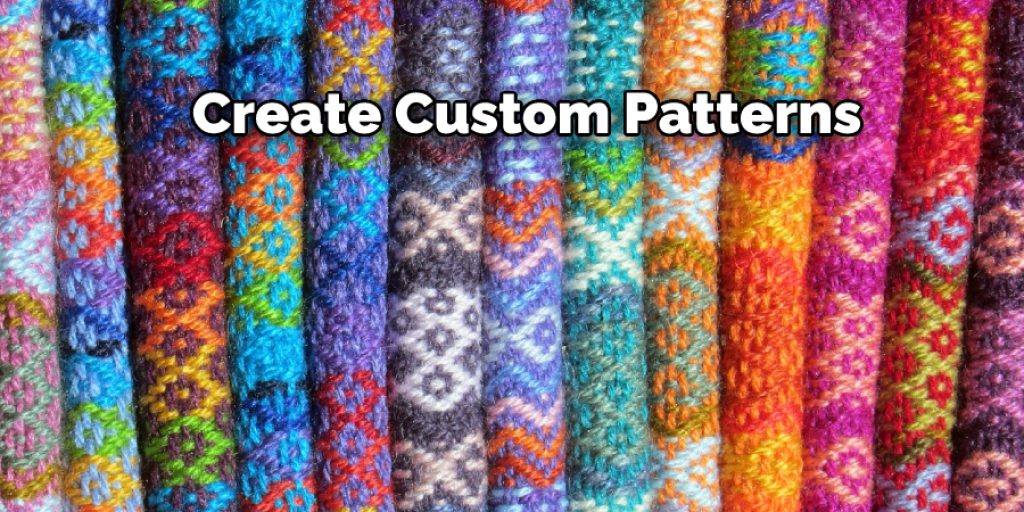
As with all types of needlework, the first step is mounting your Aida cloth onto a frame. Then, it can be stitched to make unique patterns or scenes on finished products. You can use this for quilting, embroidering, and other forms of needlework.
Threads such as floss and yarn can be used to create custom patterns for this type of needlework. You can use any combination of colors and textures in your design. However, it is important to know how to finish the edges of the Aida cloth properly. You never want to let your fabric fray or unravel. Otherwise, you can lose a pretty large portion of your work if it happens while you are stitching on it.
How To Do A Clean Finish Edge?
A clean finish edge is a popular technique used in sewing to give a neat, professional look to a variety of projects. The process involves sewing a seam as usual, leaving a little extra fabric beyond the seam allowance. Once the seam has been sewn, the excess fabric is trimmed close to the seam without cutting into the stitches.
The trimmed edge is then folded back and pressed into place, and the entire edge is folded over once more to encase the raw edge within the fold. The folded edge is pinned in place and sewn down as close to the edge as possible. This process is then repeated on the other side of the seam to complete the clean finish edge.
For an even more polished look, you can finish the raw edge using a serger or zigzag stitch before following the aforementioned steps. This technique helps reduce fraying over time and ensures that the finished edge is perfectly straight and reinforced against wear and tear.
Frequently Asked Questions
Do pinking shears prevent fraying?
There is no definitive answer to this question as fraying can occur with any type of shears. However, pinking shears are designed to prevent fraying by cutting the fabric at a perpendicular angle rather than at an angle. This results in less damage to the fabric and a longer lifespan for the shears.
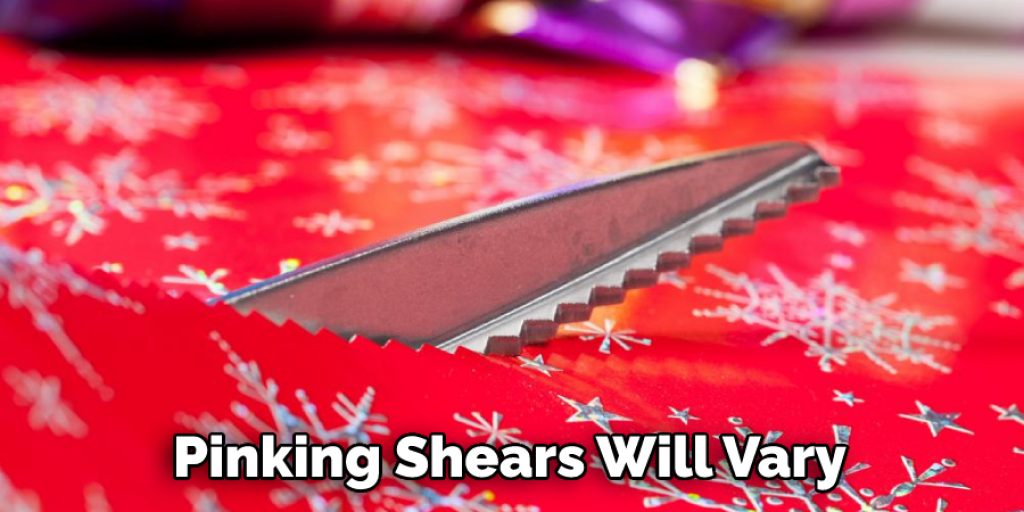
Do you really need pinking shears?
There is no one-size-fits-all answer to this question, as the usefulness of pinking shears will vary depending on the specific needs of your project. However, in general, pinking shears are often used to cut fabric close to the edge so that it does not fray. They can also be used to remove a seam allowance from two pieces of fabric so that they can be sewn together without any extra bulk.
Conclusion:
In conclusion, consider using metallic embroidery thread if you have a hard time finding the right color embroidery floss to match your project or want something that will last longer than standard white thread. It is more durable and easier on your needle because of its thickness, but it has a little shine to make those stitches pop.
With these edge finishing techniques in mind, go forth and sew with confidence! Your projects will be as perfect as they can be from start to finish. We hope this blog post on how to finish edges of aida cloth has been helpful. If you have any questions or want to know more then feel free to comment below!
Nancy Behan
Nancy is an embroidery artist, fashion blogger and a full time editor at DIY quickly. Nancy edits the fashion section on DIY quickly, focusing on the embroidery and cross stitch articles, alongside with fabric and other costume design elements. She graduated from the University of Michigan with a Bachelor of Arts in Art History. She loves to work on her own projects, read books and watch romantic movies in her spare time.