How to Do Yarn Over in Knitting
Do you want to learn how to do yarn over in knitting? Whether you’re a beginner or an experienced knitter, learning how to do a yarn over (YO) is essential in creating different stitch patterns for your projects. Yarn over can be used to create decorative lace knitting effects, make the stitches themselves look complex, and even add extra height to them.
In this blog post we’ll go through the basics of YO knitting so that it no longer remains a mystery. Whether you need help with understanding the mechanism behind YO or you want advice on when to use this technique. Whether you’re new to knitting or have been doing it for years, understanding how to incorporate yarn overs will be invaluable! So let’s get started!
What is Yarn Over in Knitting?
Yarn over is simply a technique of wrapping the yarn around your needle to create an extra stitch. It is often used in lace knitting, where it’s chiefly responsible for creating intricate patterns and effects. YO increases the number of stitches on your needles, so it can also be used to deliberately add width or height to a section of fabric when needed.
10 Ways How to Do Yarn Over in Knitting
1. Yarn Between Two Needles
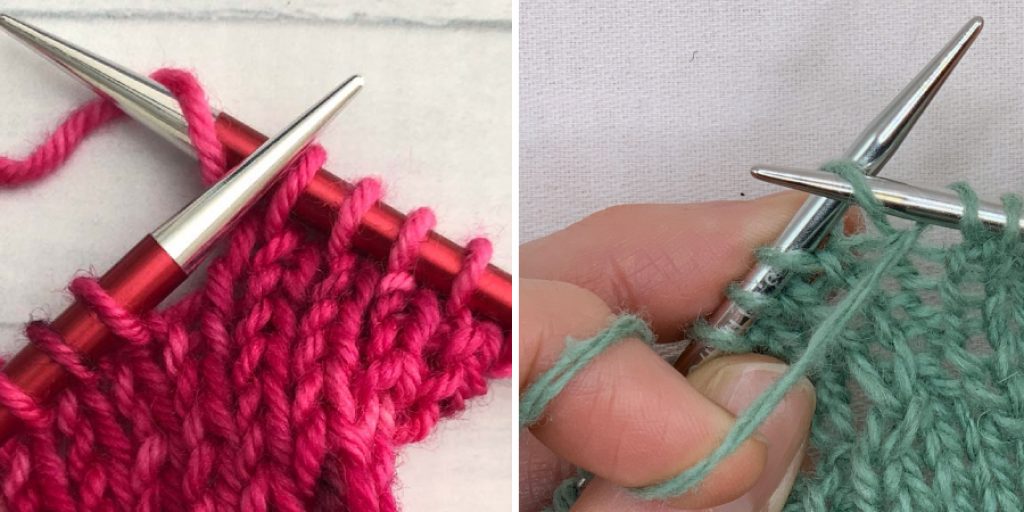
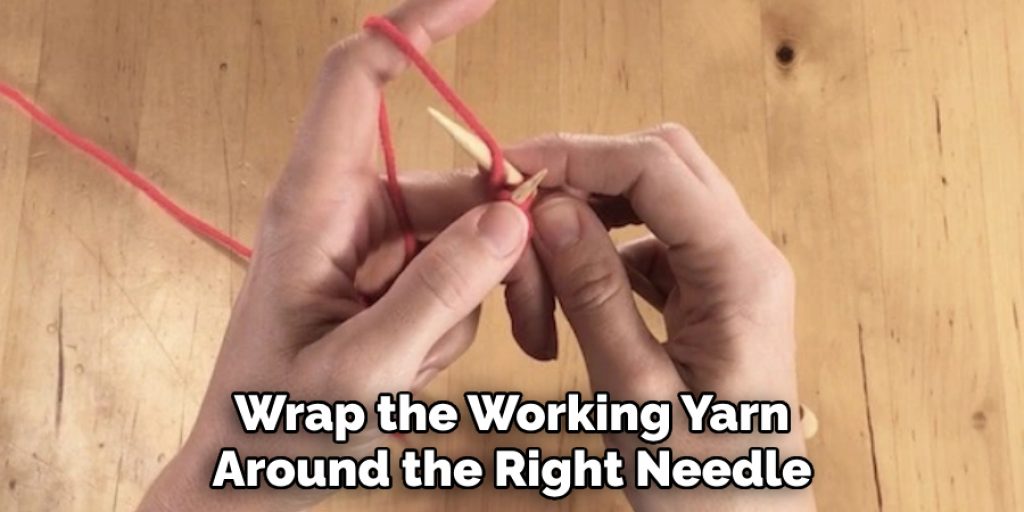
To do a yarn over, first make sure your working yarn is between the two needles in your right hand. Then wrap it around the right needle tip in a counter-clockwise motion (from back to front). Finally, bring the working yarn back through the middle of the needles and place it on top of the left needle.
2. Yarn Around the Needle Once
If you want to do a single yarn over, simply wrap the working yarn around the right-hand needle tip once in a counter-clockwise motion (from back to front). Bring it back through the middle of both needles and place it on top of the left one. Now you have an extra stitch.
3. Yarn Around the Needle Twice
If you need to make a double yarn over, wrap the working yarn around the right-hand needle tip twice in a counter-clockwise motion (from back to front). Bring it back through the middle of both needles and place it on top of the left one. Now you have two extra stitches.
4. Yarn Over in Plain Knitting
YO can also be used in plain knitting to add extra height to a section of fabric. To do this, wrap the working yarn around the right needle tip once (from back to front) and then knit the next stitch as normal. You should now have an extra loop on the right-hand needle that counts as one stitch.
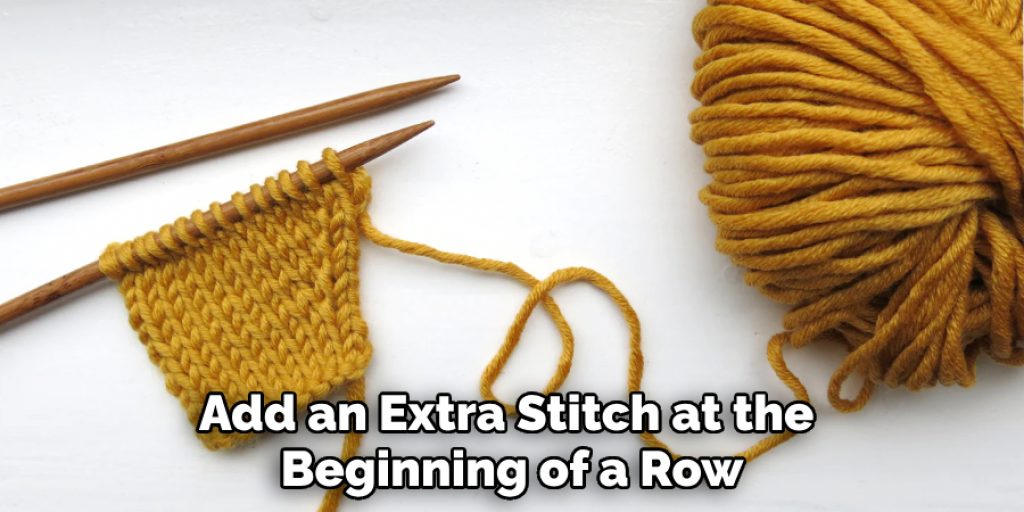
5. Yarn Over at the Beginning of a Row
If you want to add an extra stitch at the beginning of a row, simply wrap the working yarn around the right-hand needle tip once (from back to front) before knitting the first stitch. This will give you an extra loop on your right-hand needle which counts as one stitch.
6. Yarn Over at the End of a Row
To add an extra stitch at the end of a row, wrap the working yarn around the right-hand needle tip once (from back to front) after knitting the last stitch. This will give you an extra loop on your right-hand needle which counts as one stitch.
7. Yarn Over at the End of Every Other Row
If you want to create a decorative pattern, try doing an extra yarn over at the end of every other row. To do this, wrap the working yarn around the right-hand needle tip once (from back to front) after knitting the last stitch on each odd-numbered rows. This will give you an extra loop on your right-hand needle which counts as one stitch.
8. Yarn Over at the Beginning and End of a Row
If you want to create a more complex pattern, why not try doing an extra yarn over at both the beginning and the end of each row? To do this, wrap the working yarn around the right hand needle tip once (from back to front) before knitting the first stitch and after knitting the last stitch. This will give you two extra loops on your right hand needle, which counts as two stitches.
9. Yarn Over in Colorwork Knitting
YO can also be used in color work knitting to add extra height to a color pattern. To do this, wrap the working yarn around the right needle tip once (from back to front) and then knit the next stitch using a different color. You should now have an extra loop on the right hand needle which counts as one stitch in the pattern.
10. Yarn Over for Lace Knitting
YO is essential in creating intricate lace patterns. To do this, wrap the working yarn around the right needle tip multiple times (from back to front) and then knit the next stitch. You should now have multiple extra loops on the right hand needle, which counts as multiple stitches in the pattern.
Now that you know how to do yarn over in knitting, why not put your skills to practice and make something beautiful? With a few simple techniques, you can create stunning pieces of knitwear – the possibilities are endless.
8 Common Mistakes to Avoid When Doing Yarn Overs in Knitting
When doing yarn overs (YOs) in knitting, it’s important to get the technique right. Otherwise, you might end up with a less-than-desirable outcome! Here are 8 common mistakes to avoid when doing YOs:
1. Not Making the YO Big Enough
The size of your YO will determine the size of the stitch you create. Make sure to wrap your yarn around your needles enough times so that it’s snug and not too loose.
2. Not Yarning Over in the Right Direction
When doing a YO, make sure to always yarn over in the same direction – either clockwise or counterclockwise. Doing so in a different direction will create an unbalanced stitch, which you’ll want to avoid. Also, when doing a purl stitch, make sure to yarn over in the opposite direction of knitting.
3. Not Stretching the Yarn Over Far Enough
When doing a YO, it’s important to stretch the yarn over far enough that it won’t unravel easily. This will help create a strong loop and keep your stitches looking neat. It will also make the next rows easier to work with.
4. Not Accounting for the YO in Your Counting
When counting your stitches, don’t forget to include the number of YOs you’ve made! Each YO counts as one stitch and will need to be accounted for during your count. Also, make sure to count the yarnovers when you’re counting between pattern sections.
5. Not Locking in Your YO
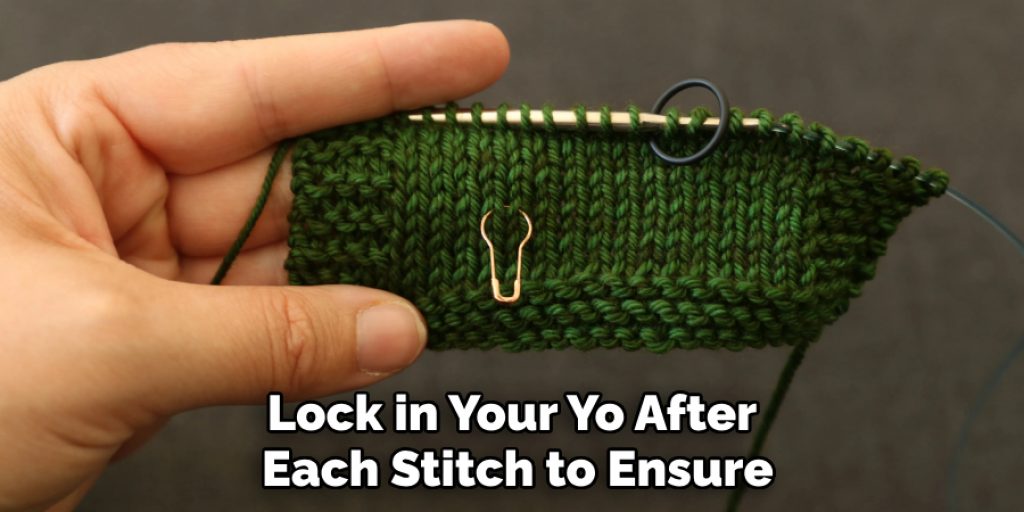
To lock in your YO, slip the last stitch before you start making a new one. This will ensure that your stitches stay tight and secure. Lock in your YO after each stitch to ensure that it doesn’t unravel.
6. Not Checking Your Tension
When doing a YO, make sure to check your tension as you go along. If the tension is too tight or too loose, it could affect the way the loop looks and how it works with the other stitches. Otherwise, your work might end up looking messy or uneven.
7. Not Paying Attention to the Pattern
YOs can be used in a variety of knitting patterns, from cables to lace and more! Make sure to pay attention to the pattern when doing YOs so that you’re creating them correctly for that specific pattern.
8. Not Tying Off the YO
When you’re finished making your YO, make sure to tie it off securely. This will prevent the loop from coming undone and keep your stitches looking neat. Tying off your YO with a knot will also help to make sure the loop stays secure.
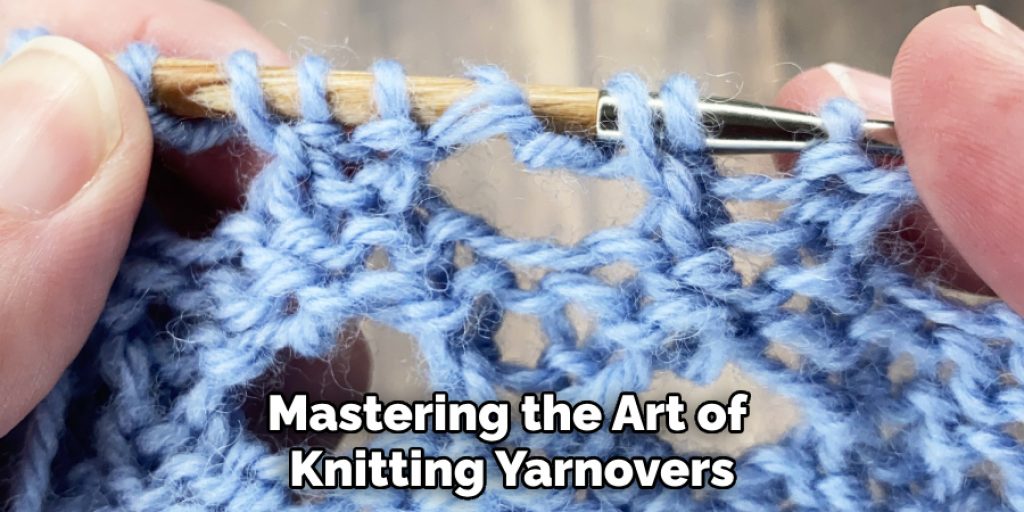
By avoiding these common mistakes, you’ll be well on your way to mastering the art of knitting yarnovers! With practice, you’ll be able to create beautiful and even patterns in no time at all.
Conclusion
Congratulations on making it through this journey of learning how to do yarnovers in knitting! We have covered all the basics – from learning everything about yarn over and the stitches you can use it to finding accessible tips and tricks for tackling more advanced techniques. No matter if you are a seasoned knitter or a beginner, your ability to manage and tension your yarn will help improve your overall experience with knitting projects tenfold.
With time and practice, you’ll be able to do any type of basic or fancy stitch with absolute ease. With this newfound knowledge on how to do yarn over in knitting under your belt, go forth and explore the wonderful world of yarnovers. The possibilities are endless – just ask any knitter who has mastered their craft sufficiently! Happy knitting!
Nancy Behan
Nancy is an embroidery artist, fashion blogger and a full time editor at DIY quickly. Nancy edits the fashion section on DIY quickly, focusing on the embroidery and cross stitch articles, alongside with fabric and other costume design elements. She graduated from the University of Michigan with a Bachelor of Arts in Art History. She loves to work on her own projects, read books and watch romantic movies in her spare time.