
How to Draw a Night Sky With Pencil
Introduction:
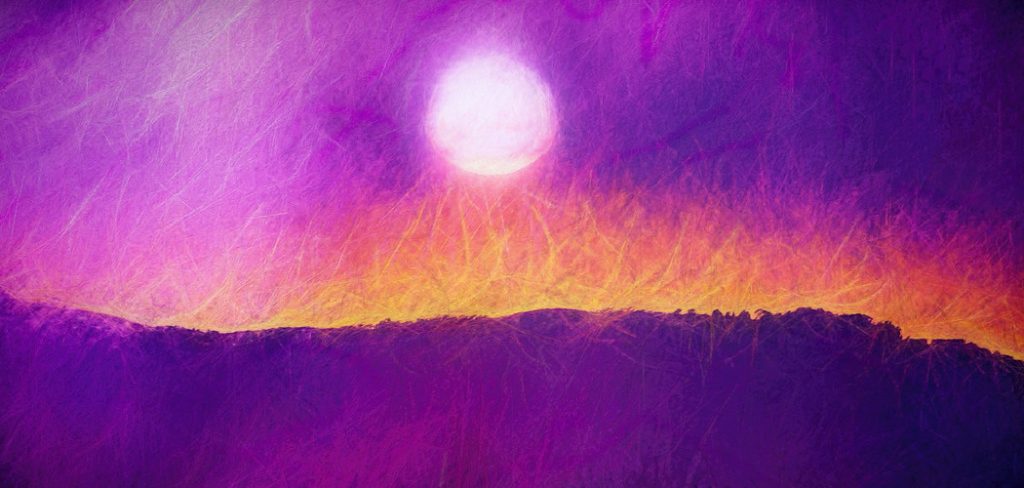
A night sky is an image that shows the stars, sun, and moon. It includes a circle for the moon and star symbols as well. A night sky can be drawn with a pencil only if you know how to shade it correctly. You don’t need to use color or paint to draw a night sky on paper. In this article, I will discuss how to draw a night sky with pencil. So let us get started.
Stepwise Guide on How to Draw a Night Sky With Pencil:
It has been found that learning something new and trying to master it can be really difficult for anyone. For example, you start withdrawing or sketching some abstract shapes, and the process takes a lot of time before you see some output quality.
It is one of the best examples of losing interest or getting frustrated with it altogether, which is pretty much understandable after all. However, there are literally hundreds of artistic mediums where you can try your hand on and improve your skills as well. And today, we’ll go through an easy stepwise guide on how to draw a night sky using only a pencil!
Step 1:
Start by drawing a skinny horizontal line that extends from the lower-left corner of the paper and stops at a point just above the middle. Then draw another horizontal line from the left edge to end at a vertical position. Finally, connect both lines by drawing a diagonal one from bottom to top, as shown in image 1.
Step 2:
Now, let’s add some shades and texture by making different strokes with a pencil on them. Begin by shading all areas marked in blue color in the second image; start using light pressure, then gradually increase its weight for darker areas.

Next, shade all areas marked in purple color; use light strokes for highlights, then get darker for deeper parts. Finally, draw additional shadows on each side of both dashes that extend from the left edge to the central vertical line and shade the area right under them.
Step 3:
Now, draw a horizontal line at the bottom of the central vertical line. Shade all areas marked in green color, and create another horizontal dash from the left edge to end just above this central line.
Step 4:
And finally, add some hatching by forming parallel lines across those three dashes formed earlier that extend beyond the top horizontal line. As you can see, final night sky art is clearly visible now!
Precautions While Drawing a Night Sky With Pencil:
1. Make sure you hold the pencil with your hand so that your middle finger is on top of the pencil, and both your thumb and index finger are below it.
2. Use only minimum pressure while drawing, as any extra pressure will make you press very hard and thus avoid precise drawings.
3. Try to keep even pressure on both thick and thin parts of the lines drawn so that they don’t look wobbly or uneven.
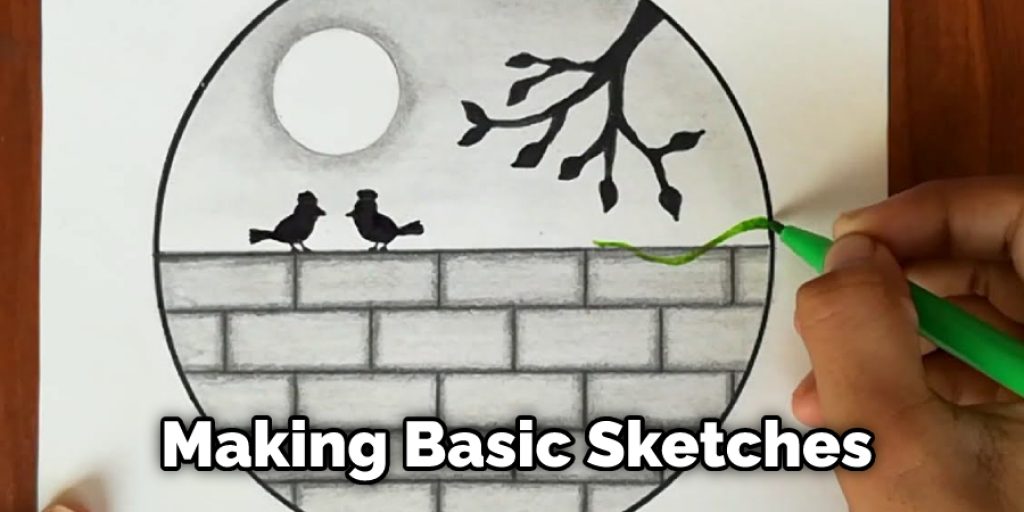
4. You may leave out details like stars and light effects for beginners (as this makes one line look confusing) at first, then once you get used to making basic sketches.
5. Always take care not to erase the unnecessary lines drawn as that would take away from the picture.
6. Always be aware of what you are drawing and try to know it inside out and always start by sketching whatever is farthest on the top left corner of your picture or paper.
7. Use only good quality, thick (but not too thick) pencils for sketching sunsets, sunrises, and night skies so that the brightness of light effects can be well depicted in your pictures.
8. Also, use a sharpener to sharpen them before starting a new sketch so that you get nice clean outlines that look neat and compact at a close view.
Can I use Color Pencils For Drawing a Night Sky?

When it comes to coloring with pencils, every artist has their own preferences and techniques. Whatever you choose to do is up to you. I personally prefer the softness of pastels, but you can use any medium you feel comfortable with.
How to Color a Night Sky?
Coloring a night sky can be a fun and rewarding task, but capturing the right mood and tone can also be a bit challenging. The first step in creating a night sky is to use a black or dark blue colored pencil, pen, or marker as the base color. This will provide a canvas upon which to layer the different colors needed to produce a realistic look.
Next, layer in different shades of blue to create depth and texture. Start with the lightest shade of blue and work your way up to the darkest shade, blending the colors together to create a seamless look. Adding small touches of purple can also help to create a more realistic look.
Once you have the base colors in place, add in stars using a white or light yellow colored pencil or marker. You can either randomly place them or create a constellation. Finally, use a blending tool like a blending stump or blender marker to soften the edges and create a more seamless transition between colors. By following these steps, you can produce a stunning and realistic night sky in no time!
Is There Any Special Preparation Needed To Color on Colored Papers?
No, not really. All you do is draw the picture and then color in, as usual, using the same techniques and approaches described here above. I can say that colored papers like those produced by Canson are easier to work with than plain white because they have more teeth or texture, but it does not change how you approach drawing one bit.
Can You Use Colored Pencils On Non-Colored Paper? Absolutely! In fact, most of my drawings are completed on regular white paper. Even though colored papers do look nice, I find them to be more difficult to color on. The first reason is that they are thicker than white and, as a result, harder to control when coloring small details.
Also, the tooth or texture of the paper tends to be visible, making it hard for some people to blend colored pencils properly. So if you want to make your drawings pop out at your viewers, use good old white paper instead.
Which Pencils Are Better For Drawing a Night Sky?
Drawing a night sky is not as easy as drawing the sun, moon, and stars which can be drawn in any art pencil. It might look like an easy task, but you must know that it requires some proper planning and step by step process to reach your desired result. For this reason, what kind of art pencils are better for making an illustration of a night sky?
The answer is soft round pencils! Of course, you can also try something other than soft round shapes such as regular or flat shaped pencils to draw your own night sky; however, I think that those are best to use when making these types of illustrations because they help you to get the desired effect with the least amount of effort.
Conclusion:
To sum up, a piece of advice for you is that soft round pencils are always better than any other shape of art pencil on the market when it comes to drawing the night sky and other celestial objects. They make your journey towards creating amazing pictures much easier! I hope you have obtained all the relevant information regarding how to draw a night sky with pencil. Thank you and have a nice day!
Elizabeth Davis
Elizabeth is a creative writer and digital editor based in the United States. She has a passion for the arts and crafts, which she developed from a young age. Elizabeth has always loved experimenting with new mediums and sharing her work with others. When she started blogging, she knew that DIYquickly would be the perfect platform to share her tutorials and tips. She's been writing for the blog from the beginning, and her readers love her helpful advice and easy-to-follow instructions. When she's not writing or editing, Elizabeth enjoys spending time with her family and friends.


