
How to Draw Brick Wall With Graffiti
Graffiti is a form of art, and it can be challenging to replicate. That’s why so many people try to find the perfect brick how to draw brick wall with graffiti already drawn on it when they need a background for their drawings.
The brick wall with graffiti is one of the most iconic images in urban art. It’s easy to replicate, and you can get creative by adding your personal touches.
In the next section, we’ll go over some basic techniques and terminology associated with drawing graffiti so that by the end of this article, you’ll have all the skills needed to add your very own brand new graffiti art piece into any scene or setting! This blog post will show you how to draw brick wall with graffiti in simple steps!
What are the Things You’ll Need:
- Pencil
- 4B Graphite Pencil
- Rubber/ eraser
- Drawing Board
- Tape or glue for the drawing board
- Size 2B charcoal pencil
Directions: How to Draw Brick Wall With Graffiti
Step 1: Draw the Outline of Graffiti
To create the outline of the bricks, use a simple line. If you are using a size 2B charcoal pencil, be sure to keep your lines light so you can erase them later. To create the negative space around the bricks, use a 4B pencil. The negative space is everything that isn’t brick.
Step 2: Draw the Bricks
To create the illusion of a brick wall, begin by drawing vertical lines of varying widths with a 4B charcoal pencil. The lines should be very dark, as if they’re barely visible. Remember that there are three different types of bricks used in brick walls – stretchers (the wider, horizontal bricks), headers (the smaller, vertical bricks), and a mixture of both.
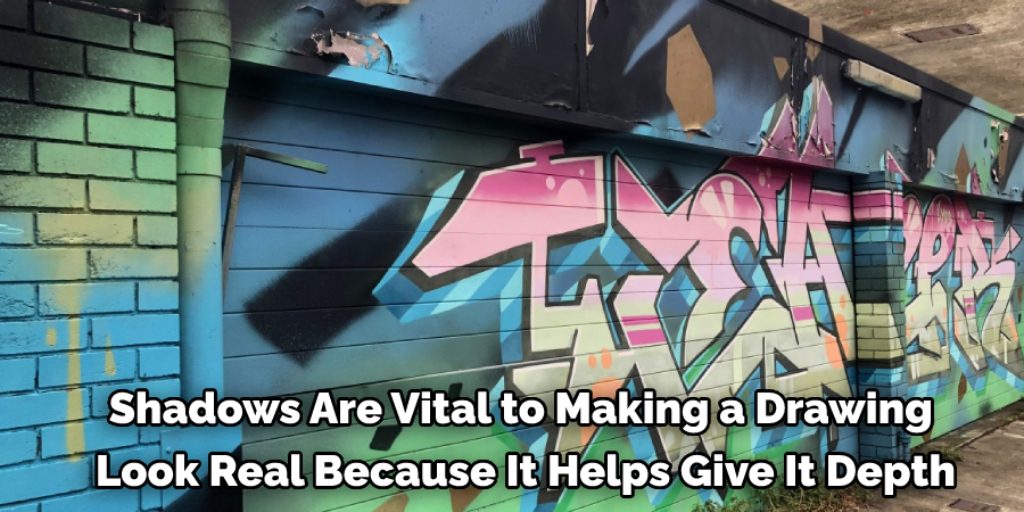
Step 3: Draw the Shadows
Shadows are essential to making a drawing look realistic because they help create a sense of depth. Use a 2B charcoal pencil for this step because the shadows should be darker than the bricks themselves. The farther away from the eye your shadow is, the lighter it should be. Don’t forget to also draw shadows behind all of the bricks on the ground.
Step 4: Draw the Cement
Using a size 2B charcoal pencil, draw some cement lines going down on either side of the wall as pictured below using straight lines from one edge of the brick wall to another. In real life, you don’t see cement lines running vertically on the ground.
Step 5: Draw Graffiti
Use a black marker/colored pencil to draw graffiti on your brick wall. This is an essential step because, without the graffiti, it will look boring, but if you want to make your drawing show more advanced skills, you can also use a white marker/white colored pencil to draw the letters white.
Step 6: Erase Outlines and Marker/Colored Pencil Lines
After you finish drawing your outline in step one, erase any unwanted lines with a soft eraser. You can then go over your drawing with a black marker or colored pencils, depending on your preference. Be sure to use light strokes so you don’t damage your drawing.
Step 7: Add a Background
Give your drawing some background flavor by adding in the sky, some people or buildings. Go easy on the details though, too much can ruin the effect. The atmosphere is a great way to add some color without making the graffiti look too out of place because pieces of graffiti often have the sky in them.
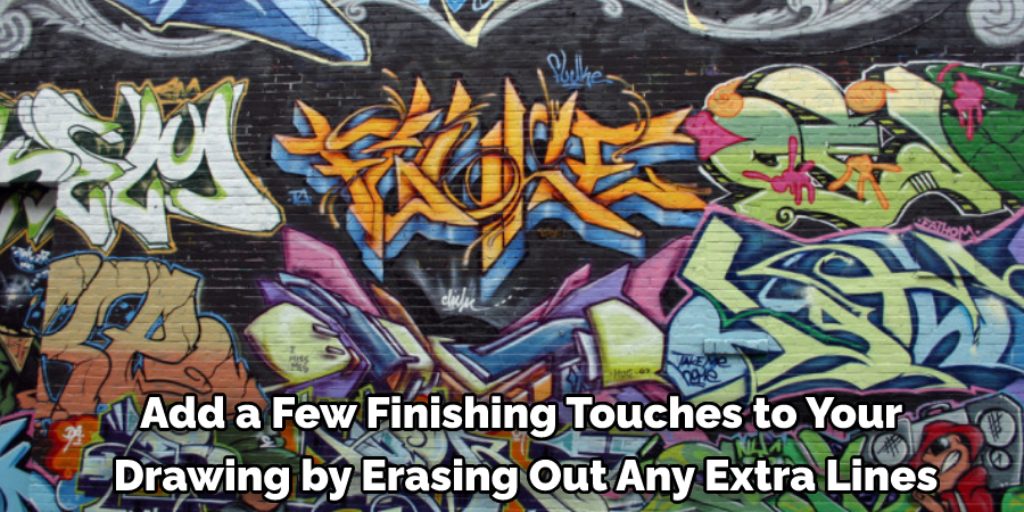
Step 8: Finish Drawing and Color Line Art If Needed
Finish your drawing by erasing any extra lines in your foreground that you don’t need. If there is a line art version of your graffiti background, color it however you want or keep it black and white. The line art version of a piece of graffiti is a simple pencil sketch that has been outlined with a black pen.
Some Tips and Tricks:
1. Start by drawing a brick wall using tiled lines that are about half an inch wide.
2. Next, draw rectangular boxes that will be the inside of some of the bricks.
3. Add hatch marks outside of each brick and on top of each line that separates the bricks.
4. Draw a window and door with paneling next to it at one end of the wall and at the top right corner where two spaces meet, draw a spray paint tag.
5. Add some shading and color to complete your drawing of a brick wall with graffiti.
How Do You Draw a Brick Building?
Brick Buildings are common in most cities. They are typically used to house many stores on the street level, while businesses fill the rest of the building space.
Attics can become small apartments for people who cannot afford a home or do not want to live with others. For example, a brick building you might see in a city can be drawn by following these steps.
1. Draw Base Shape
2. Trace dark outline for bricks, and add an edge line to separate the brick from the cement foundation.
3. Leave space for windows, then erase the initial line of the building.
4. Add windows and details to the brick walls according to your preference.
5. Add shading to the bricks, and draw a tree on the sidewalk.
6. Erase the initial line of the sidewalk and add details to it.
7. Erase the dark outline for bricks, leaving only the edge line along the cement foundation.
8. Draw people walking toward or away from your building, then erase all unnecessary lines!
Conclusion
In this blog post, we have shown you how to draw brick wall with graffiti. You can use these techniques for your own digital artwork or create an urban setting in photoshop for your next project. Whether you want bricks and mortar of a city scene or just some cool art on paper, drawing a brick wall is easy once you know what steps take place!
If you want to add graffiti to your drawings, our tips will help you do it easily. If you need more help, you can email us and we’ll be happy to help you.
Elizabeth Davis
Elizabeth is a creative writer and digital editor based in the United States. She has a passion for the arts and crafts, which she developed from a young age. Elizabeth has always loved experimenting with new mediums and sharing her work with others. When she started blogging, she knew that DIYquickly would be the perfect platform to share her tutorials and tips. She's been writing for the blog from the beginning, and her readers love her helpful advice and easy-to-follow instructions. When she's not writing or editing, Elizabeth enjoys spending time with her family and friends.


