How to Drill a Hole in a Desk
Learning how to drill a hole in a desk is a fundamental skill for DIY enthusiasts and those looking to customize their furniture to suit specific needs. Whether you’re aiming to organize cables, add a new feature, or simply modify the desk’s layout, drilling holes is a necessary task. However, it’s important to approach this task with precision and caution to maintain the desk’s integrity and aesthetics.
In this guide, we’ll take you through the steps required to drill a hole in a desk effectively and efficiently. From selecting the right tools and location to ensuring a clean and accurate hole, we’ll cover essential tips and techniques to help you master this skill. Let’s dive into the world of DIY desk modifications, making your workspace more functional and tailored to your requirements.
Tools Needed for Drilling Holes in a Desk
Before attempting to drill a hole in your desk, it is important to gather all the necessary tools. These include:
- A Power Drill: This will be used to actually make the hole in the desk. Make sure to use a drill bit that is suitable for the material of your desk.
- A Ruler or Measuring Tape: This will help you accurately mark where you want the hole to be drilled.
- Masking Tape: This will prevent the wood from splintering when drilling and also serve as a guide for drilling straight holes.
- Safety Goggles: It is always important to protect your eyes when working with power tools.
- A Dust Mask: Drilling can create a lot of sawdust, so it’s best to wear a dust mask to avoid inhaling any particles.
Importance of Safety Precautions
It is important to understand that drilling a hole in a desk can be potentially dangerous if not done properly. This is why it is crucial to follow safety precautions before attempting to drill a hole.
One of the most important safety measures to take is wearing protective gear. This includes safety glasses or goggles, gloves, and earplugs. Safety glasses or goggles will protect your eyes from any flying debris or dust, while gloves can provide a better grip on the drill and protect your hands from potential injuries. Earplugs are also recommended as drilling can be loud and damaging to your hearing.

In addition to wearing protective gear, it is important to make sure that the desk is stable and secure before starting the drilling process. This will prevent the desk from moving or tipping over, which can cause accidents.
It is also recommended to have a fire extinguisher nearby, just in case any sparks or accidental fires occur during the drilling process. Make sure to read the instructions on how to use it before starting.
Lastly, make sure to properly dispose of any debris or dust that accumulates during the drilling process. This will prevent potential hazards and keep your workspace clean.
10 Steps How to Drill a Hole in a Desk
1. Gather the Necessary Tools
The first step in drilling a hole in a desk is to gather the necessary tools. You will need a drill, drill bit, safety glasses, and measuring tape. Make sure that you have the right size drill bit for the job as well as any other accessories that may be needed such as clamps or stabilizers. It is important to have all the necessary tools before starting the drilling process.
2. Measure and Mark the Spot
Once you have all of your tools gathered, it’s time to measure and mark the spot where you want to drill. Use a measuring tape to determine the exact location of your desired hole and then use a marker or pencil to mark it on the desk. Be sure to double check your measurements and make any adjustments before moving on to the next step.
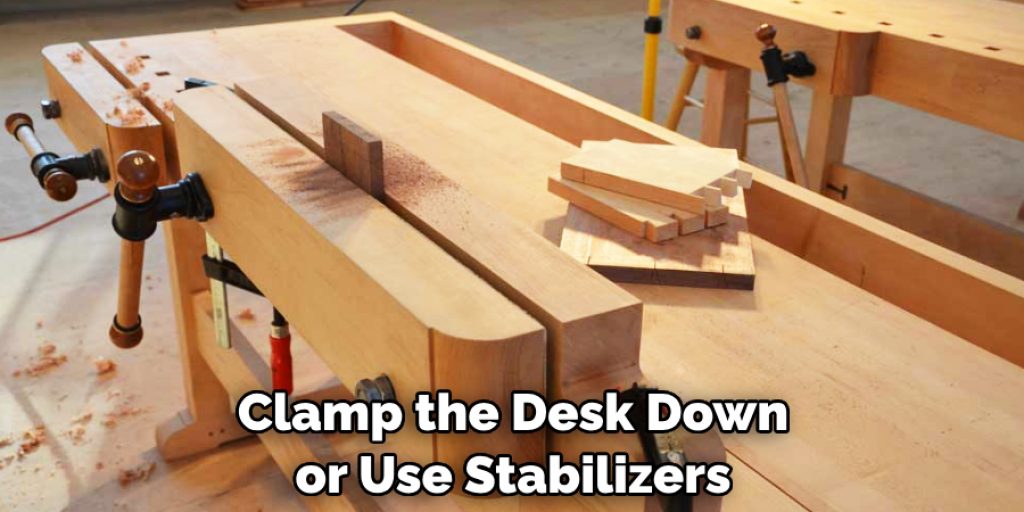
3. Secure the Desk
Before beginning to drill, make sure that you secure the desk so that it doesn’t move around while you are working on it. If possible, clamp the desk down or use stabilizers so that it won’t move while you are drilling. This will ensure a more accurate and safe drilling experience. Although this step may seem trivial, it is an important safety precaution that should not be overlooked.
4. Put on Safety Glasses
It is important to put on safety glasses before beginning any type of drilling work. The safety glasses will protect your eyes from flying debris that can be created when drilling into hard surfaces such as wood or metal desks. Safety glasses should be worn at all times while drilling to avoid any potential eye injuries.
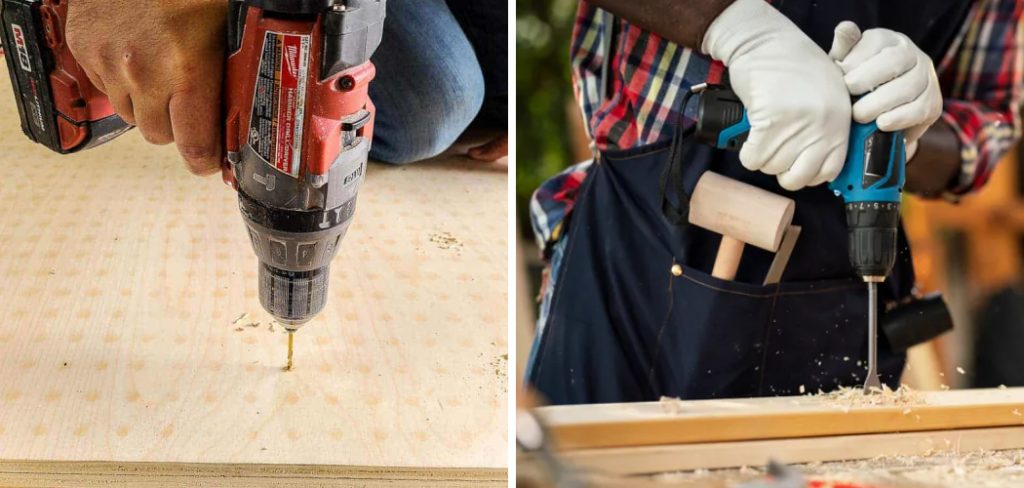
5. Set Up Your Drill
Now it’s time to set up your drill for use. Make sure that you select the appropriate speed setting for your drill bit and attach it securely to the chuck of your drill so that it won’t slip out during operation. Once everything is set up properly, you can begin drilling into your desk. When drilling, be sure to hold the drill steady and apply even pressure. It’s also a good idea to wear protective gear such as safety glasses and work gloves to prevent any accidents.
6. Start Drilling
Once everything is set up properly, start drilling into your desk slowly and steadily at an angle of about 45 degrees from perpendicular with respect to its surface until you reach your desired depth point (usually about 1-2 inches). Keep a steady pressure on the trigger while doing this so that you don’t accidentally damage either yourself or your furniture! It’s also important to hold the drill as straight as possible to ensure a clean and precise hole.
7. Remove Excess Material
Once you have drilled through all of your material, remove any excess material around the edges by using a chisel or similar tool if necessary (depending on how large/deep of a hole you have drilled). This will help ensure clean edges and reduce splintering when sanding later on in this process! Thus, it is important to take your time and be careful during this step.
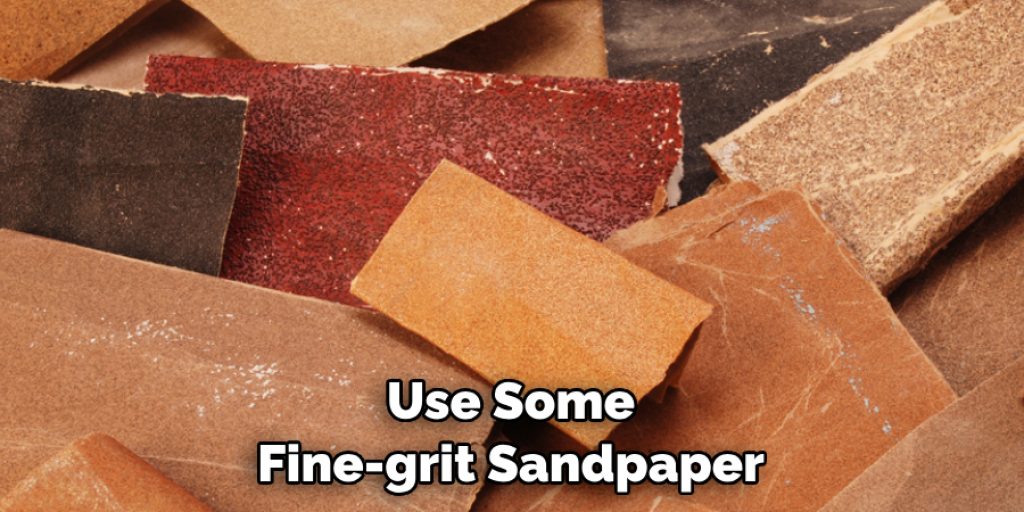
8. Sand Down Edges
To get smooth edges around your newly drilled hole, use some fine-grit sandpaper (or an electric sander) to sand down any rough spots along its edges until they are smooth and even with each other! This should only take a few minutes but will make all of the difference in terms of aesthetics once completed!
9. Clean Up Any Dust & Debris
Once all of your sanding is complete, make sure that you clean up any dust or debris created during this process using either a vacuum cleaner or damp cloth – this will help keep both yourself and your furniture free from potential hazards!
10. Fill Hole With Wood Putty & Paint (Optional)
If desired, fill in any gaps between wood pieces with wood putty before painting over them with either latex paint or stain – this will help give them an even more finished look once completed! Make sure to let the putty dry completely before painting over it.
Common Mistakes to Avoid When Drilling a Hole in Your Desk
When it comes to drilling a hole in your desk, there are some common mistakes that people often make. These mistakes can lead to damaged desks and even injuries, so it’s important to be aware of them and avoid making them yourself. In this section, we’ll go over the most common mistakes people make when drilling a hole in their desk and how to avoid them.
Not Measuring Properly
One of the most common mistakes people make when drilling a hole in their desk is not measuring properly. This can result in an uneven or misplaced hole, which can be frustrating and even ruin the appearance of your desk. Before you start drilling, it’s important to measure out the exact location and size of the hole you need. You can use a ruler or measuring tape to ensure accuracy.
Using the Wrong Drill Bit
Another common mistake is using the wrong drill bit for the material of your desk. Different materials require different types of drill bits, so it’s important to do some research and make sure you have the right one before starting. Using the wrong drill bit can result in a damaged desk or a hole that isn’t the correct size.
Not Using a Pilot Hole
A pilot hole is a small guide hole that is drilled before the main hole. It helps to prevent the wood from splintering and makes it easier to drill the actual hole. Many people skip this step, but it’s an important one to ensure a clean and precise hole in your desk. Make sure to use right drill bit that is slightly smaller than the one you plan on using for the main hole.

Conclusion
Congratulations, you have now learnt the basics of how to drill a hole in a desk! By taking into account factors such as the type of material being used and the size and weight of the drill bit, drilling a hole in a desk is now an achievable skill.
You can use your newfound knowledge to work on larger projects such as constructing furniture or drilling other materials. Additionally, you may want to explore ways to make your DIY experience even easier such as by using guides and jigs for a more precise result.
Angela Ervin
Angela is the executive editor of DIY quickly. She began her career as an interior designer before applying her strategic and creative passion to lifestyle and home. She has close to 15 years of experience in creative writing and online content strategy for housekeeping, home decorations as well as other niche efforts. She loves her job and has the privilege of working with an extraordinary team. She lives with her husband, two sons, and daughter in Petersburg. When she's not busy working she spent time with her family.