
How to Dry Acrylic Paint
Drying acrylic paint is a complex process that requires patience. Paint must dry at the proper humidity and temperature, which can be hard to control in most homes. However, there are many methods for drying acrylic paint; some even work with water-based paints! Read on for more information about how to dry acrylic paint properly.
Drying acrylic paint is necessary for artists who want to use their work professionally. However, it can be challenging to know how long the color will take to dry and whether or not you need to create a drying environment for your artwork.
This post will cover how long acrylic paint takes to dry before being used again and tips on creating the perfect drying environment.
10 Ways on How to Dry Acrylic Paint:
1. Newspaper
Lay down newspapers under the area you plan to paint and let it dry overnight before throwing it away. If you are painting on the wall, attach newspapers to cover your desired location and dry them before removing them.
2. Aluminum Foil
Cover objects or areas with aluminum foil to reflect sunlight instead of absorbing it.
3. Blow dryer
Place the object you wish to paint near a window and use a blow dryer to direct outside air at it. The sunlight and wind will speed up the drying process by evaporating the water in the paint, making your project dry faster.
4. Hair Dryer
This is a great way to speed up drying time, but use caution as too much heat can damage the Acrylic Paints or canvas fabric, causing them to curl or warp.
5. Fan
Pointing a fan at the painting while drying will help speed up the process and circulate air to dry some areas quicker than others.
6. Dehydrator (Small)
This will dry painted surfaces quickly and thoroughly, but remember that dehydrators cannot be used on raw canvas or fabric because they cause shrinkage.
7. Dishwasher
Washing the painting in a dishwasher with a drying cycle will completely dry it, so it is safe to handle immediately after washing for reuse or storage.
8. Oven
Place paintings on a baking sheet covered in aluminum foil and place them inside an oven heated to 275 degrees Fahrenheit for 15 minutes, then turn off the oven and let the painting cool inside with the door closed for 2 hours.
9. Heating Pad
Place the painting on a heating pad and set it to low. Let it sit for 8 hours, then turn off the heating pad and let it cool before removing it.
10. Dehumidifier
Place the object to be painted into a dehumidifier for several days until dry. This is a great way to speed up drying time, but use caution as too much heat can damage the Acrylic Paints or canvas fabric, causing them to curl or warp.
What Supplies You’ll Need?
1. Acrylic paint
2. Modge Podge or large paintbrush
3. Newspaper or paper towels
4. Paper plate or any other paper object
5. Cloth or towel
Instructions: How to Dry Acrylic Paint
Step 1: Gather All Supplies
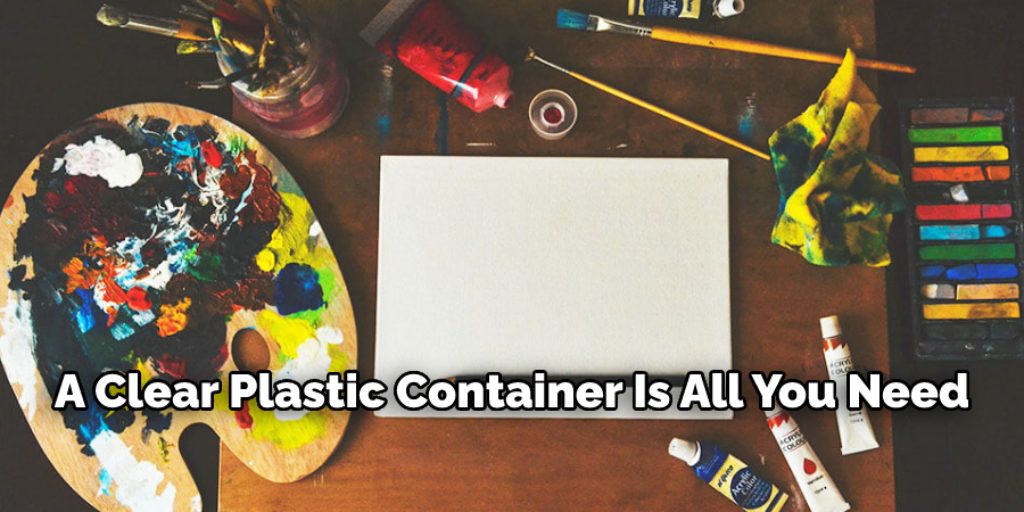
If you’re painting on a flat surface, it’s probably easier to find an open space. You all need acrylic paint of any color, a piece of paper or cardboard, a paintbrush, and a clear plastic container.
Step 2: Pour Out The Acrylic Paint.
Pour some acrylic paint into a piece of paper or cardboard. This will catch the drips when you later pour them back into the container.
Step 3: Pour Slowly
Slowly pour the acrylic paint back into the container. When doing this, try not to let it run down the side of the container, or any air bubbles will form. Air bubbles in your work can ruin it, so you must get rid of them if they do show up.
Step 4: Stir Quickly
Stir quickly with the paintbrush. If your acrylic paint is thicker or has a glaze in it, it will probably need to sit for a while before all the air bubbles rise to the top and pop by themselves. Air bubbles can make your paint dry unevenly, so you must eliminate them when you see them.
Step 5: Let Dry
Let your acrylic paint dry. Depending on the thickness, the drying time could be from 2 hours to several days. You must let it dry completely before moving on to the next step. Drying times are listed on each bottle of paint you buy, but if you are unsure about them, ask an adult for help.
Step 6: Polish
If you want, you can polish the dried acrylic paint to make it shiny. Use a clean and dry cloth (or paper towel) and move in small circles. When the paint is completely smooth and opaque, your painting should be finished!
Some Tips and Tricks:
1. Professional Quality Acrylic Paints are expensive, but their colors are much more vibrant than student quality. The only downside is that you have to use a fixative over the paints because they will not dry otherwise. Luckily the fixative does not affect vibrancy or adhesion.
2. Acrylic paints dry by evaporation. Once the water evaporates, you are left with only the pigment that makes up the color. This process is sped up by adding thinner or glaze medium to the paint.
3. When thinning acrylics, adding a few drops of dish soap may be helpful to make clean-up easier. Also, adding a little water will help prevent skinning on the paint’s surface.
4. If you use thinner acrylics for something other than painting, consider using an additive to increase adhesion between plastics or metals and acrylic paints.
5. Acrylic paints do not adhere well to Styrofoam.
6. Airbrushes may clog with some paint brands, especially if using a glazing medium. Consider thinning the acrylic paint more to prevent this from occurring.
Conclusion:
It is essential to dry acrylic paint properly with good ventilation and a good drying time. There are many ways to do this, but it’s best to experiment with different techniques until you find the one that works for your style and preference. The drying process will take a minimum of 24 hours and may take longer depending on the type of paint you’re using.
It is essential to understand that acrylic paints dry at room temperature, so there’s no need for an expensive exhibition space or other such expense. This article has demonstrated how to dry acrylic paint and store unfinished paintings to prepare them for future exhibitions.
We hope this has helped! If you have any more questions about painting, we’ll be happy to answer them! Thank you for reading, and enjoy your next project! Have any tips or tricks? Share them in the comments!
Elizabeth Davis
Elizabeth is a creative writer and digital editor based in the United States. She has a passion for the arts and crafts, which she developed from a young age. Elizabeth has always loved experimenting with new mediums and sharing her work with others. When she started blogging, she knew that DIYquickly would be the perfect platform to share her tutorials and tips. She's been writing for the blog from the beginning, and her readers love her helpful advice and easy-to-follow instructions. When she's not writing or editing, Elizabeth enjoys spending time with her family and friends.


