
How to Dry Paper Mache Quickly
Introduction:
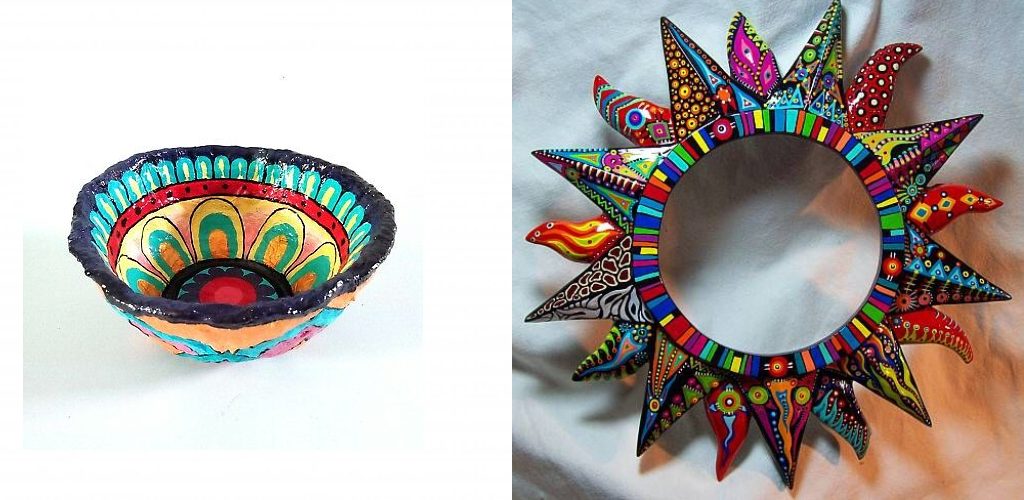
Paper mache is a sculpting technique used to create an object or mask from paper pulp. This material, made from a mixture of paper and glue, dries quickly to form a hard shell. Paper mache can be purchased in craft stores or made at home using newspaper as the base. In this article, you will learn how to dry paper mache quickly. The secret is simple: use thistle leaves and strips of nylon pantyhose! You can also use steel wool if you don’t have thistle leaves.
Stepwise Guide on How to Dry Paper Mache Quickly:
1. Dirt and Grease
To ensure a clean and successful paint job, the first step is to remove all dust, dirt, and debris from the surface to be painted. Failing to do this will result in a disaster, as the dirt will show through after painting and produce a dirty effect when dry. To do this thoroughly, use a small brush or a vacuum cleaner.
I have found the use of brushes to cause more harm than good as they are apt to scratch the surface being treated; therefore, I strongly advise using a vacuum cleaner to ensure perfect cleanliness. (For cleaning with soup, see article on “distemper restoration”) After thorough washing with water, let everything drain well before going on to the next step.
2. Paint Thinners
Using turpentine or white spirit is essential in the initial stages of paper mache preparation. It will loosen the layers and make them porous to absorb more water when subjected to a dampening process later. However, these thinners should be used with care after carefully reading all instructions on their labels because the wrong application will cause harm to both hands and surfaces.
Usually, solvent/thinners are used for cleaning purposes only. Still, in case there is no alternative to its use (when painting on easily movable surfaces). While removing it afterward, great care must be taken by using clean rags soaked in dulcified spirits (with sufficient lime added to it and allowed to dry up) or using clean cotton wool.
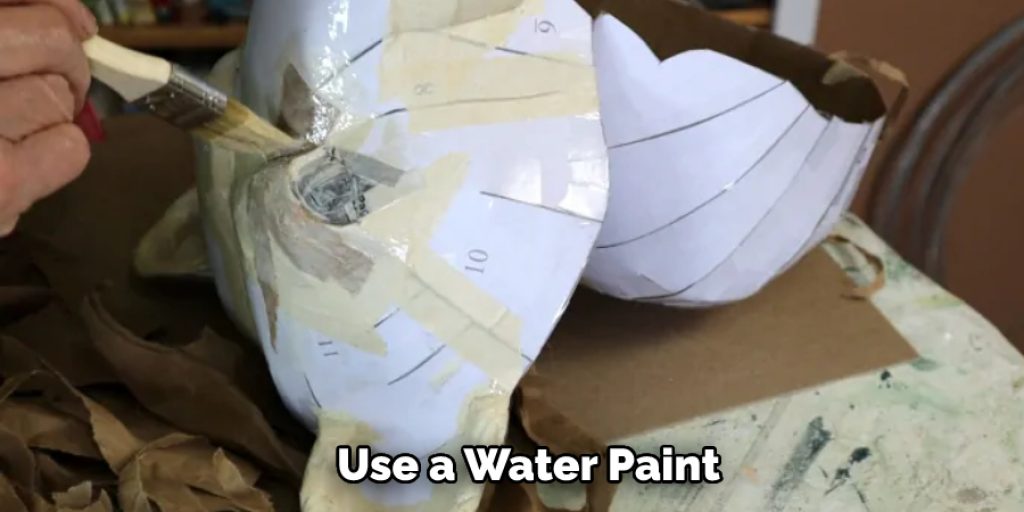
3. Water
This is an essential ingredient in any painting, as it provides the medium (or paint) with which the required color effect can be obtained depending upon the quantity used. The same applies in paper mache when water is mixed with wheat paste, but a little more care should be exercised when using this mixture because of its increased absorbency power; therefore, it is essential that after mixing, plenty of water must be added so that the moisture content becomes equal throughout.
This will enable both sides to adhere firmly together without any wrinkles showing and prevent cracking whilst drying.
The maximum amount of water mixed with paste recommended by me would be in the ratio of 2:1, i.e., 1 cup wheat paste:2 cups water (or enough to make a thick liquid-like mixture). This will ensure that all layers are uniformly saturated with moisture when going through the dampening process. It is advisable to prepare a sufficient quantity at one time because if some remain undiluted, it might dry up before applying on surfaces and therefore be wasted.
4. Dampening
The surface must be kept covered overnight, just as in the case of painting on paper, so that the paint has time to absorb into the uneven surfaces much better. Still, care should be taken not to leave them uncovered where there is a danger of dust coming in contact with freshly wetted surfaces, especially if they are porous or absorbent, as this would lead to uneven coloring.
The next day, if the undercoat of white ground was applied on canvas or board, it should be scraped off down to the support with a palette knife and left as is since any attempt to remove it would only disturb the surface tension and result in either ragged edges or cracking. The scraping must be done carefully and evenly to avoid leaving traces of paint in the finished work.
5. Drying
The most important thing is that the material should be allowed to dry in a well-ventilated area, preferably away from direct sunlight and heat.
This should be done as fast as possible to avoid cracking or wrinkling of any unwanted kind; if these occur, then they must be dealt with at once by slightly dampening them with water mixed with weak glue (in proportion 1:3) and applying it on surfaces gently whilst rubbing firmly until cracks disappear.
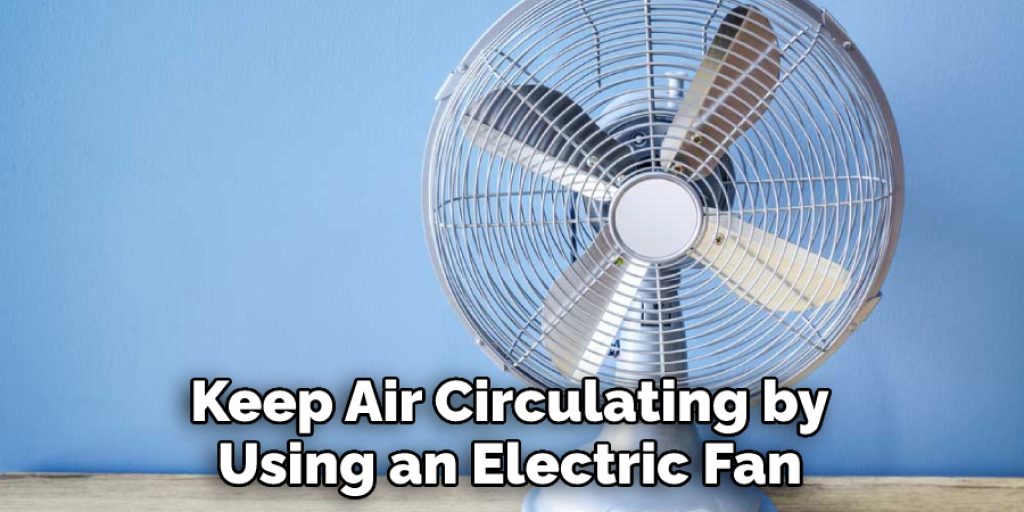
When drying inside, it’s advisable to keep air circulating by using an electric fan so that the moisture evaporates evenly. Therefore there will be no danger of molding occurring during the drying process. After that, put a good coat of linseed oil on it to protect the surface from dust damage.
Precautions While Making a Paper Mache:
1. Use Soft water to prepare Paper Mache for making out of waste paper or paper products. You need to make it wet with soft water so that the process of molding paper mache will be easier.
2. Grease the hands before touching a Mixture of Paper Mache to avoid skin problem later on and keep it safe from sticking to the Skin. Pour the mixture into a bowl (preferably plastic) or some kind of Container that is not Styrofoam or Material (Metal).
3. When the mixture is being prepared in an open place, do not inhale chemical smell as it might lead to breathing problems; this may cause trouble later on, especially when making a big piece of artwork. You can wear a mask or a wet cloth covering your mouth and nose.
4. If you have any allergy to chemicals, then be careful while working with Paper Mache as after drying, it leaves white spots, which can harm your health if met with direct touch. Also, after Drying, It will get dull. That’s why it’s good practice to wear Gloves while working; otherwise, wash them with soap and water to remove chemical reactions. This is the safest option for this purpose.
5. If you have any health-related problem or if anybody in your family is suffering from some illness due to a Skin allergy, do not use this Mixture as it might cause trouble later on when drying paper Mache. Do not use anything that is against Health. We are not responsible for any kind of illness after using this Mixture.”
6. Not More than 4 Liters of water should be used to prepare a mixture of Paper Mache. If more quantity is used, it will increase the chances of having side effects on health and also causes skin and breathing problems.
7. Do not use too much detergent or Softener (Fabric softener) with Water when preparing a Mixture of Paper Mache because it may lead to residue dirt that will not let the mixture dry and causes health issues later on.
8. Do not use any Acids or Bases with Water to prepare a Mixture of Paper Mache because it would cause a reaction. In addition, an additional odor will be produced due to a Chemical reaction that may cause skin problems in the future.
9. Always wear Gloves when handling waste paper & paper products as they are filthy; otherwise, you can clean them before using any soap solution to wash your hands with soapy water after finishing work which helps to protect you from getting hypo allergic reactions and breathing problems caused by chemicals used while making Paper Mache.
Tips to Dry Paper Mache Quickly:
Here are some tips to help you dry paper mache quickly:
- Start by adding multiple layers of newspaper strips to your project. The more layers, the faster it will dry.
- Use a fan or hairdryer to speed up the drying process if possible.
- Place your project in a warm and well-ventilated area – this will ensure even drying without causing any issues!
- Avoid using too much glue while assembling your project – this will take longer to dry and can cause discoloration over time.
- Finally, allow your project to air dry naturally for at least 24 hours before attempting any further work on it!
Frequently Asked Question
What Happens if Paper Mache Gets Wet?
If paper mache gets wet, it will start to dissolve. This is because the paper mache is made up of a mixture of water, flour, and plaster. When these ingredients get wet, they start to break down and dissolve.
How Do You Seal Paper Mache After Painting?
There are a few ways to seal paper mache after painting. One way is to use a spray sealant. Another way is to coat the finished product with a protective finish.
Is Paper Mache Durable?
There is no definitive answer to this question as it depends on the type of paper mache you are using and how well you follow the instructions. However, most paper mache types are considered durable, provided they are properly prepared and stored.
Can You Paint Over Wet Paper Mache?
No, you cannot paint over wet paper mache. Wet paper mache is a type of plaster that is made by mixing water and plaster powder together until the desired consistency is reached. Once the mixture has been mixed, it is applied to a surface and allowed to dry.
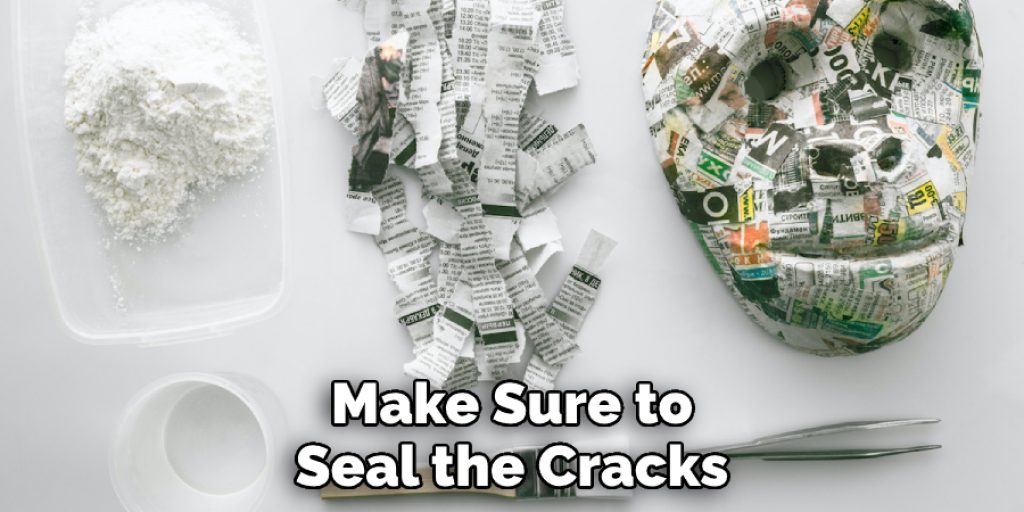
Why Is My Paper Mache Cracking?
There are a few reasons why your paper mache may be cracking. The most common reason is moisture. If the paper mache is not properly sealed, moisture will seep in and cause the material to crack.
To prevent this from happening, make sure to seal the cracks with a layer of epoxy or putty before you paint or finish the project. You can also use an airtight container to store your project until it is ready to be displayed or used.
Conclusion:
I hope this article has been beneficial for learning how to dry paper mache quickly. Ensure all the precautions while performing the process. Thank you, and have a nice day!
Elizabeth Davis
Elizabeth is a creative writer and digital editor based in the United States. She has a passion for the arts and crafts, which she developed from a young age. Elizabeth has always loved experimenting with new mediums and sharing her work with others. When she started blogging, she knew that DIYquickly would be the perfect platform to share her tutorials and tips. She's been writing for the blog from the beginning, and her readers love her helpful advice and easy-to-follow instructions. When she's not writing or editing, Elizabeth enjoys spending time with her family and friends.


