
How to Drywall a Shower Stall
Introduction
By adding a tile wall to the shower, you will be able to give your bathroom a new life. It offers a great look to your bathroom and extends the lifespan. But the complication starts when you are about to install drywall in the shower.
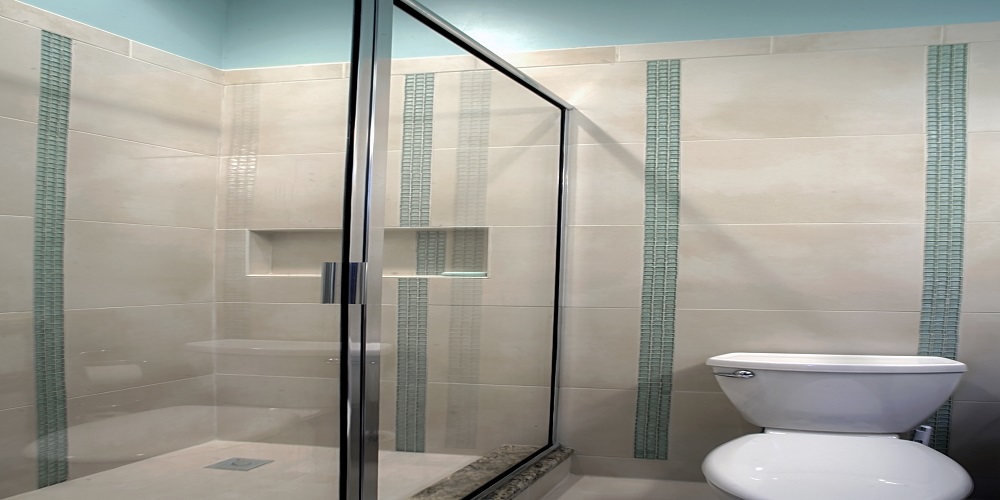
Depending on the moisture and other elements, choosing the correct drywall and installing them appropriately is literally a tough task. But as now you are here, half of your complications are eradicated. It is because I will show the exact ways for the selection and how to drywall a shower stall. So, let’s dive in!
Required Materials
- Drywall mud (also called “mud”)
- joint compound, also known as “putty” or “filler.”
- Taping knives and tapers – a wide knife for the large area, a narrow one for tight corners. You may get by with just the wide one if you’re careful to keep your edges sharp)
- A stiff brush of appropriate bristle is used to move drywall fibers from the surface before applying primer or paint; this can be in addition to using sprayer cans that contain adhesive cleaner on the top layer. Brush must not have long bristles because they will stick too much and produce less even an effect))
Processes on How To Drywall A Shower Stall
Process One:
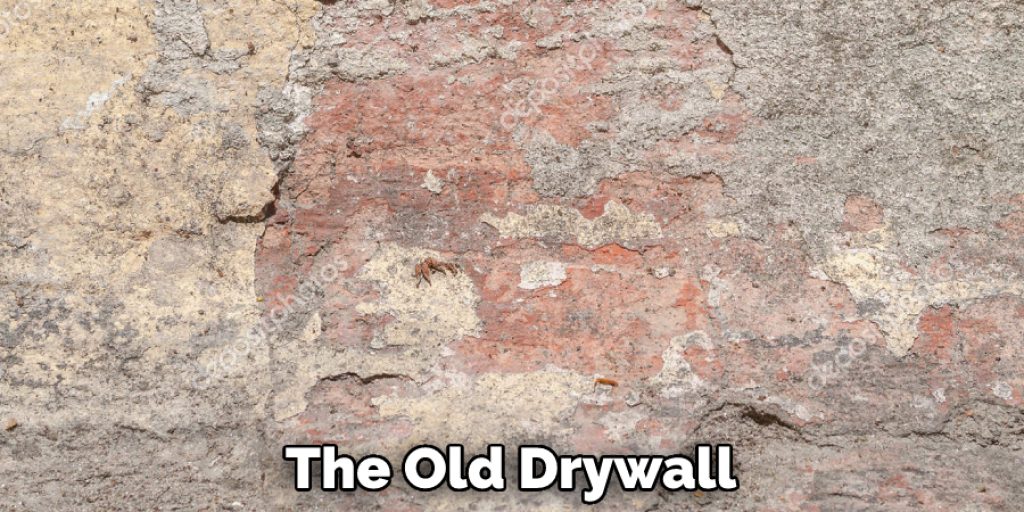
- To begin, you must take down the old drywall. Choose a day for this project when the weather will be moderate, neither too hot nor too cold, to avoid damaging the new walls. Once the old drywall is removed, place it in a safe location out of the way. Be sure to keep track of where everything goes, as this step can get messy.
- Next, measure and cut your new pieces to size with a saw, depending on which panels were removed. For example, Bathroom Shower Stall Drywall Removal – If only one panel were taken down, then all you need is two panels for replacement. Still, if three panels were taken down, six would need replacing (two verticals and four horizontals).
- Apply a layer of drywall compound to the backside of each panel and put them up in place. Push firmly on all edges, but be careful not to make any holes or dents as this will take away from its surface area for taping later.
- Apply a second coat when necessary and dry thoroughly before applying tape (approximately 24 hours). Once you have done that, it is time to apply your next coat! Follow these steps until all panels are replaced. Remember to measure carefully before you start measuring, as this will ensure that your measurements are accurate.
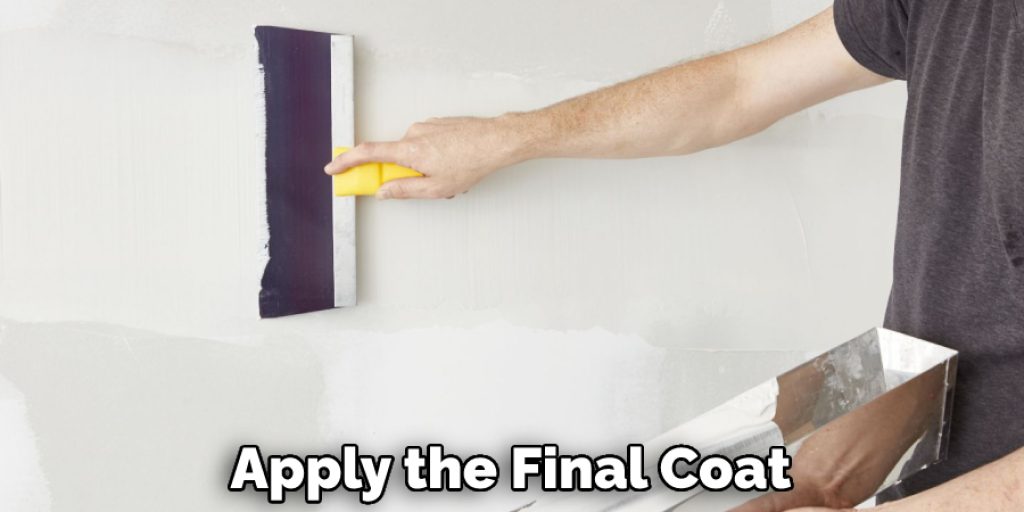
- Now, it is time to apply the final coat and put it on the taping paper. Apply a layer of a compound onto each strip before applying the tape into place, or else paint over with drywall primer if you prefer not to use any more thick coats at all. Once this has been achieved, take a step back and admire what you have accomplished so far!
- Wait approximately 24 hours after application before peeling off the protective paper from both sides of panels and painting them in broad strokes (both inside and out). This way, they can air-dry completely without touching anything until fully dried.
Process Two
The traditional ways of using paper tapes in the shower can be a food source to mold. That’s the reason why people prefer to install drywall in their showers. However, in my case, I have first ordered the drywall online. When it arrived, I took it inside and then closed it up with the wall by using the drill. This what we call substrate.
It is the material that goes behind the thyme. I needed to cut the board cut to the sides and make additional holes for the adjustment. So, I started doing that after acquiring the measurement.
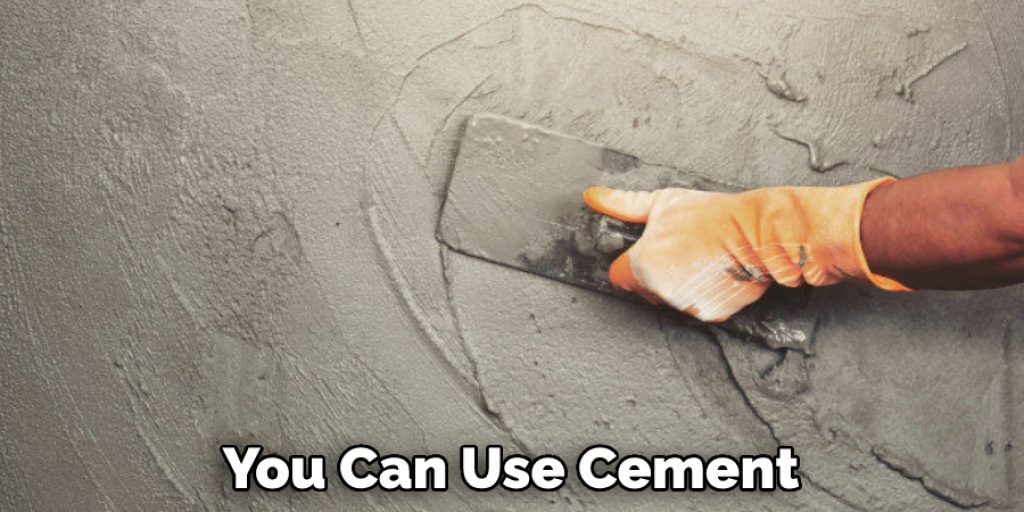
I had to install my shower fixtures, so I mark that place and used a saw to cut through that place. In this case, you can use different types of saws. But for this purpose, I have used some basic hand tools. If needed, you can also cement backward.
However, once you have completed cutting the placement of the fixtures, you have to secure the board with the walls now. For this, you can use the screws, or you can use cement or screws both. Just make sure to use that thing that can hold the wall properly.
Final Thoughts
In this post, we looked at how to drywall a shower stall. There are many different types of showers and wet areas that require special attention when installing drywall.
Drywalling over tile or wood requires some additional prep work to achieve soundness and durability. Additional steps will also need to be taken before installing any flooring because, eventually, water will find its way below the surface (unless there’s an underlayment installed).
You May Read Also –
Angela Ervin
Angela is the executive editor of DIY quickly. She began her career as an interior designer before applying her strategic and creative passion to lifestyle and home. She has close to 15 years of experience in creative writing and online content strategy for housekeeping, home decorations as well as other niche efforts. She loves her job and has the privilege of working with an extraordinary team. She lives with her husband, two sons, and daughter in Petersburg. When she's not busy working she spent time with her family.


