How to Embroider Leaves
Leaf embroidery is a delightful and versatile craft that adds a touch of nature to various fabric projects. Whether decorating clothing, home décor, or unique gifts, leaves’ intricate designs can enhance any item’s aesthetic appeal. Embroidery enriches the surface of fabrics and offers the satisfaction of creating something personal and beautiful.
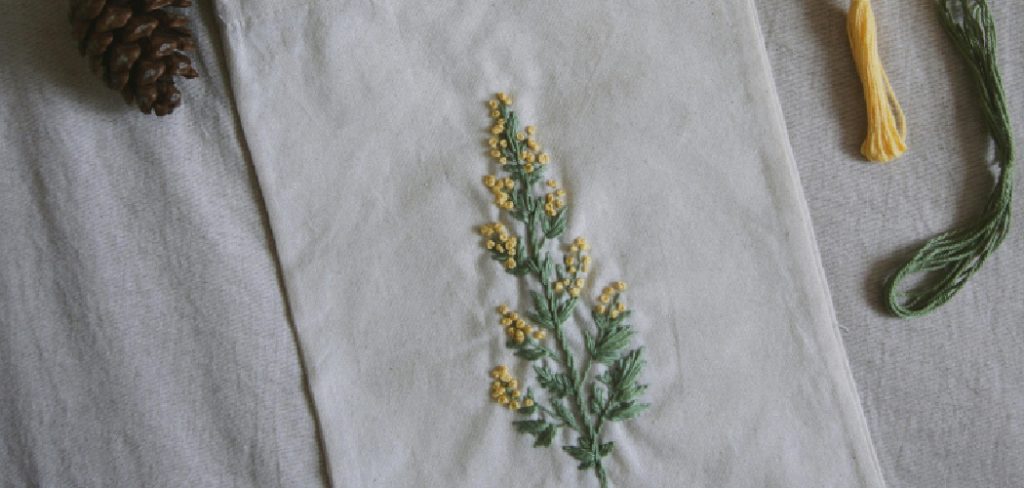
In this guide, you will learn how to embroider leaves effectively using various stitches and techniques. Familiarity with essential materials such as fabric, embroidery floss, and the right tools will set the foundation for your projects. You can create stunning embroidered leaves with the right guidance and practice to showcase your creativity and skill.
Materials and Tools Needed
To get started with leaf embroidery, you’ll need a selection of materials and tools. The essential materials include:
- Fabric: Choose from cotton, linen, or canvas to suit your project.
- Embroidery Floss or Thread: Opt. for quality threads in multiple colors to bring your designs to life.
- Embroidery Needle: A suitable needle is crucial for ease of stitching.
- Embroidery Hoop: This will keep your fabric taut while you work.
Additionally, you will require some essential tools:
- Scissors: These are used to trim thread and fabric as needed.
- Water-soluble Fabric Marker: Ideal for transferring your designs onto fabric.
- Needle threader: This tool simplifies the hassle of threading needles, especially when working with finer threads.
Lastly, consider optional tools and materials like embroidery stabilizer for support and tracing paper for intricate designs. Having the right tools at your disposal will make the process of learning how to embroider leaves much more enjoyable.
Choosing the Right Fabric and Thread
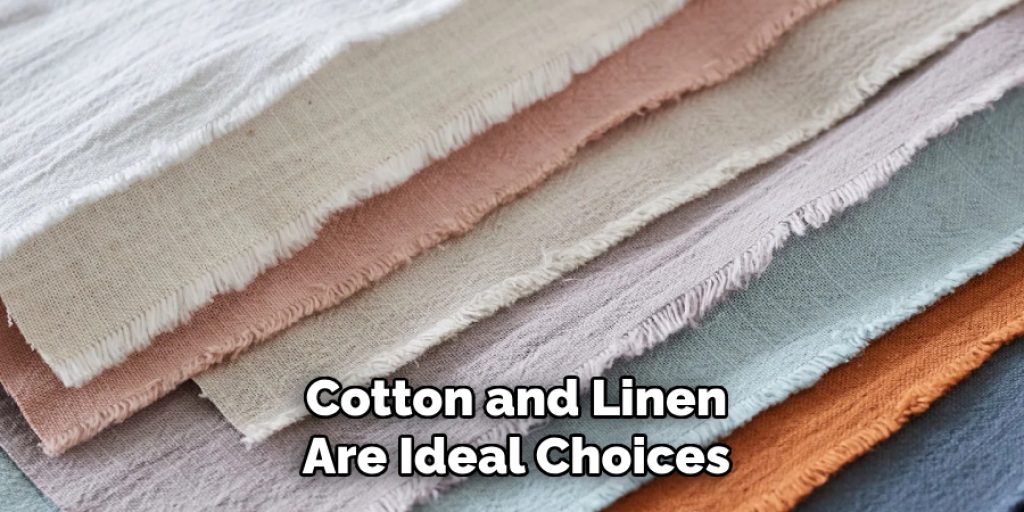
Selecting the appropriate fabric and thread is crucial for successful leaf embroidery. Fabric types such as cotton, linen, and canvas are ideal for this craft. Cotton is soft and easy to work with, making it a popular choice for beginners. Linen offers a slightly textured surface that can enhance the appearance of your stitches. Canvas, known for its durability, is perfect for more robust projects and can withstand extensive stitching.
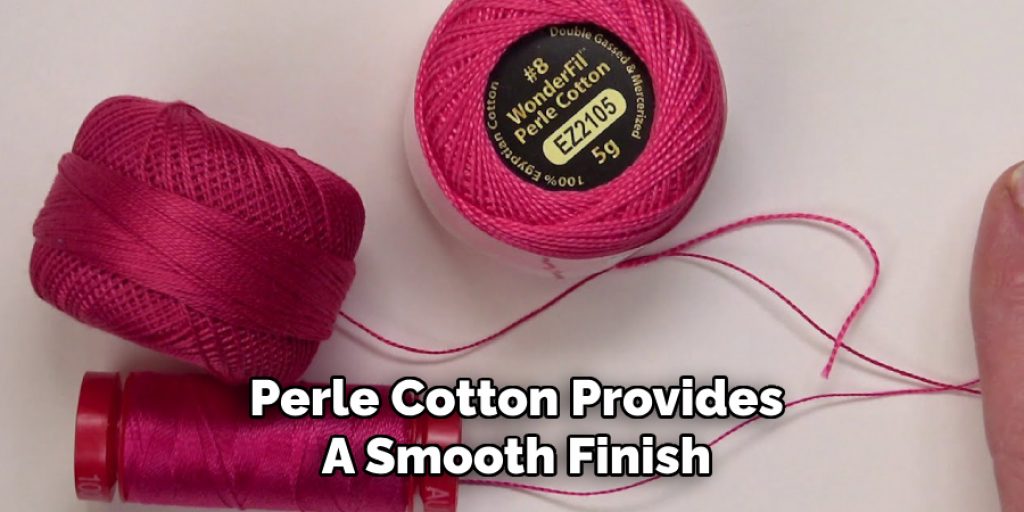
Consider options like embroidery floss, perle cotton, or specialty threads when it comes to thread. Embroidery floss, available in multiple strands, allows for versatility in thickness and color blending. Perle cotton provides a smooth finish and is ideal for more defined stitches, while specialty threads can add unique textures and effects. Striking a good balance between fabric and thread color will create a cohesive design; consider choosing thread shades that complement your fabric choice for a harmonious look.
Preparing Your Design
Preparing your leaf design is an integral step in the embroidery process. Begin by creating or selecting a leaf design that resonates with your vision, whether through sketching freehand, tracing from a reference image, or using patterns available online. Once your design is conceived, transfer it onto your chosen fabric, utilizing a water-soluble marker or tracing paper for precision.
This will ensure clean lines and reduce the risk of error. After transferring the design, position it carefully within the embroidery hoop, ensuring that the fabric is taut and aligned with your intended embroidery area. Properly preparing the design will create a successful and enjoyable stitching experience.
How to Embroider Leaves: Basic Embroidery Stitches for Leaves
1.Back Stitch
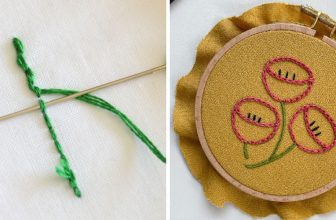
The back stitch is foundational and perfect for outlining leaf shapes and adding definitions. To create a back stitch, start by inserting the needle from the back of the fabric to the front, pulling it through, and then inserting the needle a short distance ahead. Bring it back through the last stitch made to create a continuous line. This stitch is particularly effective for outlining leaves, making them stand out. To achieve even and clean lines, maintain consistent spacing between stitches and pull the thread taut but not overly tight to avoid puckering.
2.Satin Stitch
The satin stitch is excellent for filling in the leaf shape, providing a smooth and glossy finish. Start by outlining the leaf shape with a back stitch or another preferred stitch to work a satin stitch. Then, fill the inside of the leaf by working parallel stitches from one edge to the other, closely packed for a solid fill.
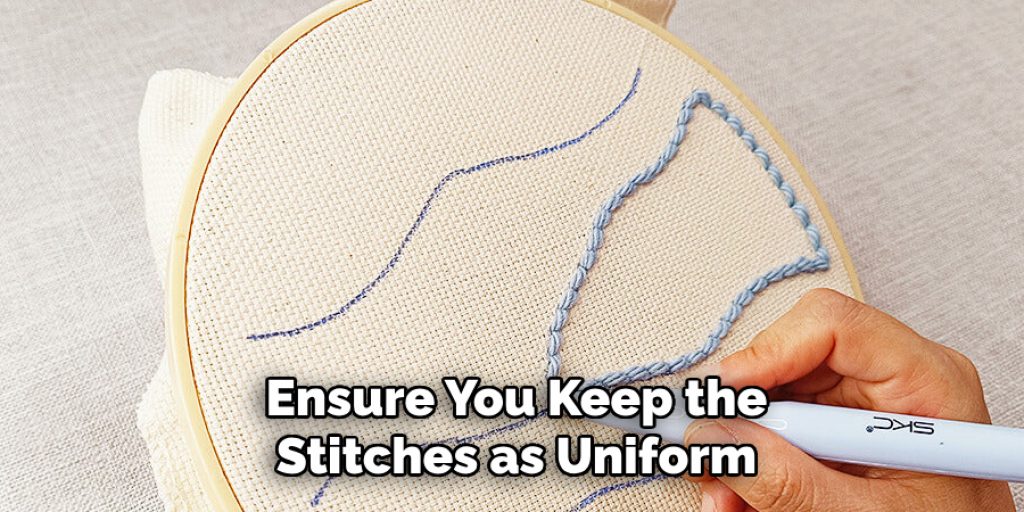
Ensure you keep the stitches as uniform as possible for a polished look. Tips for smooth and consistent coverage include using a single thread for a delicate finish and varying the direction of the stitches to create depth and texture.
3.French Knots
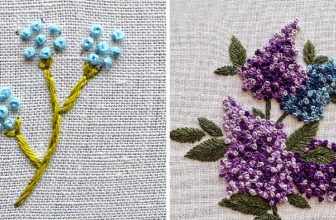
French knots add a lovely three-dimensional detail to leaf embroidery, imitating the texture of veins or other intricate features. To create a French knot, bring your needle up through the fabric, wrap the thread around the needle two to three times, and insert it back into the fabric close to where the needle originally came out. Pull the thread taut as you push the needle back through the fabric to secure the knot. Tips for achieving uniform knots include using the same number of thread wraps each time and maintaining consistent tension to ensure evenly sized-knots throughout your project.
Finishing Touches
Once your leaf embroidery is complete, focusing on the finishing touches is important to enhance your work’s overall appearance. Start by carefully securing and trimming loose threads at your fabric’s back. This not only helps to create a neat finish but also prevents potential snagging. Next, if you used a water-soluble marker to transfer your design, remove any remaining marking lines by rinsing or gently dabbing with a damp cloth.
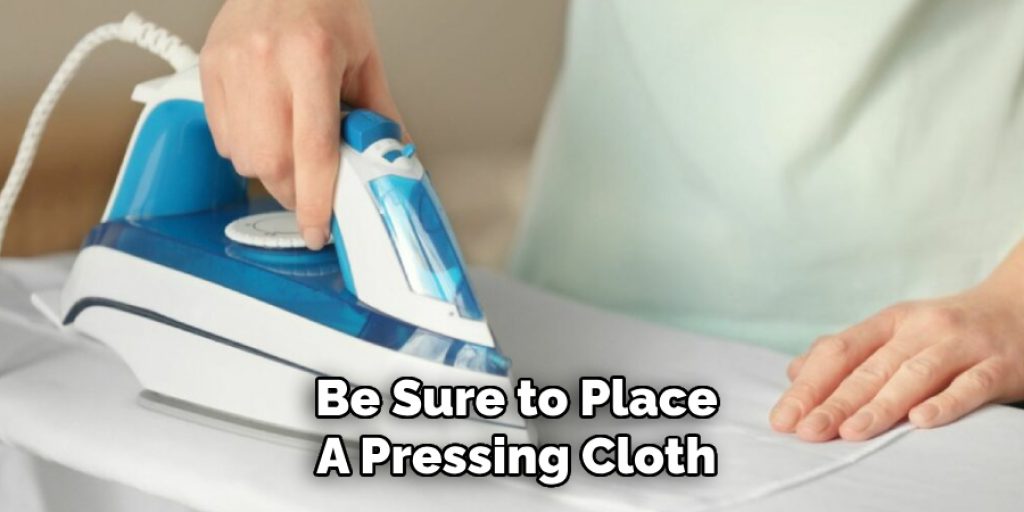
After this, press your fabric with a warm iron to smooth out any wrinkles and set your stitches in place. Be sure to place a pressing cloth between the iron and your embroidery to protect it. Taking these final steps will help ensure your project looks polished and professional, ready to be displayed or used.
Troubleshooting Common Issues
During embroidery, you may encounter some common issues, such as puckering or uneven stitches. If you notice puckering, this often results from pulling the thread too tightly; try adjusting your tension for a more even stitch. For correcting mistakes, don’t be afraid to remove and restitch sections as necessary—this is part of the learning process.
Maintaining a neat and professional finish involves being mindful of your stitching technique, consistently practicing your preferred methods, and taking your time when working. Your leaf embroidery will turn out beautifully with patience and attention to detail.
Displaying and Using Your Embroidered Leaves
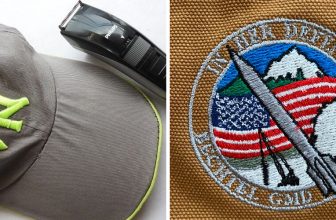
Incorporating your embroidered leaves into various projects can elevate your creations and showcase your handiwork. For clothing, consider sewing the leaves onto jackets, bags, or even hats for a unique touch. In-home décor, framed embroidery can serve as stunning wall art, while embroidered patches can embellish cushions or table runners. When displaying your work, opt for a suitable frame with matting that complements the colors in your design, enhancing its visual appeal.
To ensure the longevity of your embroidered pieces, protect them from direct sunlight, and consider using glass or acrylic in your framing to prevent dust accumulation and fading. Regularly check for loose threads and carefully handle your pieces to preserve their beauty.
Frequently Asked Questions (FAQs)
What Materials Do I Need to Start Embroidery?
To begin your embroidery journey, you will need basic materials such as fabric, embroidery floss or thread, needles (specifically embroidery needles), an embroidery hoop, scissors, and a water-soluble marker or tracing paper for design transfer. Optional items include a thimble for finger protection and a pressing cloth for ironing.
How Do I Choose the Right Fabric for Embroidery?
When selecting fabric for embroidery, consider the weight and weave of the material. Cotton and linen are ideal choices for beginners due to their sturdiness and availability. A tightly woven fabric works best for intricate designs, while lighter fabrics may require backing to support the embroidery.
Can I Wash My Embroidered Pieces?
Yes, you can wash your embroidered items, but it is crucial to follow specific care instructions. Hand washing in cold water with a mild detergent is recommended to preserve the integrity of the threads and fabric. Avoid wringing or twisting the fabric to prevent distortion of the design.
How Do I Prevent My Embroidery from Becoming Loose?
To prevent your embroidery from becoming loose over time, ensure that your tension is consistent while stitching, and secure loose threads carefully at the back. Additionally, using a suitable backing material can add stability to your work.
What Should I Do if I Make a Mistake While Stitching?
Mistakes are part of the embroidery process, so don’t fret! If you notice errors, you can carefully remove the stitches using a seam ripper or small scissors and restitch the area. Practicing patience is key, as embroidery is a skill that improves with time and experience.
Conclusion
In summary, learning how to embroider leaves involves choosing the right materials, preparing your design, and mastering essential stitching techniques. Each step culminates in a beautiful piece that reflects your creativity and passion. Do not hesitate to experiment with different designs, stitch types, and color combinations to make each embroidery project truly your own. The satisfaction of creating custom embroidered items is unmatched; it allows for personal expression and results in functional and artistic pieces that can be treasured for years to come.

