How to Fasten Off Crochet
Understanding how to fasten off crochet is a crucial skill for any crocheter, whether you’re a beginner or an experienced artisan. Fastening off refers to finishing your crochet project securely so that your yarn doesn’t unravel and the stitches remain intact. This technique is vital because it ensures the longevity of your work and gives your project a polished appearance. In this article, you will learn detailed steps and techniques to fasten off crochet properly, along with tips for different types of projects. Mastering this essential process will enhance your crochet skills and ensure a crisp finish to every piece you create.
Materials Needed
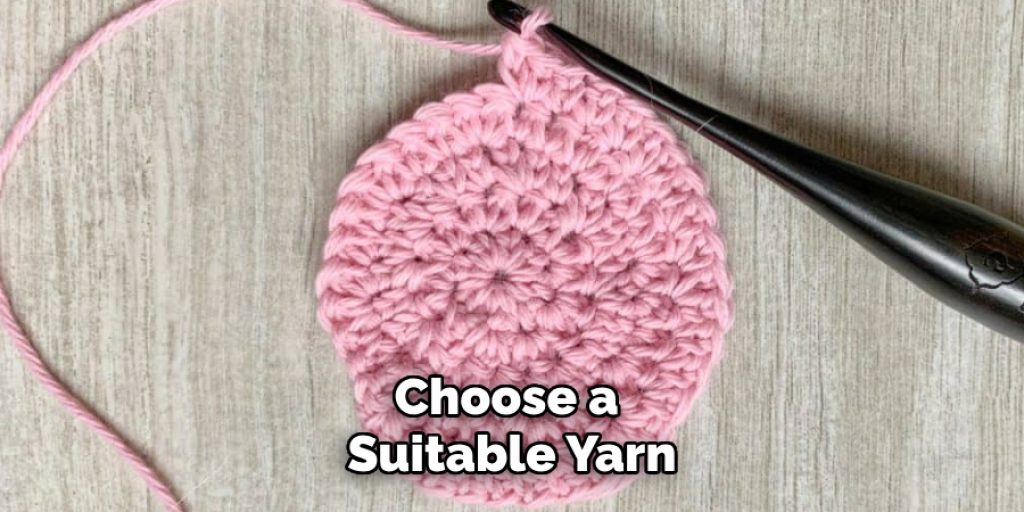
You’ll need a few essential tools to fasten off your crochet projects. Start with a crochet hook that matches your yarn size for optimal tension. Choose a suitable yarn that aligns with your project requirements, and keep a pair of scissors handy for cutting the yarn. A tapestry needle is necessary for weaving in ends securely. Additionally, optional tools such as a yarn needle threader can simplify the threading process, while stitch markers may help keep track of your work as you fasten off. Having these materials at your disposal will facilitate a smoother finishing process.
How to Fasten Off Crochet: Basic Fastening Off Technique
Finishing the Last Stitch
To complete the last stitch of your crochet project, first, ensure you are working with the final stitch of the last row. Yarn over and pull through both loops on the hook to finish the stitch. This action should create a clean and tight finish, ensuring the stitch is secure and consistent with the rest of your project. It’s important to maintain the same tension as the previous stitches for a seamless look. If working in a pattern, follow any specific instructions provided, as maintaining the project’s integrity is essential for its overall appearance.
Cutting and Securing the Yarn
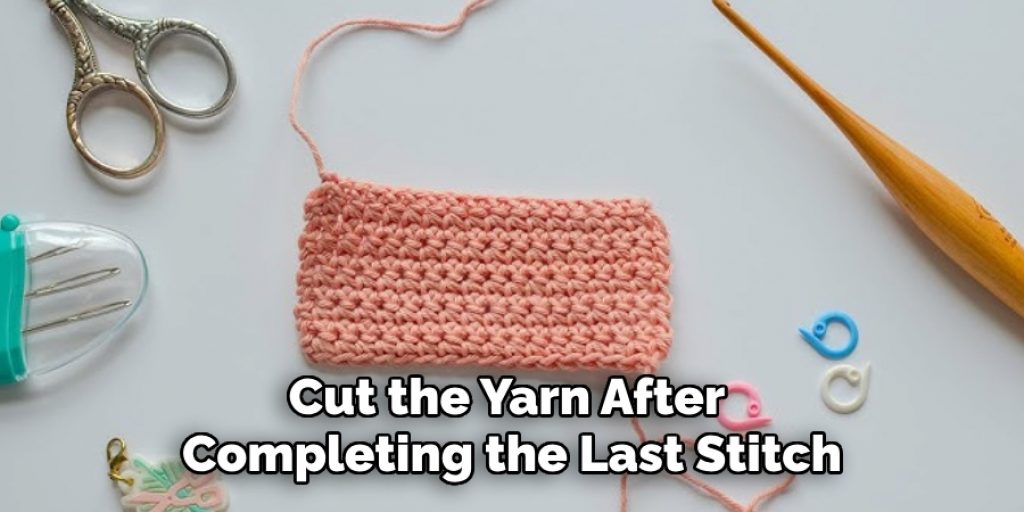
Once you have finished the last stitch, it’s time to cut the yarn. Use your scissors to snip the yarn, leaving a tail of at least six inches to make weaving easier. After cutting, pull the yarn tail through the last stitch you completed to secure it. This helps prevent any unraveling and keeps your work intact. Make sure the tail is tight enough to hold the stitch but not so tight that it distorts the shape of your project. Regularly check that the yarn ends are secure to avoid any future fraying or loosening.
How to Fasten Off Crochet: Weaving in the Ends
Threading the Tapestry Needle
To thread your tapestry needle with the yarn tail, cut the yarn’s end at a slight angle. This will make it easier to feed through the eye of the needle. Choose a tapestry needle that is appropriate for your yarn; a larger gauge needle works well with thicker yarns. Ensure the needle is sturdy enough to handle the yarn without bending or breaking, especially if you’re working with heavier materials.
Weaving the Yarn into the Project
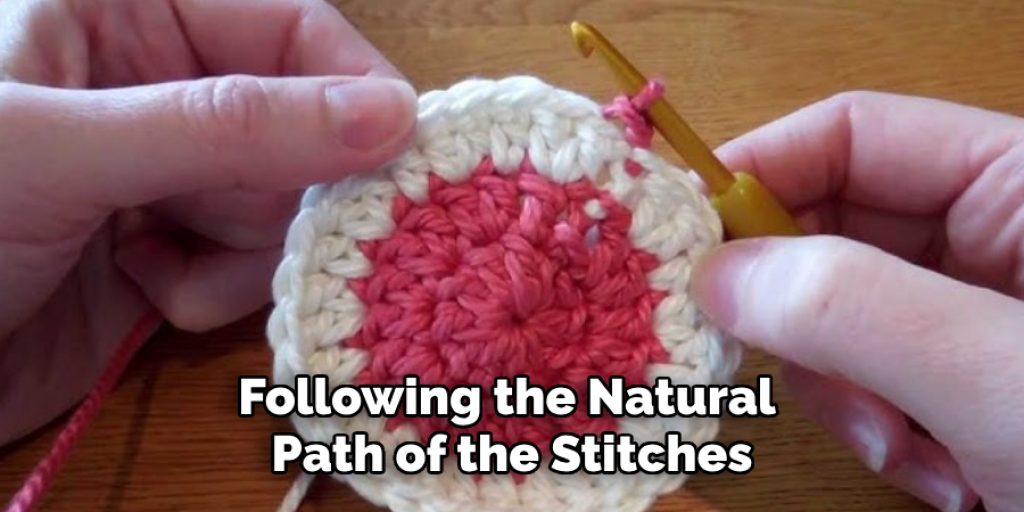
When weaving the yarn end into your project, insert the needle through several stitches on the backside of your work, following the natural path of the stitches. This helps keep the ends concealed and secure. For projects like blankets, you may want to weave the ends back and forth through different rows, while for garments, it often suffices to weave into just a few stitches. Always take care to hide the ends well, so they don’t become visible, which could detract from the professional finish of your piece. A good rule of thumb is to weave in at least three inches before trimming any excess yarn.
Techniques for Different Types of Crochet Projects
Fastening Off for Amigurumi
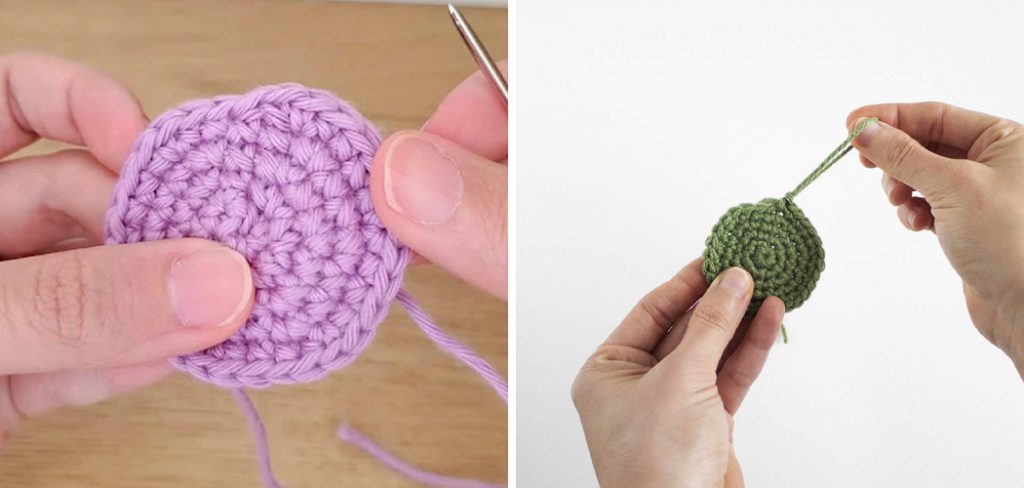
When fastening off yarn for amigurumi projects, it’s essential to consider the three-dimensional nature of these creations. Cut the yarn after completing the last stitch, leaving a long tail, typically around 12 inches. To secure the yarn end effectively, thread it through the tapestry needle and weave it into the last stitches to lock the shape in place. Amigurumi often involves multiple joinings and closures, so it’s crucial to hide the yarn tail within the hollow interior of the plushie. This can be achieved by pushing the needle through a few stitches inside before trimming the excess yarn. Ensure that the yarn end is snug but not too tight, as this could distort the plush shape.
Fastening Off for Garments and Accessories
Finishing off yarn in garments, scarves, and hats requires attention to both functionality and aesthetics. After fastening off, carefully weave in the ends following the natural direction of the stitches to maintain consistency in appearance. You want to avoid bulky knots for garments, especially with different color changes. Instead, carry your yarn through the stitches when changing colors and finish off each color at the end of the row, intertwining them if necessary to keep everything secure. Remember to leave a yarn tail that’s long enough to weave into at least three stitches to prevent any unraveling. Adjust the tension as you weave to ensure a smooth and professional finish, making your handmade items ready for wear or gifting.
Common Mistakes and How to Avoid Them
When fastening off crochet projects, several common mistakes can compromise the quality of your work. One frequent error is cutting the yarn too short, which can make it challenging to weave in the ends securely. Always leave a tail of at least six inches to allow for effective weaving without the risk of unraveling. Another mistake is pulling the yarn too tight when securing the last stitch. This can distort your project’s shape, leading to an uneven finish. Aim for consistent tension that matches your previous stitches for a polished look.
Additionally, failing to secure the yarn ends properly is a common issue. Be diligent in weaving the ends into the project, hiding them well to avoid visibility. Many crafters overlook the importance of testing their finished products for durability; consider gently tugging on the yarn ends to ensure they’re secure. Lastly, when working on intricate projects like amigurumi, neglecting to tuck the yarn ends inside the plush can result in loose threads. Take extra time to push the needle through the interior stitches, securing ends within the body of the piece for a neat and tidy finish.
Final Touches
After securing all the yarn ends and ensuring that your crochet project is well-finished, it’s time to add the final touches that will elevate your work. First, gently wash your piece and block it if necessary. This process can help to even out any irregular stitches and relax the fibers, lending a more polished shape. For garments and accessories, consider how you want the sizing and drape to look; blocking can make a significant difference in the final presentation.
Next, examine your project for any loose threads or uneven edges. For those making amigurumi or intricate designs, adding embellishments such as buttons, eyes, or additional details can bring your creation to life. If applicable, be sure to attach any embellishments securely to withstand handling, particularly with toys.
Finally, consider the overall care of your piece. If you’re gifting your project, include washing instructions so the recipient knows how to maintain its beauty. Taking these extra steps ensures your crochet work looks exquisite and remains enduring and cherished for years to come. With these finishing touches, your project is ready for display or to be delightfully received by its new owner.
Frequently Asked Questions (FAQs)
How Do I Ensure My Yarn Ends Are Securely Woven In?
Always leave a tail of at least six inches after fastening off to ensure your yarn ends are securely woven in. Weave the ends through several stitches on the back of your project, following the direction of the stitches. For amigurumi, tuck the ends within the plush to hide them effectively.
What Can I Do if I Accidentally Cut My Yarn Too Short?
If you accidentally cut your yarn too short, you may need to carefully unravel a few stitches to create a longer tail for weaving in. If this is impossible, you can reattach a new piece of yarn and carry it through the stitches for concealment.
Is Blocking Necessary for All Crochet Projects?
Blocking is particularly beneficial for projects that require a polished finish, such as garments and accessories. While it might not be essential for every project, it can help even out any irregularities and relax the fibers for a neater appearance.
Can I Wash My Crochet Project, and How Should I Care for It?
Yes, you can wash your crochet project, but care instructions vary depending on the yarn used. It’s best to check the label for specific washing guidelines. If gifting the project, include these care instructions to ensure the recipient can maintain its quality.
How Can I Add Embellishments to My Project?
To add embellishments, such as buttons or decorative elements, sew them securely to your project with a needle and thread, ensuring they are firmly attached to withstand handling. Be mindful of placement to enhance the overall design of your piece.
Conclusion
In summary, knowing how to fasten off crochet projects properly is essential for achieving a clean, professional finish. The key steps involve completing the last stitch, cutting and securing the yarn, and weaving in the ends thoughtfully. Practice and patience are vital in mastering this technique, as each attempt brings you closer to perfection. A clean finish plays an important role in the final presentation of your work, making it suitable for display or gifting and enhancing the satisfaction of your crochet journey. Embrace the learning process, and watch your skills flourish!


