
How to Finish Drywall Around a Shower
If you’re looking for a do-it-yourself project to spice up your home, drywall is an excellent choice. With the right tools and techniques, you can create a space that’s perfect for relaxing. For example, if you want to install drywall around your shower stall, this guide will help.
Drywall is a quick and easy way to finish the walls in your bathroom, but it can be tricky when there’s plumbing and fixtures. It’s essential to know how to finish drywall around a shower, so you don’t end up with an unfinished wall that looks bad or becomes damaged. This article will show you step-by-step instructions on how to do this project yourself!
8 Ways on How to Finish Drywall Around a Shower:
The following is a list of the top ten ways on how to finish drywall around a shower. They are listed in no particular order, as each option can provide a flawless result.
1) Screw and Cover Plates:
Screw cover plates into the wall at several locations on either side of where you will be cutting out the drywall. These screws will stay in the walls and keep the drywall from falling out as you cut.
You can then take a small piece of drywall and screw it over the hole where the drywall is missing. The screws holding this board should be flush with the back of the board, but not too long that they go all the way through to the front of the board.
2) Nail and Cover Plates:
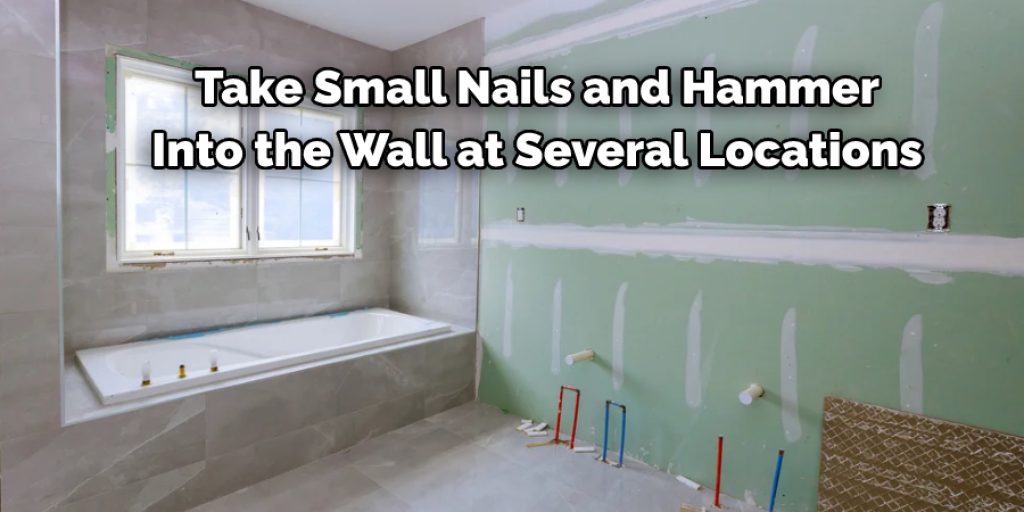
If you do not have screw and cover plates, take small nails and hammer them into the wall at several locations where you will cut out the drywall. Since this is just for a clean look, these nails should not hold any weight. Once the drywall is in place, the nails will be covered up.
3) Piece of Wire:
If no screws or nails are available to you, a piece of wire can also do the trick. First, push a large safety pin through one end of a long wire and out the other side. This process will leave both ends sharp. Next, bend the two prongs at the end into small circles.
Use these circles to drill into the wall at several locations on either side of where you will cut out the drywall. The piece of wire will stay in place and keep the drywall from falling out as you cut, just like with screw cover plates.
4) Prop the Drywall Up:
Prop the drywall up against one side where you will be cutting out the drywall. This prop can be anything long enough to span the distance between the wall and ceiling. Screws, nails, or wire are all excellent options for this method.
5) Use Adhesive Putty:
Put adhesive putty on one side of the drywall where you will cut it. Then lift this side so you can screw, nail, or wire something into place on the other side that will hold this drywall up. This method allows you to use screws, nails, or wire to hold up the drywall.
6) Use Screws and Goof Plugs:
Take a hole saw at the same diameter as the screw head and use it to drill small holes around where you will cut out the drywall. Then take some wood putty of similar color to your wall paint and fill in all holes.
After this is dried, you can screw screws called goof plugs into the center of each hole. These screws will be slightly recessed into your wall and hold up the drywall without showing that they are there.
7) Plastic Wall Anchors:
Place plastic wall anchors in some of the holes you drilled around where you will cut out the drywall. The wall anchors may have a threaded screw-like section to be screwed in place. If they do not, push them into the drywall until they flush with the wall. Then cut out your piece of drywall and replace it with a smaller section.
8) Drywall Hanger:
A drywall hanger, which can be found at your local hardware store for under $5, is another method that lets you cut out the drywall without it falling into the shower. Use this hanger by placing it on top of your piece of drywall and then sliding it over until it fits snugly against one side of the corner where you will be cutting. Then place screws or nails through each loop to hold the drywall in place while you cut.
Cut around the outside of your home that you will be cutting out with a drywall saw. The drywall saw should match the diameter of your screw heads or nails, whichever you use to prop up the piece of drywall as it is cut. Then, using a circular motion as you go, cut deeper until your entire circle is eventually cut out.
Some Tips and Tricks:
1. If you want to mount anything or have a completely smooth surface for painting or tiles, please leave a more significant gap between the drywall and the shower surround.
2. If you plan on putting in a shower door frame later, you can attach it to the existing framing.
3. If you choose to mount a grab bar, make sure it is near a stud and use proper screws.
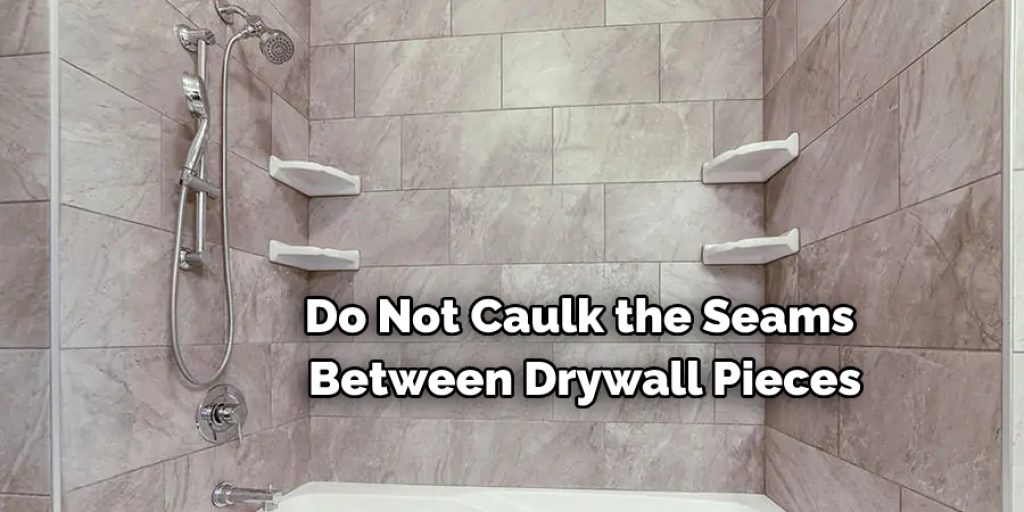
4. Do not caulk the seams between drywall pieces or where they meet the shower surround. Glue and screw drywall instead.
5. Make sure that your walls are strong enough for whatever you want.
6. If you are unsure, hire an expert or contact a builder to help you finish your drywall.
Conclusion:
To finish the drywall around a shower, you need to install the backer board on the floor. Then, apply thin-set mortar over this and allow it to sit overnight before installing your tile or carpeting. If you’re unsure how to do any of these steps, then find a professional who can help you!
The drywall should be sealed before it is finished, and a new coat of paint will make the wall look more finished. If you have any questions about how to finish drywall around a shower or need help with your project, we’d love to hear from you!
Read another post – How to Get Drywall Dust Out of Lungs.
Angela Ervin
Angela is the executive editor of DIY quickly. She began her career as an interior designer before applying her strategic and creative passion to lifestyle and home. She has close to 15 years of experience in creative writing and online content strategy for housekeeping, home decorations as well as other niche efforts. She loves her job and has the privilege of working with an extraordinary team. She lives with her husband, two sons, and daughter in Petersburg. When she's not busy working she spent time with her family.


