How to Finish Embroidery Hoop
Finishing your embroidery hoop is essential to display your finished piece. It gives the project a polished and professional look and protects it from dirt and damage. With finishing, the edges of the fabric can stay intact and even unravel over time. Finishing also allows you to hang your work easily since each hoop will have a loop for hanging.
One of the biggest advantages of finishing an embroidery hoop is that it gives the embroidery a professional look. Finishing the hoop adds a neat touch and can help make the piece look more polished and refined.
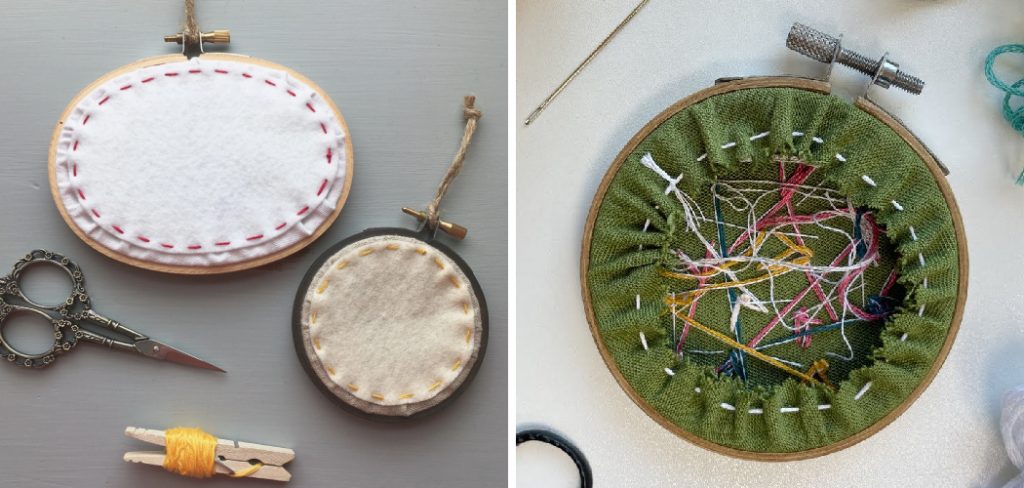
Finishing off the edge of an embroidery hoop also helps keep the fabric from fraying. It stops any stray threads from unraveling, which can destroy the look of a piece and make it difficult to work with. In this blog post, You will learn how to finish embroidery hoop.
Materials You Will Need
- Embroidery hoop
- Scissors
- Needle and thread (preferably embroidery floss or all-purpose thread)
- Piece of scrap fabric, preferably in a color that coordinates with the embroidered design
- Sewing pins
- Iron
- Piece of batting or felt (optional)
- Ribbon or other decorative trim (optional)
- Hot glue gun or fabric glue (optional)
- Embellishments such as beads, buttons, etc. (optional)
- Sewing machine (optional)
Step-by-Step Processes for How to Finish Embroidery Hoop
Step 1: Inspect the Back
Before you start the actual finishing part, make sure to inspect your embroidery hoop from the back. Look for loose threads or tacks that need tightening for a neat finish.
Step 2: Trim Away Unnecessary Threads
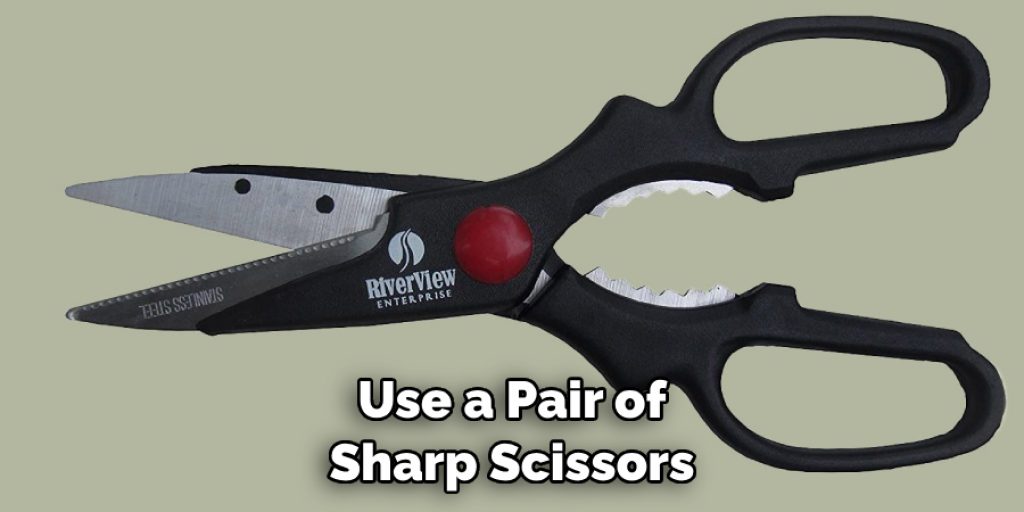
Once you’ve checked over the back of your hoop, it’s time to trim away any unnecessary threads. Cut off any loose strings that could be visible from the front. You can use a pair of sharp scissors to do this. Carefully remove your hoop, being careful not to damage or pull on the embroidery stitching.
Step 3: Iron Away Any Creases
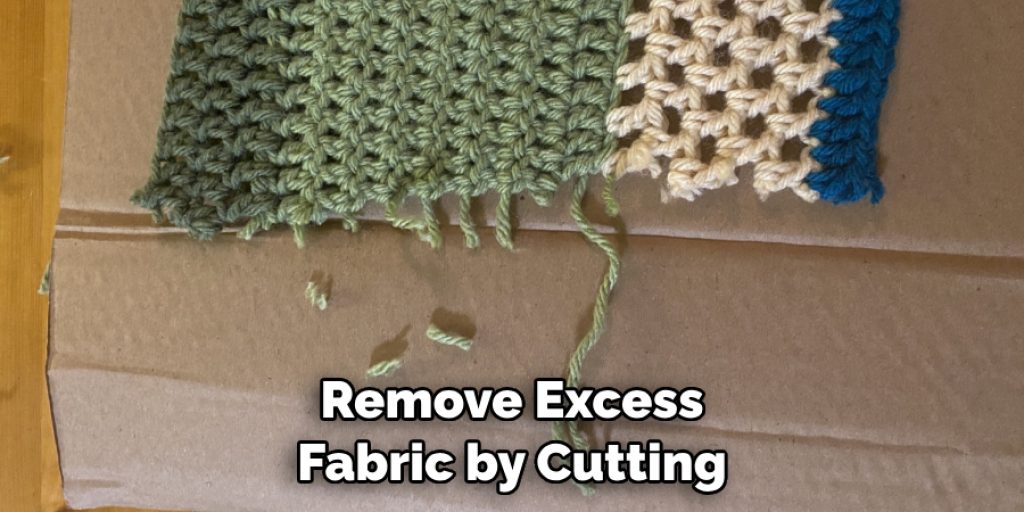
Lay your embroidery flat and use an iron to press away any creases. This will help you achieve a professional-looking finish. Using sharp scissors, cut away any excess fabric extending beyond the stitching. Leave about ½” of fabric beyond your stitches to cover the hoop completely.
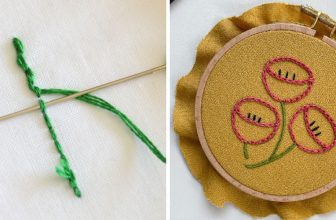
Step 4: Stitch the Edges
If you want a more finished look, you can stitch around the edges of your hoop using a needle and thread. This will help keep everything in place and provide extra protection against fraying or coming undone over time. If you use a fabric hoop, you can apply a light coat of spray-on fabric sealant to help protect the stitching from wear and tear.
Step 5: Glue or Tape Down the Backing Fabric
Once your protective layer is dry, glue or tape down the backing fabric around the hoop. This will help keep everything in place and ensure your embroidery stays neat. You can use a few staples or tacks to secure the fabric to the back of the hoop, making sure not to pull too tightly on it. This will help keep everything in place over time.
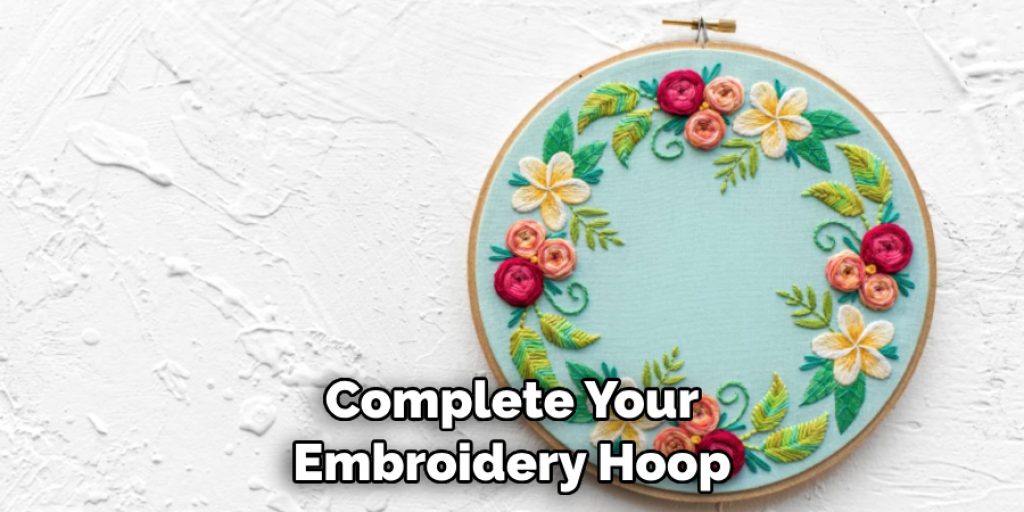
Step 6: Hang and Display
Once everything is secure, you can hang your finished hoop and display it proudly. With a few simple steps, you’ve created a beautiful work of art that you can enjoy for years.
Finishing an embroidery hoop may initially seem intimidating, but it doesn’t have to be. By following this process, you can create a professional-looking piece of embroidery to be proud of.
Safety Precautions for How to Finish Embroidery Hoop
- Use needle and thread to neatly secure the back of your hoop with a few stitches – this will help keep the fabric stretched and secure in the hoop while you work.
- When cutting away excess fabric, use sharp scissors that are intended for crafts or embroidery only – do not use regular household scissors as it can cause fraying or snagging of the thread or fabric.
- Ensure your hoop is secured tightly, with even tension on both sides, before you begin embroidering to ensure the best results.
- When changing thread and fabric colors, always tie a secure knot at the end of the previous color – this will help keep your stitches in place and prevent unraveling from occurring.
- Use a thimble to protect your fingers from sharp needles and potential punctures.
- If not already done, finish any stitching with a French knot at the end – this will help keep your stitches in place and prevent unraveling from occurring.
- When finished, remove excess fabric by cutting close to the hoop’s edge – do not pull the fabric away from the hoop, as it can cause damage. Then, use a damp cloth to remove any loose threads or excess glue that may have accumulated.
These safety precautions will help you finish your embroidery hoop project safely and with beautiful results! With the right materials and techniques, you can create stunning works of art with your embroidery hoop.
How Can You Prevent the Fabric From Fraying at the Edges?
It is important to prevent fraying when finishing an embroidery hoop, as the fabric’s edges can become damaged if exposed. To avoid this, you can use a few techniques to secure your fabric’s edges. One option is to zigzag stitch around the edge of the fabric before framing it in the hoop. This will help keep the fabric from unraveling.
Another approach is to use fray check, a liquid seam sealant that prevents fraying when applied directly to the fabric’s edges. You can also use a glue gun and apply a thin line of hot glue along the edge of the fabric before placing it in the hoop.
If you are working with felt or other thick fabrics, you can use pinking shears, which will help keep the fabric from fraying. You can also use binding tape or fold-over elastic to secure the edges of the fabric and add a decorative touch at the same time.
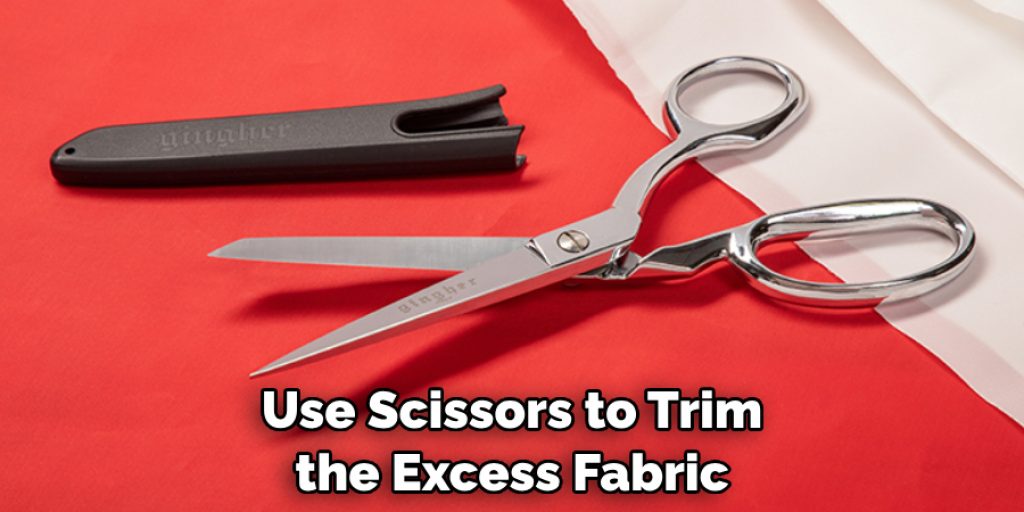
Is There a Certain Way to Trim the Excess Fabric From the Back of Your Hoop?
When you’ve finished stitching your design, trim away the excess fabric from the back of the hoop. You can use scissors to cut away any extra material that extends beyond the edges of the inner circle of the embroidery hoop.
Ensure not to cut into your stitches or pull too hard when removing excess material. For a neat finish, fold over the edges of the fabric over the inner hoop. Use a needle and thread to tack down these edges or a hot glue gun for a quick and easy fix.
If you’re working with felt, cut away any excess material, stitch it onto an outer hoop (or use fabric glue) to secure the back, and complete your embroidery hoop. If you use a plastic embroidery hoop, attach the outer hoop to the inner hoop and tighten the screw. Then flip your project over to check that there is no excess material poking out of the back. If so, trim it away with scissors or secure it with thread or glue, as above.
What Do You Need to Know About Protecting and Caring for Your Completed Project?
Once you have finished an embroidery hoop project, there are several steps to protect and care for your hard work. Depending on the size of the hoop, it may contain anywhere from two layers up to a dozen or more. All these layers need protection and special consideration when storing or displaying your finished work.
The most important step for protecting and caring for your project is applying a light varnish or sealant coating. This will provide a protective barrier between the layers while also giving it a polished look. Be sure to read all instructions carefully before applying any sealant or varnish.
You can also frame your work to protect it from wear and tear. There are several options for framing embroidery hoops, including wooden frames and canvas stretchers. Be sure to select a frame appropriate for the hoop size and the type of stitches used. Once framed, your work must be hung in an appropriate location.
Choose a spot away from direct sunlight or heat sources, as these can cause fading or discoloration of fabric and thread. Additionally, try to hang it in a location that is not subject to a lot of traffic, as this can also contribute to wear and tear.
How Can You Easily Identify Where to Start and End Each Stitch in Your Project?
When finishing an embroidery hoop, the most important thing is knowing where you start and end each stitch. To help with this, many people like to use a small piece of tracing paper or butcher paper over their fabric to make marks on it as they go along.
You could also use a light box if available. To help keep the tension in your embroidery hoop even, use a ruler to measure out from the center of the hoop, and make a mark each time you want to end one stitch and begin the next.
If you are using multiple colors, use different colored pens or pencils to represent each color so that it is easier to keep track of which stitch and color you are using. Once you have finished stitching, securing the threads along the outside edge is important so that they don’t come undone over time.
You can do this by tying a tight knot at the end of each thread before cutting it off or by tucking the ends into the back side of your work. Finally, use scissors to trim the excess fabric around the edges of your hoop.
Conclusion
In conclusion, learning how to finish your embroidery hoop can be exciting! With the right materials and tools, you can create a beautifully finished piece that you can enjoy for years. If you take the time to master the basics of preparing and finishing your project, it will pay off in the end.
When the embroidery hoop is complete, you can be proud of your hard work and creativity. Reading this post has helped you learn how to finish embroidery hoop. Make sure the safety precautions are carried out in the order listed.
Nancy Behan
Nancy is an embroidery artist, fashion blogger and a full time editor at DIY quickly. Nancy edits the fashion section on DIY quickly, focusing on the embroidery and cross stitch articles, alongside with fabric and other costume design elements. She graduated from the University of Michigan with a Bachelor of Arts in Art History. She loves to work on her own projects, read books and watch romantic movies in her spare time.