How to Build a Canvas Stretcher
Introduction
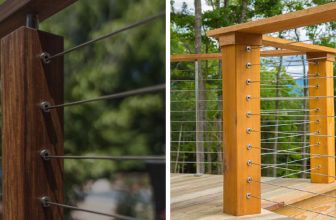
Painting is always a great way to express the innovative aspect of the human mind. Many people take up painting as a profession rather than a hobby and use it to express their thoughts and words. For such professionals having a canvas stretcher is much needed. It helps create a safe place to paint, and the entire process becomes straightforward to perform. For this reason, today, we will suggest a unique technique to build a canvas stretcher. This will be much beneficial for the painters, especially for those interested in DIY activities. The steps included in this process are simplified below.
Procedure
This method will use some necessary machinery to make the canvas stretcher. For this, you will need some instruments, among them a table saw is essential. This will be required to cut the wood into the required pieces. You will need a pocket hole jig, which will be needed for making holes in the panels. Then you will need a nail gun and drill machine. Then you will need some metal fasteners. You will also need some pencils and a measuring tape for marking the places. You will also need wood glue and molded panel for the contouring.
After you have managed all this equipment, you can start working. The first step of this method is to determine the panel. The dimension of the panel depends on the type of canvas you want to use. The measurement of the canvas is the prime factor for this. So at first have to cut the exterior panel for this process. You have to cut two wooden panels of the appropriate size.
You have to measure the width of the forty-inch panel, then take two wooden boards and measure the length of those panels. And you have to subtract the width of the longitudinal panels from the total width, which is twenty inches. Then you have to cut two wood panels according to the new dimension. This will be the wood along the width of the stretcher. This way, you have to obtain the total exterior frame for the canvas stretcher. Now you have to go for the interior wood panels. For this, again, you have to measure the total border thickness of the frame.
You have to keep both the width of the panes the same. For this, you have to use the same wood. Now you have to take a measuring tape and end the distance between the parallel panels. It will be best to use only wood panels in the long direction. Because too much framing will induce more fasteners, this will harm the entire stretcher. Now you have to cut the interior panels according to the end-to-end distance. A forty inches stretcher should use two interior wood panels situated at an equal distance. After cutting all these wood pieces, you must start attaching them and preparing the entire stretcher.

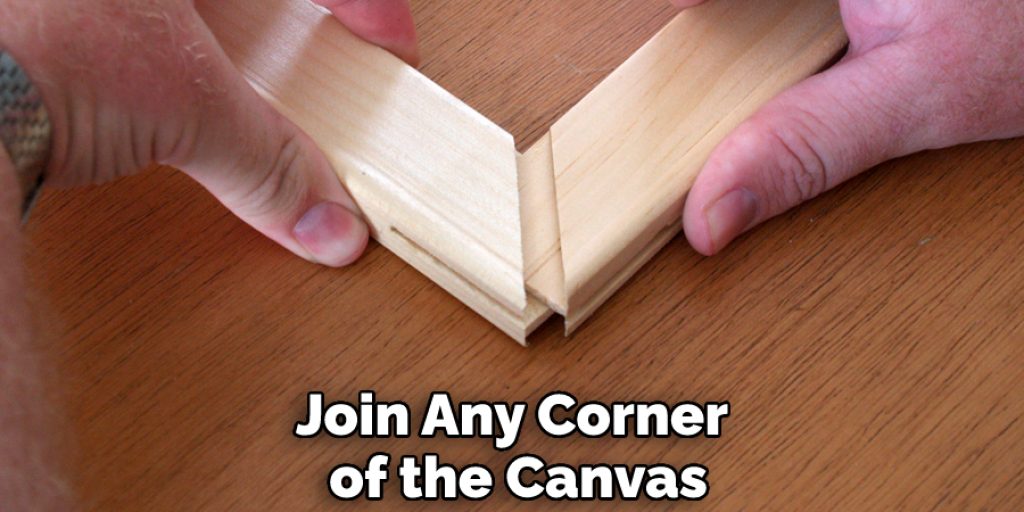
Now you have to drill the wood panels to connect them. There should be a level and clamp for this purpose. The level should be used to ensure that the frame is perpendicular to each other. You will need a drill machine with a suitable drill bit for drilling purposes, and then you will need a pocket hole jig for this process. The pocket hole jig should be placed at the edge of the short wood panels, and then, using the drill machine, you have to drill at least three holes. This is important because the attachment at the corner of the frame is an essential part of the entire stretcher.
After you have dug the holes on both corners of the exterior panels and the interior frames, you have to start connecting the total wood panels. For this, you will need wood glue, a clamp, and a drill machine. You have to add some wood glue at the edge of the frame, then place it perpendicularly with the longitudinal structure, and then put a perpendicular level along the border. This will help keep the alignment of the corner contour. Now you have to use the clamp to strengthen the frame, and then you have to use the drill machine to connect the fasteners.
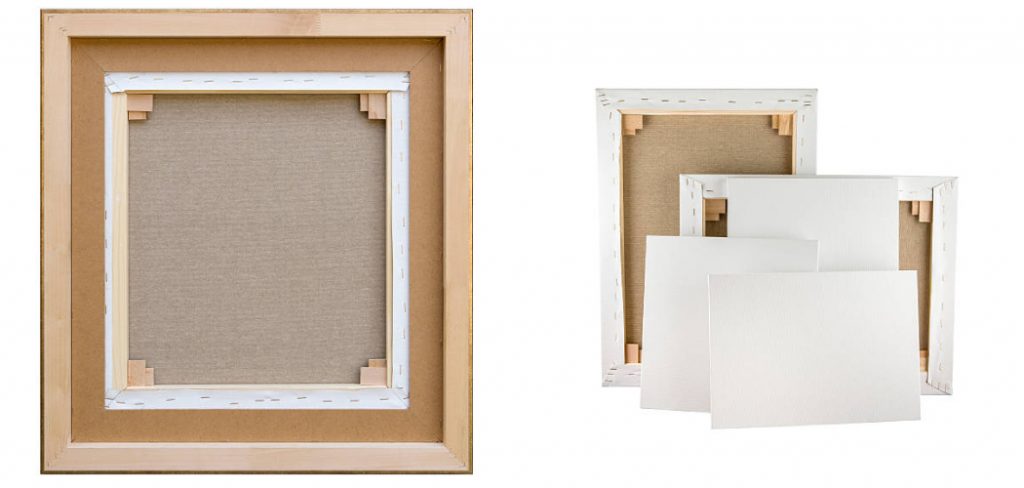
Once the total panel is prepared, you must keep it for drying. You can control it for one day for the whole glue to dry and the full frame to settle. Then you have to attach the mold along the boundary of the stretcher. For this, you have to take the wood molds, and then you have to measure the perimeter, and then cut the molds according to the measurement. You have to use a table saw to cut these molds, and you must remember that the molds should be cut at forty-five degrees using the table saw. Once the mods are cut, you must start attaching the molds to the stretcher.
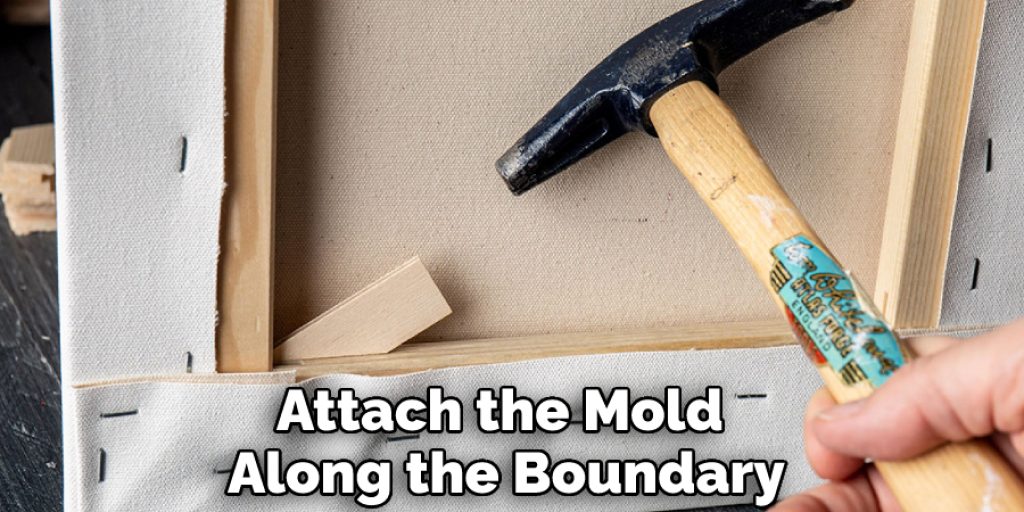
Now you have to take the molds and apply wood glue along the mold’s surface and then apply some glue along the surface of the panel and then place them together. After you have set the molds, you have to use a nail gun to attach the molds to the frame, and then by placing a level and clamp, check the alignment. This way, you have to connect all the molds and let the entire stretcher dry for one day. Once the drying session is over, you can quickly start rubbing off the extra glue using sandpaper. In this way, you can make a canvas stretcher.
Once the canvas stretcher is prepared, you have to start attaching the canvas to the frame. This step is crucial because this needs some precise measurements of the canvas. The canvas is sold in rolls; you must cut your desired amount from the entire roll. For the stretcher, you have to measure the total perimeter, and then you have to cut the canvas. We suggest you take at least three inches of extra length along all the directions for cutting the canvas. This is much needed for keeping the canvas correctly concerned with the frame.
Now you have to take the canvas and place it over the frame. Using a nail gun, you must join any corner of the canvas to the edge. Then you will need a canvas plier. This will allow you to hold the canvas tightly, and then at every boundary, you have to keep the canvas with the plier and, using a nail gun, pin it to the frame. In this manner, you can attach the whole canvas to the edge, and after the entire paper is connected, you have to cut the excess portion. You can also fold the extra part and then pin them.
Final Thoughts
In conclusion, we hope the process we have stated here will help make a canvas stretcher. The process is much suitable for beginners because it includes easy steps to perform with household accessories. The personal skills of a person will be highly developed through this process. Besides, this process will allow you to get the best canvas stretches starting from scratch. Thank you for your precious time. Happy crafting! Have a nice day!