
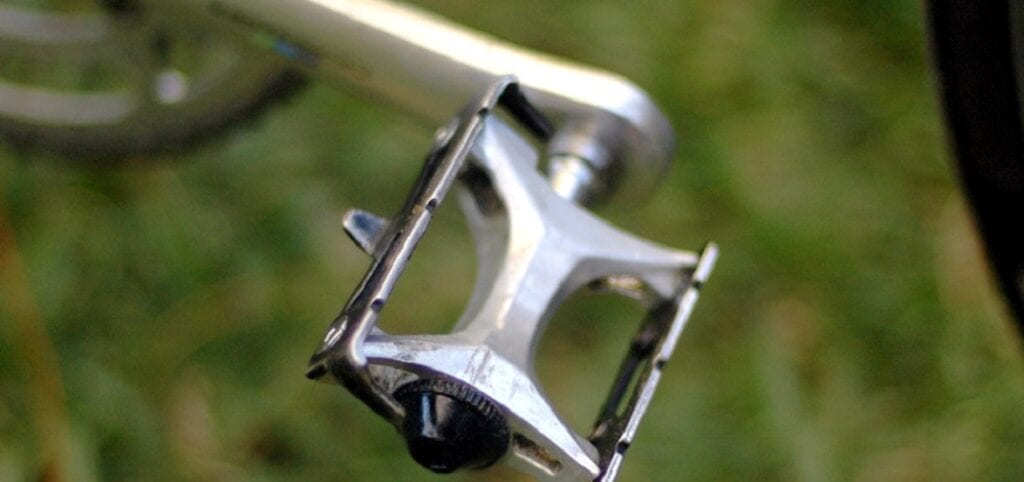
How to Fix a Bike Pedal That Fell Off
If you are a bike rider, I’m sure you’ve had the experience of a bike pedal coming loose. It is important to know how to fix your bike pedal. It’s not difficult to fix, but it can be frustrating if you don’t know how to do so. The first thing you’ll need to do is remove the pedal from your bike. If you have a quick release, simply pull the lever and unscrew the pedal. If you don’t have a quick release, you’ll need to use a wrench or Allen key to remove the pedal.
In this blog post, We’ll share some tips and tricks for how to fix a bike pedal that fell off in no time! You can find out here the process of fixing a pedal that has fallen off. It may be an easy solution for you! The first thing you need to do is find the pedal. If it’s close by, great! If not, you’ll need to look for it. Once you have found the pedal, inspect it for damage. If the pedal is damaged, it will need to be replaced.
Required Tools
- Ruler
- Pliers or wrench with a box end
- Screwdriver
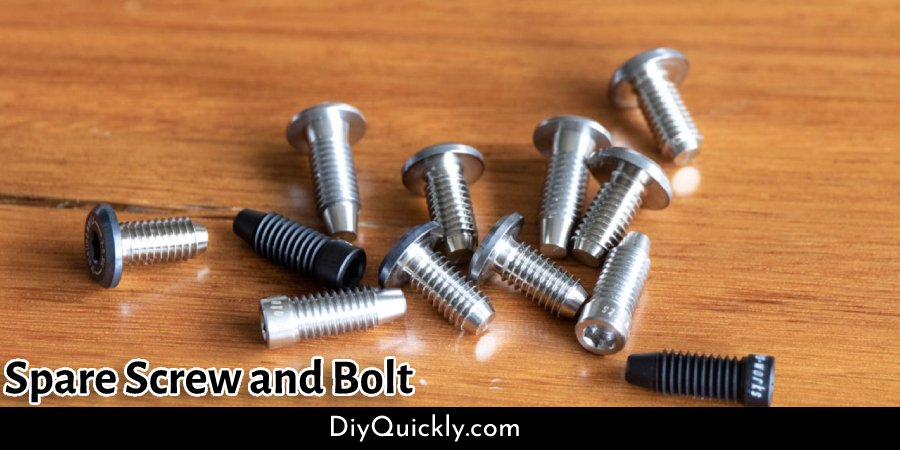
- Spare screw and bolt
- New pedal or cotter pin
Steps to Fix a Pedal That Fell Off
Step One: Determine How the Pedal Came Loose
The first thing you need to do is figure out how your pedal came loose. You may have been riding and, in turn, or if there was some dirt around it, etc., this could all contribute to why the pedal has come undone. You must find out what caused it so that way later on, when you’re fixing this problem, you can avoid anything like this happening again!
Step Two: Use Your Ruler
You want to check with your ruler where exactly the screw had become detached from the crank arm attachment point. This will tell us which of these two screws will be used in step three for re-attaching them both together securely once more. 2) In the second step you will need to remove the crank arm if it is still attached.
Position your ruler alongside the screw. If there is a gap between the edge of your ruler and any part of the screw, then this is the screw you will need to use in step three when re-attaching these two screws together for more stability on your bike pedal.
Step Three: Change Your Pedal’s Side Screws
Take out whichever side has come loose from its attachment point by turning counterclockwise but do not remove both! Instead, leave at least one option just in case something doesn’t work out quite well during this process or if we need to go back later on once everything is already set.
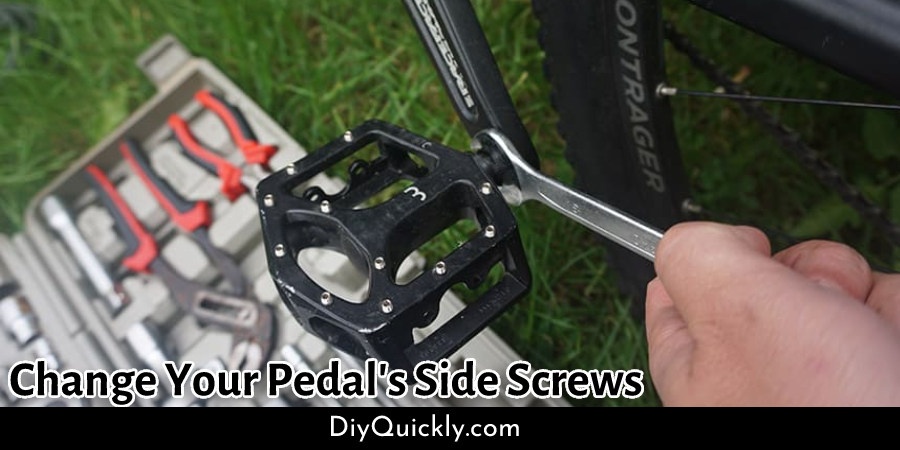
We want to loosen all of them to easily be removed without having too much resistance against it and without the need for any tools.
Step Four: Place Them on The Pedal’s Axle
Line up each screw with its corresponding hole to go back in to attach them together again. (You should be able to see where things are going from here.)
Step Five: Tighten Down Screws And Test Out Your Bike!
The hardest part is over, but now it’s time to test out your bike pedal. Have a friend hold down one side while you tighten up the other end until it feels secure enough that this won’t happen again anytime soon or at all.
If everything works out well after giving it a little test ride around the block, then congratulations! You’ve just saved yourself some money and time from having to go buy a new pedal.
Tips & Tricks to Maintain Bike pedal
- Inspect the pedal for any signs of damage or wear
- Check to see if your bike has loose spokes in the wheel. Loose spokes can create an uneven surface that will cause a clipped pedal to fall off, typically when you are applying pressure on it while riding. If this is the case, consult with a specialist about how best to fix these issues before continuing
- Make sure there’s not too much dirt and grime under the pedal, as this would make it difficult for the clips to stay attached
- Tighten all screws which hold pedals together until they’re really tight. Do not overtighten them, though! Use common sense here. Most importantly always check whether or not your shoelaces have been caught in the clips. Once you have done this, ride your bike to see if it’s been fixed.
- If there still seems to be an issue with the pedal coming off, then consider a replacement.
Frequently Asked Questions
How do you reattach a bike pedal?
A: If the bike pedal has not fallen off and is still on your bicycle, you must first take it off. To do this, remove one of the pedals from its set screws using an adjustable wrench or a hex key.
When adjusting the screw inside, turn clockwise to tighten and counterclockwise to loosen. After removing the pedal, you should clean off any dirt or debris that may have accumulated on it and then place a drop of bike chain oil on the threads before installing it back onto your bicycle.
Conclusion
The bike pedal is a simple mechanical device that has an important and integral role in the function of your bicycle. Pedals are composed of three main parts-the body, spring, and spindle. If you have ever had to replace one or more pedals for any reason, then you know how easy it can be with just a few tools.
Here’s in this guide, we have given instructions on how to fix a bike pedal that fell off down on the road. If you follow these simple steps, it will take no time at all to fix those broken pedals!
You may read also:


