
How to Fix a Candle Without Wick
Introduction:
We all love candles to lighten up the living room, dining room, or any other interior setting. Candles are handy, but one problem plagues us: What do we do should our candle burn out and there’s no new wick? In this article, I will discuss how to fix a candle without a wick so that you will not face any problems with these situations.
Step-wise Guide on How to Fix a Candle Without Wick:
Step 1:
Place your candle in front of you.
Step 2:
Observe the top, broad section of the candle and identify where it begins to narrow. (This is where you will apply hot glue.)
Step 3:
Gently break off the wick above this pinched area. If a lot of melted wax surrounds this point, use a toothpick to push it away before breaking off the wick section.
Step 4:
Gently bend back up this broken-off wick so that it faces upwards towards you (semi-circle position).
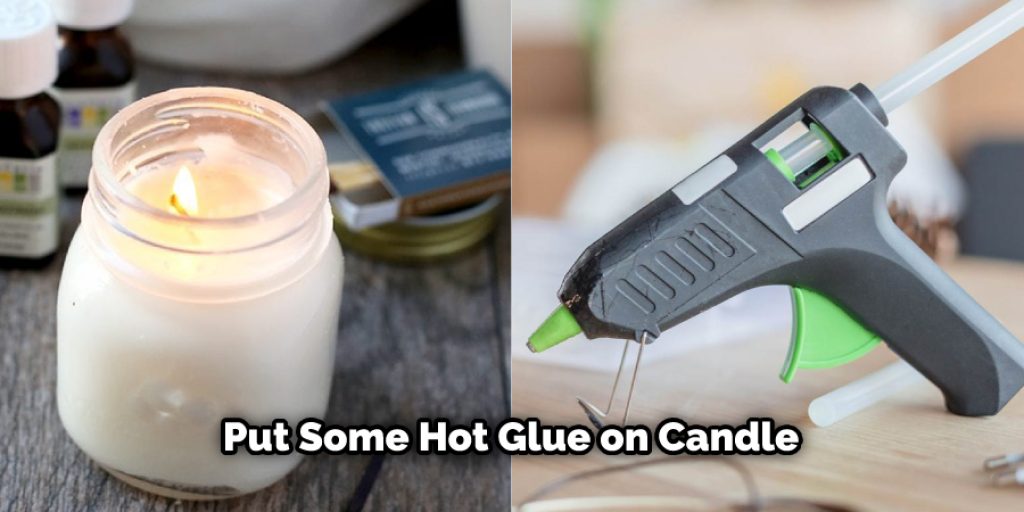
Step 5:
Put some hot glue onto this semi-circle position that was created by pushing up the bent-up wick section into a semi-circle shape.
Step 6:
Press a small piece of tape on the top of this semi-circle position to hold the glue in place while it sets and hardens. (You need to press down this semi-circle)
Step 7:
After approximately ten minutes, you can take off this small piece of tape that you had placed on top holding the wick section up into a semi-circle position.
NOTE: You will see that hot glue is now all around this semi-circle position where your old wick used to be. Do Not! worry about getting any hot glue onto the candle itself! It won’t stick when it cools off because, as you know, Candle wax does not stick to itself!
We are making it very hard for the hot wax to expand and get on top of that hot glue area we created. By doing this, we are creating a barrier that wax can’t travel over!
Using too much hot glue here (remember, Candle wax cannot stick directly to candle wax) will cause the entire section of wick you just glued down to melt into one huge blob of melted wax in the shape of a semi-circle. But if you don’t use enough hot glue, your candle will do what it did before, wick up and burn and/or smoke every time you light it up.
Precautions While Fixing a Candle Without Wick:
- The wick is the most important part of a candle. Take care while fixing it into the candle holder as wrong placement can damage your candle and make it flambe easily.
- Make sure that you are using an appropriate size wick for your candle. Small wicks for small candles and large ones for big candles. 3 . Always fix the wick from top to bottom so that no wax gets caught in between them when they melt.
- Never use metal wires or wooden sticks while fixing the wick in place. Always use cotton thread or cotton fabric strips instead. This will help secure your candle properly without getting burned by any wax spills.
- If there is no holder for your candle, you can burn it directly over the sand. But make sure you have a metal cover underneath to protect the flame from wind and wax spills.
- Always light your candle with an appropriate source of fire or matchstick. Never use hot glass objects like vases, glasses, etc., as they will crack under high-temperature conditions.
- Never extinguish candles by blowing on them until they are put out completely. The wick will keep burning even after a few minutes if blown forcefully, which may cause severe injury to anyone around by falling in a boiling molten state or by dropping hot wax spills over them due to sudden cooling effects.
- Never leave your candle unattended while burning it at any time.
- Never store lit candles in open, uncovered areas. They can easily catch fire, causing severe injury or damage to them.

How to Make a Candle Wick?
Wick is one of the most important components of the candle. It serves as a carrier for the wax from the container or mold to the flame. The wicks used in making candles can be bought at candle-making stores easily, but if you want to make your own, how would you do it? Would you spend $8 on just a piece of wick when all it takes is some simple household materials you already have? Don’t worry, and we’ll show you how it’s done!
You will need the following items and tools: Scissors or Knife, Pencil/Crayon Marker Tape.
- Get around 8-9 inches long wire(make sure it’s thick enough). Use heavy wire so that it does not break. You can use a lamp cord to make your wick.
- Fold the wire in half and get an end of the folded wire ready near your pencil/marker. Now, hold the doubled-over area with one hand, and start wrapping around your pencil/marker tightly. This will be easier for you if you bend the tip of your marker/pencil outward. Just focus on making it tighter and tighter as you wrap it around until you see a point at which there is no more space between the two wires; this means that they are completely connected by a single strand (this may take some time).
Repeat this step on another part of the doubled-over wire which will serve as the other end of the wick. This is unlike any other candle wicks you will get in a store, but it does not mean it’s much less efficient than those wicks.
It burns for a long and can hold molten wax steady on its end until it gets to the flame. But if you are looking for alternatives, buy craft wires or thin metal wires with which you can make your own wick.
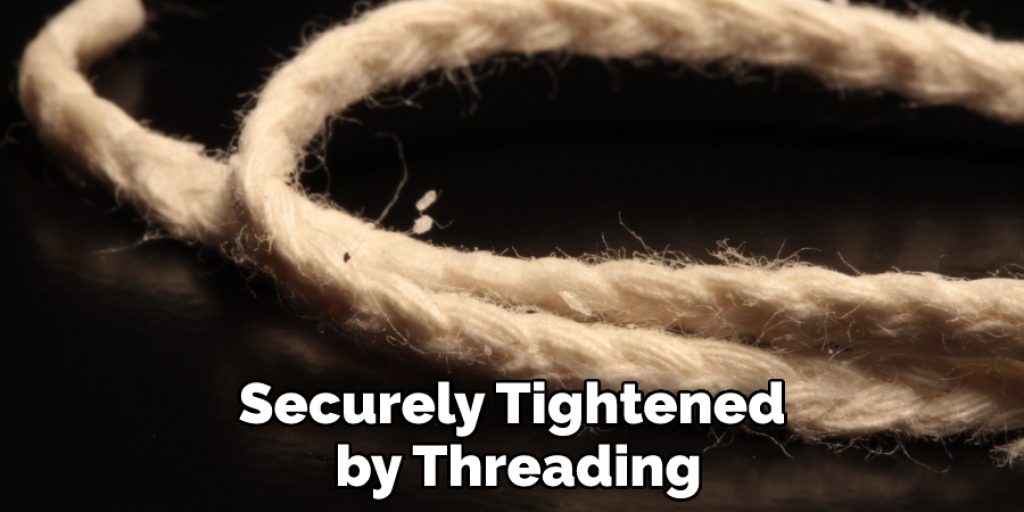
Ensure that both ends of the wire are securely tightened by threading them through here and there like you would tie shoelaces. You can also add glue so that this bond becomes permanent; this way, it won’t come apart from one another once they have been connected properly.
Conclusion
I hope this article will help me learn how to fix a candle without a wick. Also, ensure proper safety while performing these steps. Thank you, and have a nice day


