
How to Fix a Cookie Scoop
Cookies are a classic dessert, loved by people of all ages. Something about the warm, gooey goodness can make anyone smile. However, making cookies can be a bit of a hassle; you need to have the right tools and ingredients, and then you have to time everything just right.
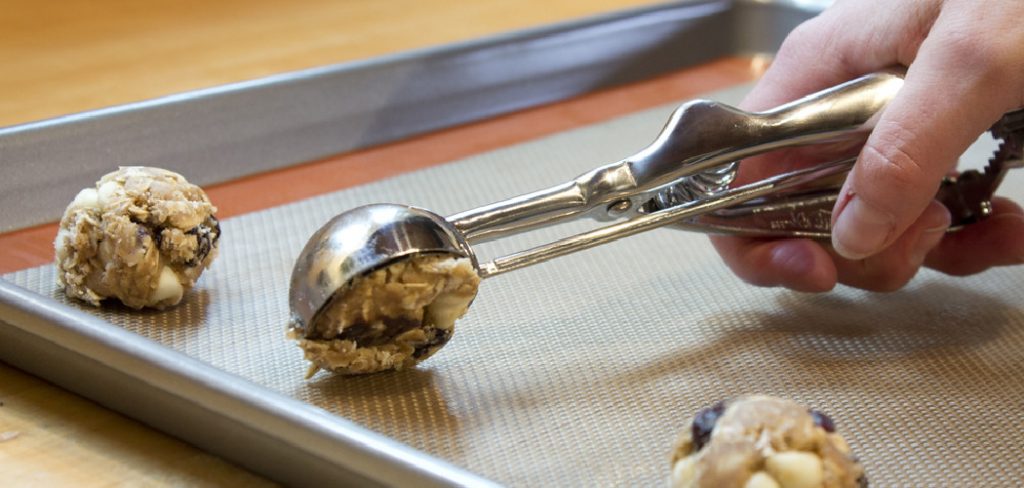
One tool essential for making perfect cookies every time is a cookie scoop. But what do you do if your cookie scoop is broken? Don’t worry; we’ve got you covered! Here we will give some tips on how to fix a cookie scoop. So keep reading till the end of this blog post.
10 Ways on How To Fix A Cookie Scoop
1. Use a Lighter to Heat:
Heating your scoop in the flame of a lighter for about 5-10 seconds will provide enough heat to re-melt the ice cream inside, allowing you to scrape it out and back into the bowl effectively.
2. Use a Knife:
Use a knife to push and break up hardened ice cream inside your scoop, then use the blade’s edge to collect what you’ve pushed towards one side, and scrape that back into the bowl. This method is effective for those with smaller, narrower scoops.
3. Cleaning in the Dishwasher:
If you’re in a high-pressure environment with no time to spare, running your scoop through the dishwasher will work in softening up the ice cream. Ensure that you choose a dishwashing cycle with hot water and not just an “eco” setting.
4. Boiling Hot Water:
Take a tea kettle full of boiling water and pour it over the scoop in your serving bowl, ensuring that you pour it in quickly and cover the entire scoop. Let the hot water work for about 30 seconds, remove the bowl from heat, and use your serving tongs for fishing out the softened ice cream.

5. Soak & Heat:
Soaking your scoop in very warm (not boiling) water will help loosen up the ice cream and allow you to scrape it out with a spoon, albeit a struggle. After about five minutes of soaking, place your bowl/scoop in the microwave for around 20 seconds.
6. Scooper Being Dull and Rough:
If your scoop is too dull to scrape the ice cream out easily effectively, you can use sandpaper or a whetstone to sharpen the scoop’s edge. If necessary, you can also smooth out any rough edges by filing the scoop with an emery board or coarse sandpaper.
7. Soak & Freeze:
If you can’t get to any other method besides boiling water, try soaking your scoop in very warm (not boiling) water while preparing the rest of your ice cream dishes and serving utensils. Then, while your dish is still wet and sticky, please place it in the freezer until the hardened ice cream has frozen around the scoop. This will allow you to scrape it out easily.
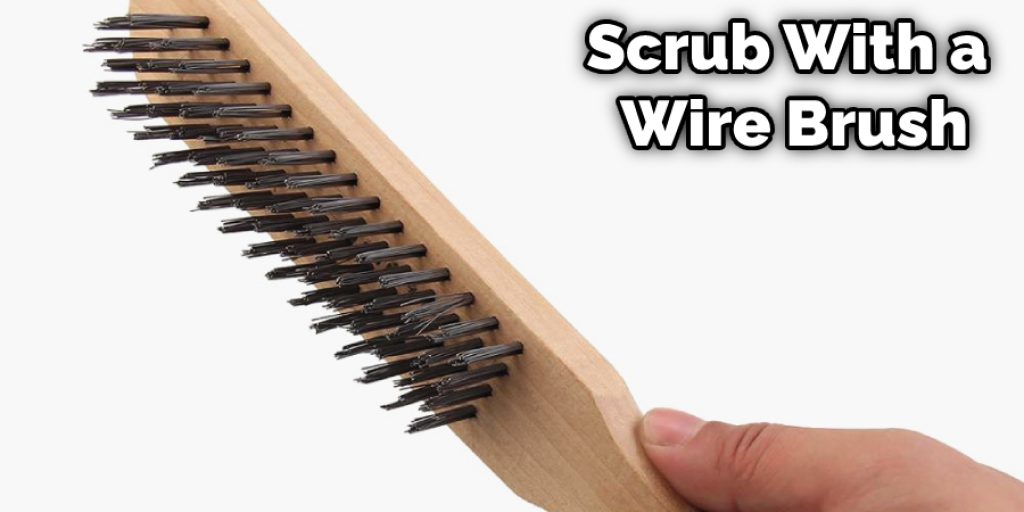
8. Use Steel Wool to Remove Any Rust and Debris:
If your scoop is corroded, rusty, or full of debris and dirt, steel wool can help you remove the rust and restore its function. First, scrub the inside and outside surfaces with a wire brush to brighten them up, then buff away any residue with sandpaper.
9. Denture Cleaning:
If the ice cream has dried onto your scoop, you can wrap a small piece of floss around the head of your spoon and use it to get a better grip to pull the hardened scoop away from its base. Another method for this is wrapping floss around the very end of your spoon and pushing that instead, which can help break up any stiff spots inside the ice cream scoop.
10. Use an Ice Pick or Screwdriver:
If there’s enough space between the ice cream and your scoop’s head to fit one or both, use an ice pick or flat-head screwdriver to get a better grip and pull the hardened scoop away from its base.
Tips on Using A Cookie Scoop
1. Choose Quality over Quantity:
Despite being made of the same material and quality, some scoopers can be slightly different in size. Therefore, it’s best to go with the uniformly similar and consistent scoops, which means buying a higher quality scoop than buying multiple cheaper scoops and getting inconsistent results.
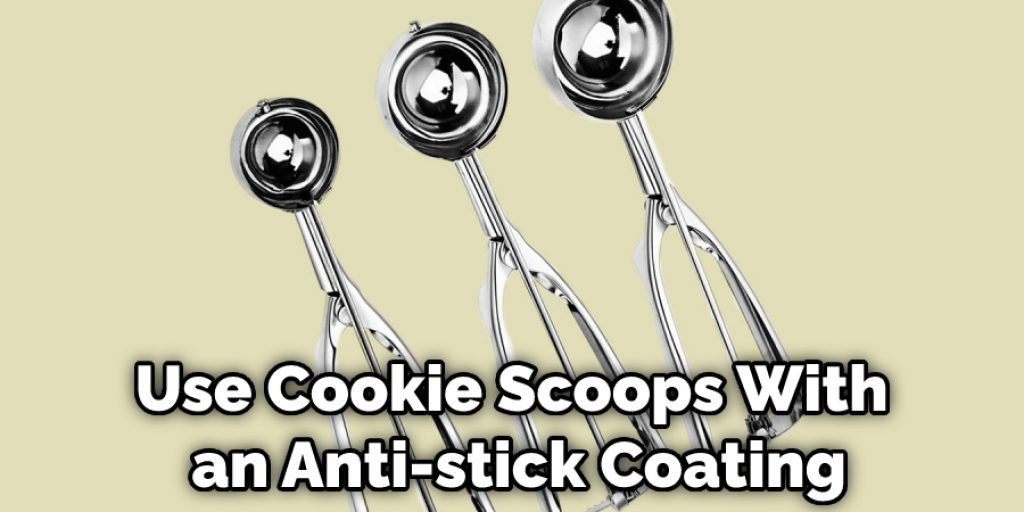
2. Always Wet your Scoop:
If you rub a drop of water on the inside of the cookie dough, it will help release the dough from the cookie scooper resulting in more effortless cookies! It also helps if you use cookie scoops with an anti-stick coating.
3. Go Easy on the Scooping Pressure:
If you’re digging into your dough too hard, it will only result in misshapen cookies and possible cracking of the dough, leading to uneven baking times or bad-looking cookies! So take care not to press down on the scooper too hard. And if your scooper is a lever-action scoop, use it gently and slowly.
4. Grease the Cookie Sheet with Butter:
Using a buttered cookie sheet helps keep cookies from sticking to the pan or baking mat, so always spread some on before putting down any dough! You can also accomplish the same thing by flouring the baking surface or covering it with a cooking mat, and this will keep your cookies from getting too brown while baking.
5. Always Pre-Chill the Dough:
It can be tempting to try and scoop out your freshly made dough, but if you take the extra time to chill it first, it will make for neater cookies that are easier to release from the scooper. Just place the dough in the refrigerator for about 15 to 30 minutes until it’s firm enough to scoop!
You Can Check It Out to: Reheat a Cookie
Conclusion
A cookie scoop is an essential kitchen tool for making uniform cookies. However, if your scoop isn’t working properly, it can be frustrating and lead to uneven cookies. In this blog post, we have discussed how to fix a cookie scoop that has lost its shape or stopped scooping correctly.
So, if you’re experiencing some of the problems we’ve mentioned, or your scoop just doesn’t seem to be working like it used to, follow these simple tips to fix a cookie scoop. We hope this helps and that your cookies turn out beautifully!


