
How to Fix Choppy Layers Yourself
Choppy layers are a problem that most people have. Gone are the days where everyone had long straight locks, and now every girl has their own signature cut. The thing about chopped layers, though is that they can be tricky to make look nice. It’s an easy fix, but you might not know how to do it! This article will walk you through how to fix choppy layers yourself so that your hair looks fantastic all day long.
Materials Needed
- Straightening iron
- Hair clip or two
- Comb
- Blow dryer
- Hair product of your choice (optional)
Instructions: How to Fix Choppy Layers Yourself
Step One:
Use a flat iron or curling iron to create smooth waves in your hair. You want this step to feel like melting away any of the products that may be causing bumps and ridges in your strands.
Step Two:
Before drying your hair with a towel or blow dryer, wash out any offending products from your hair using shampoo and conditioner. A good rule of thumb for determining if these products are still working their way into your locks is to wait for the roots to dry before you run your fingers through them.
Step Three:
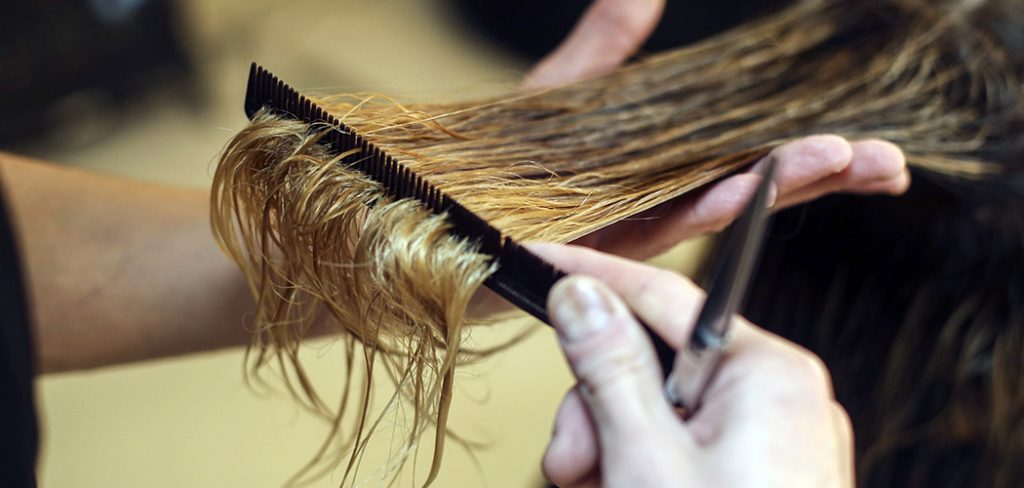
Start by creating a deep side part, then brush your hair over one shoulder. To make it easier to style, spray on some of your favorite detangler or leave-in conditioner, along with a heat protectant like Biolage Keratin Smooth Flat Iron Spray. Use a wide-tooth comb to style your hair as desired.
Step Four:
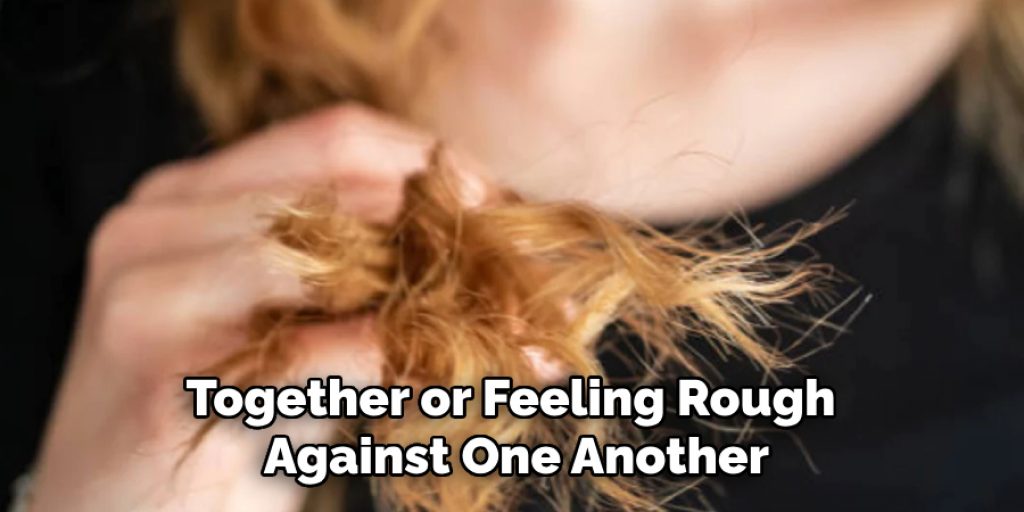
Detangle all of the strands by running your fingers from root to tip until you feel like they are no longer tangling together or feeling rough against one another. If this does not work on its own, try using a wide-tooth comb.
Step Five:
Once your hair is feeling silky and smooth, release it from the clip that has been holding it up over your shoulder and separate the strands into three sections with clips or rubber bands.
Step Six:
Move on to section one by grabbing all of the hair in this area between two hands, and pulling it up over your shoulder in a similar way to the clip you have been using.
Step Seven:
To braid this section of hair, start by crossing one strand of hair underneath another. Then, move on to the next strand and repeat the process. Continue until all strands are braided together with no gaps or holes left between them. Don’t worry if there is a lot of hair left over. This will be taken care of in the next steps.
Step Eight:
Before you start section two, take your hand and reach down through one side until you can feel all three sections that have been braided together. Use a tail comb or any small, smooth object to separate the hair out.
Step Nine:
Start by carefully separating any strands of hair that have been braided together and are overlapping each other. Avoid pulling on your own strands if possible.
Step Ten:
Repeat this step on the bottom of your hair as well. Once both sides have been separated and combed, you should be able to see a row of braids going from one side to the other.
Step Eleven:
Gently comb through the sections along this line with your fingers or a tail comb if available any tangles that form can then be easily removed.
Step Twelve:
If you have any knots in your hair, add a tiny bit of conditioner to them and comb through slowly with your fingers or a small comb. Don’t pull too hard, because that could yank out hair at the roots and create more issues later.
Tips To Prevent Choppy Layers
Tip 1:
If you want to avoid having your hair look like it has choppy layers, you can use a heat protectant spray or serum before using hot tools. This will coat your hair and keep it from being damaged by the heat.
Tip 2:
Be sure to use a comb with teeth that are smooth and close together. This will help you get through your hair without having to tug at it as much, which can cause more breakage and split ends than the average person would like.
Tip 3:
Use a hair dryer to speed up the styling process. This will help prevent more damage by eliminating heat from being applied too long or too often, which can lead to those dreaded split ends and breakage in your locks.

Tip 4:
Use wide-tooth combs for detangling, but when styling section by section or curl by curl , use a small tooth comb. This will help you get the most out of your curls without being left with frizzy, unruly hair at the end.
Tip 5:
If you have sensitive hair that gets damaged easily, you can try using a silicone serum. This will help protect your hair from heat damage when you style it.
Frequently Asked Questions: How to Fix Choppy Layers Yourself
Why Do My Layers Look Choppy?
The layers on your hair may not be cut evenly, which makes them appear to look choppy. When this happens, you’ll want to trim the ends of each layer so that they are all even in length.
How Can You Fix This Problem?
You can use a small scissors and start cutting the areas that are uneven in length. This will give you an even layer of hair so it doesn’t have any “choppiness.”
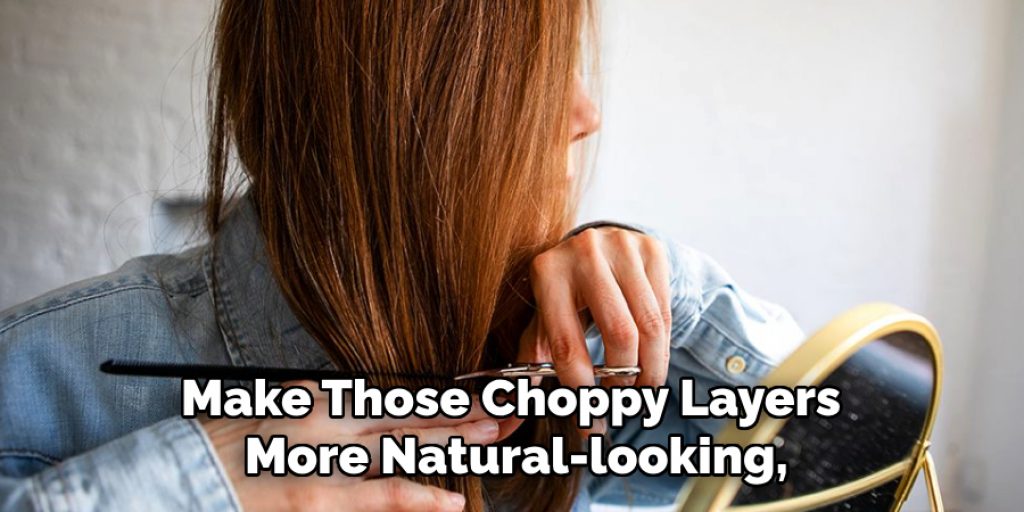
How Do I Make Choppy Layers Look More Natural?
If using shears isn’t enough to make those choppy layers more natural-looking, try using some styling products like hairspray or gel to smooth out those flyaway ends. A blow dryer is also another great option!
Conclusion
Getting the hair to lay down is not as hard as it seems. You need a few products and some patience, but in no time you will have your style looking like you spent hours doing it!
I hope this article has given you some valuable tips on how to fix choppy layers yourself. Let me know what other topics of interest are out there that would be helpful for women with short haircuts.
You may read also – How to Make African American Hair Softer
Nancy Behan
Nancy is an embroidery artist, fashion blogger and a full time editor at DIY quickly. Nancy edits the fashion section on DIY quickly, focusing on the embroidery and cross stitch articles, alongside with fabric and other costume design elements. She graduated from the University of Michigan with a Bachelor of Arts in Art History. She loves to work on her own projects, read books and watch romantic movies in her spare time.


