
How to Fix Dead Frets
Sometimes guitars will have dead frets. This can happen from playing the guitar a lot or not playing it for some time, and corrosion builds up on the fret wire. You may think that you need to replace the whole neck, but this is not true! It’s an easy fix with simple supplies. In this blog post, I’ll show you how to fix dead frets without taking apart your guitar.
What Are Dead Frets?
A dead fret is when the frets on your guitar go beyond becoming dull. Your strings will have a harder time sliding across the frets and may not even make it to the other side of the fret if they get too rusty. This means that you will need more force than usual to press your string down to play notes at all. A dull fret is when the frets on your guitar are not as sharp as they used to be. This makes it harder for your strings to slide across the frets, which can make playing chords and melodies more difficult. If you have a dead or dull fret, you can try to clean it with a soft cloth and some distilled water. You can also use a guitar polish to help remove any build-up on the fret.
If you hit a note on your guitar and there is no pitch change, it is likely that you have a dead fret. There are several chemicals that can be used to fix dead frets, but we have found a method that works just as well, if not better than store-bought products! We have shared those methods in this blog, so keep reading to learn the tips and tricks to remove those rusty frets from your guitar.
What Causes Dead Frets?
- Poor Setup: Improperly setting up a guitar can lead to dead frets. This includes not properly setting up the intonation, action, string gauge, and truss rod tension.
- High Action: When the strings are too far away from the fretboard, it can cause certain notes to be muted or faint when played. This is known as having high activity and can lead to dead frets.
- Low-Quality Frets: Low-quality frets may wear down quickly or become uneven due to their inferior materials, leading to dead frets.
- Dirty Fretboard: Dirt and grime build-up on the fretboard can stick between the strings and its grooves in the fretboard and causes dead frets.
- Incorrectly Installed Frets: Finally, if frets are not installed correctly, they may be raised above the level of surrounding metal parts of the guitar, causing dead frets when played at higher volumes or with heavier gauge strings.
Things You’ll Need
- Dremel tool (Or any rotary tool)
- Fret wire cutter
- New fret wire of your choice, preferably stainless steel
- A thin blade screwdriver or small prybar
- Sandpaper in multiple grits
- Paint or nail polish remover (Vinyl dispersant)
Instructions: How to Fix Dead Frets
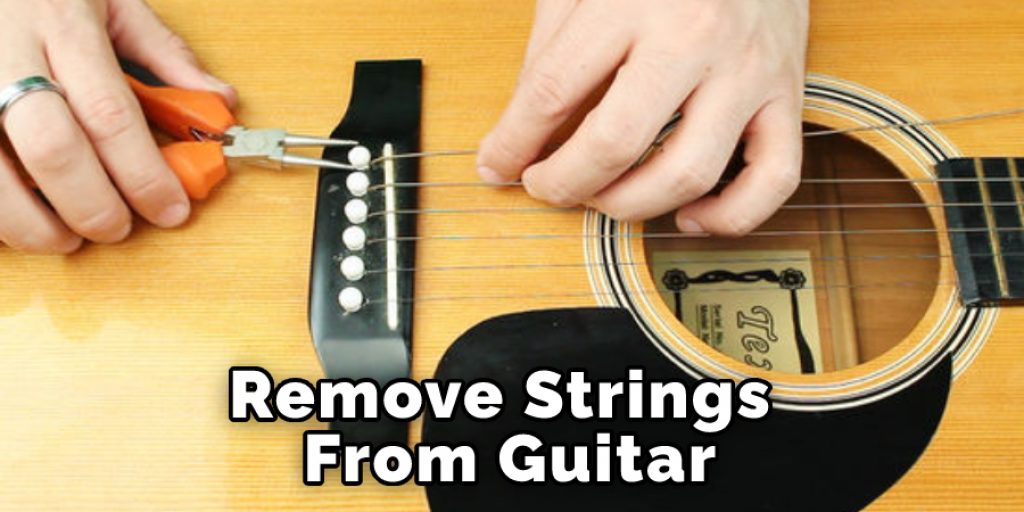
Step One: Remove the Strings.
Detach the strings from your guitar and use a small prybar to remove the fretboard from the side of dead frets. If you have a long neck, be careful not to damage it. The hammer on the opposite side will cause pressure against it and force it out easily.
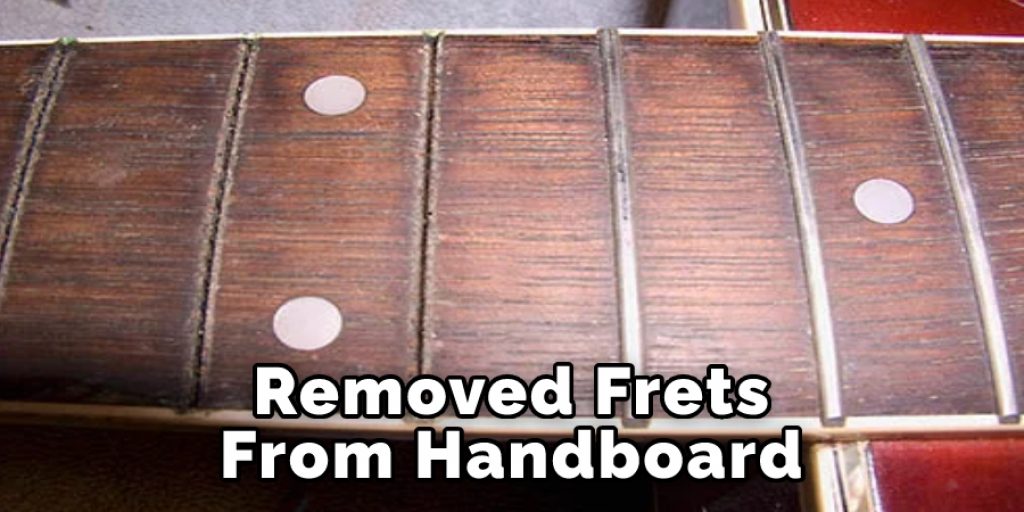
Step Two: Carefully Remove the Frets.
Remove the frets from the fingerboard with a thin screwdriver or pry bar. If you can’t get them out with that method, use a Dremel tool to cut through the fret and lever it out by hand.
Step Three: Sand Down Any Rough Edges.
After you remove the frets from the fretboard, you need to sand down any rough edges that are left behind. Be careful not to sand too much, or you will damage the fretboard. Use a small sanding block to do the job.
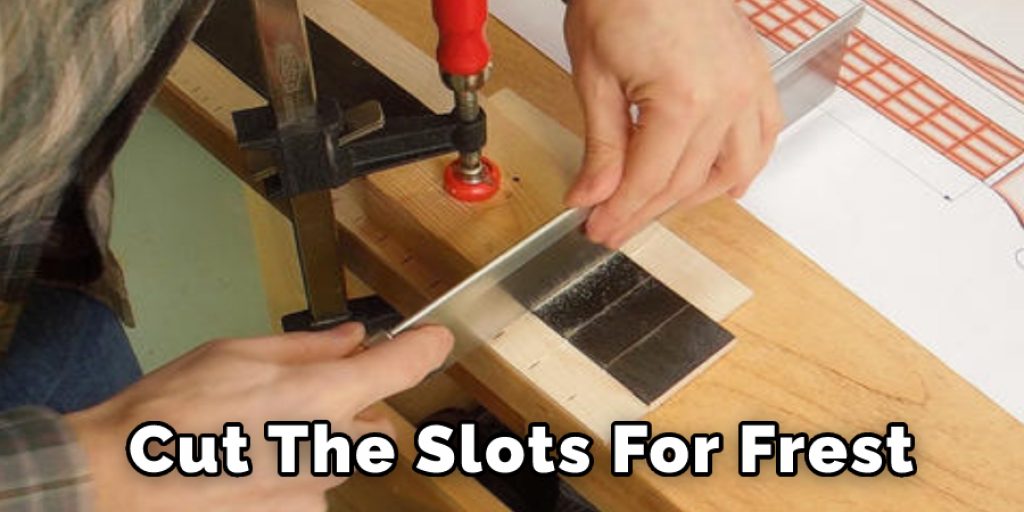
Step Four: Clamp a Fret in the Fingerboard.
Now we have to re-cut the slots for frets in the fingerboard by hand. This is where many people screw up. Improperly cutting a slot can damage your neck and make you buy another one. To cut a slot, clamp a fret in the fingerboard down so that it protrudes from the bottom of the board.
Use an Exacto saw to slice along the top edge of your fret towards yourself with firm, even strokes. Repeat this process for every fret on your guitar, making sure to follow the same pattern each time.
Step Five: Make Slots in the Bridge.
Now you have to make slots in the bridge for each string hole. This means that you will need to use a flathead screwdriver and some fine-grit sandpaper. The bridge should be resting on something solid while you do this task.
With all six strings still attached, place a screwdriver at either end of one of your strings and gently push it through until only half remains above the surface (the other half being under). Repeat for all six strings.
Note:
Remember that the slots in the nut must fit your strings exactly, or a noticeable buzz will occur, and there is no way to fix this other than replacing the nut. Use sandpaper to smooth out any rough edges left behind by the saw.
Step Six: Plug It Into an Amp.
Set all of your wirings back up and plug it into an amp to test it out. If you hear a buzzing sound, fret not! It’s just because something isn’t lined up properly now.
Turn down the volume and use your ear instead of your eyes to find what is causing the noise (this is why people who rely on their ears are called musicians). Once you have found the problem area, do some more filing until nothing but sweet clean notes come from your guitar.
Step Seven: Put Those New Skills to Good Use.
Suppose you were successful, awesome! Now that you have learned how to fix dead frets, put those new skills to good use and help out all other aspiring musicians in the world with their guitar problems.
If this wasn’t as simple for you as it was for others, don’t fret! Practice makes perfect when learning anything new and even if it takes a lot more hard work on your part than for someone else, remember; practice makes perfect!
Some Tips & Tricks To Prevent Dead Frets
Tip 1:
Make sure that your strings are not too high off the fretboard. You can achieve this by either lowering the fretboard slightly or raising the strings to where they are not too high. Lowering the action/string height causes your guitar to be more responsive, as it will allow better string vibration feedback and control within a narrower range of motion.
Tip 2:
4-6mm (1/4″-3/8″) is a good rule of thumb for all guitars. Make sure you have enough relief in the neck – you can check this by laying a straight edge across the frets and making sure there’s only about 2 mm (1/16″) of space between the bottom edge of the straightedge and the top surface of the fret wire.
Tip 3:
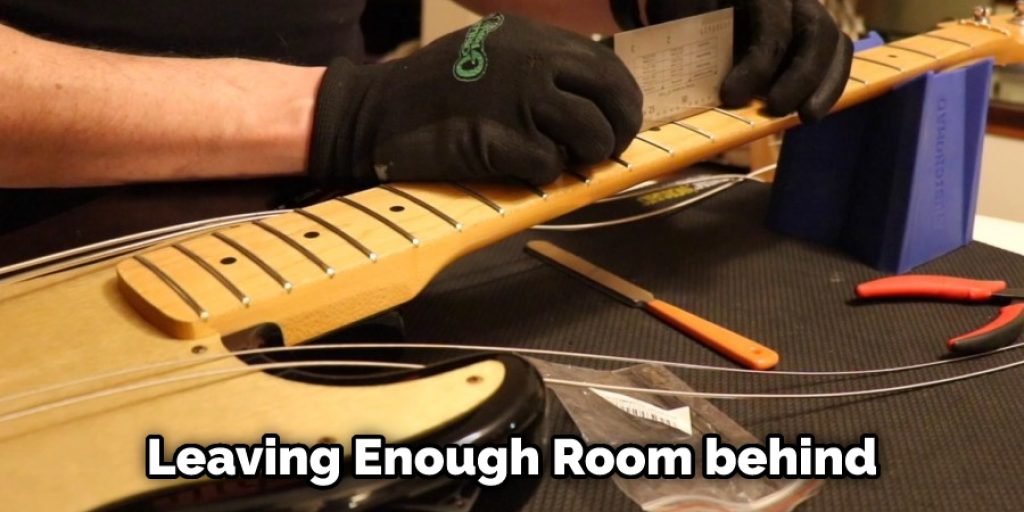
Make sure that you’re leaving enough room behind your nuts so that when you string up, there’s no pressure or interference from them on the tops of your frets.
Tip 4:
Keep an eye out for low and high spots on the frets – you can fix these with a file. Also, if you’re using extra heavy strings (like 11’s or 12’s), you might have to relieve the back of your neck further than the 7′ fret wire would dictate.
Tip 5:
Make sure your neck is not twisted. It’s beneficial to grab hold of the front of the neck in your left hand and grab hold of the back in your right hand. Next, hit a harmonic on the 12th fret and see if it sounds good. Then grab hold of another spot on the neck with your hands about an inch or so from where you were before, then hit a harmonic again. Do this all the way up the neck. If it sounds consistent, then chances are, your neck is straight.
Tip 6:
You might have a dead fret because the neck was twisted at one time. If you had to relieve the back of your neck for some reason (like using really heavy strings), you could actually put a slight reverse bow into the neck with extreme heat and pressure. Just push on the high side of the relief, and pull out on the low side.
Tip 7:
Try to do this in one smooth, gradual motion, to make a sharp bend where you started or stopped the relief. Then, you can actually relieve your neck down below where it originally was – as long as it looks even and flat when you’re done, no one will notice that it’s lower than the original now.
Why Should You Fix Dead Frets?
In most guitars, the frets are metal strips that go along the neck of the guitar. When you press a string down against a fret, it causes the string to vibrate and produce sound. However, over time, the metal on the frets can wear down, which can make it difficult or impossible to create good sound. This is called a dead fret.
There are a few different ways to fix dead frets. One way is to use a file to remove some of the metal from the fret. Another way is to use superglue to glue a piece of metal onto the fret. You can also use Fretset, a type of epoxy that fills in the gaps between the fret and the string.
The best way to avoid dead frets is to keep your guitar in good condition. Make sure to clean and polish the neck of the guitar regularly and check for any damage that may have caused the frets to wear down.
Frequently Asked Questions
How To Tell If A Fret Is Dead?
You can test the frets using a small needle (eg, sewing needle or similar), allowing you to pick at each fret. You should be able to tell if a fret is dead by tapping it with your finger, nibbling on it, pushing down on it, etc. Frets can become dead due to age. As your guitar ages, the neck shrinks, compressing the frets. Also, heat from a heater or radiator may cause metal parts to shrink and bend.
How Do I Fix Dead Spots on My Guitar?
To fix the dead spot, you’re going to have to make a couple of shallow cuts (with a sharp blade) at the top and bottom of the affected area, cutting all along the edge of each fret. The idea is that you should cut into any wood that will allow for new growth on your guitar neck.
Conclusion:
Dead frets can be a real pain, both literally and figuratively. They can make your guitar difficult to play, and they also affect the sound of your instrument. Fortunately, there are ways to fix them. In this article, we’ve shown you how to identify dead frets and fix them yourself.
So get out your screwdriver and give it a go! We hope this article has helped you learn how to fix dead frets on your guitar. It’s not a difficult process, but it does require some patience and attention to detail. If not, feel free to reach out for more help. Thanks for reading!
You may read also:
- How to Make a Homemade Guitar Humidifier
- How to Hardtail a Floyd Rose


