
How to Fix Uneven Tile Edges
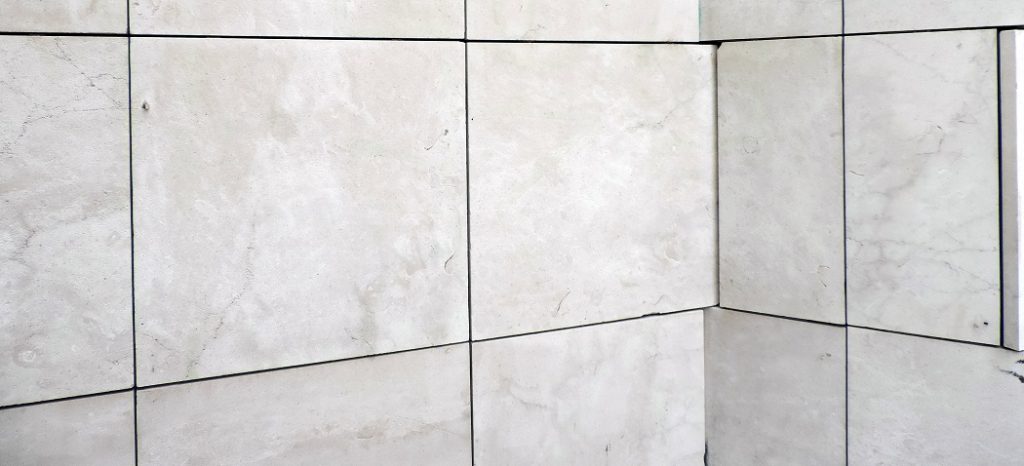
One of the most common problems with ceramic tiles is that they don’t always fit perfectly together. The edges are often uneven, which leads to a non-professional finished look and more difficult maintenance. Fortunately, there’s an easy way to fix this problem! Here are some tips on how to fix uneven tile edges.
Tools Required to Fix Uneven Tile Edges
- Tile cutter (optional)
- Grout float or trowel
- Rubber grout sponge
- Edge trimmer
- Bowl of water with a few drops of dish soap to mix in. Or, if you don’t have any soap on hand, use lemon juice instead. This will act as the “grouting” solution for your tile edges when cleaning it all up!
Processes on How to Fix Uneven Tile Edges
Once you have determined that uneven tile edges are the problem, a few processes below help fix those pesky tiles.
- Start by grouting the tiles and let them dry for about three days before continuing with anything else. This will ensure a more even application of grout on the surface instead of trying to clean it up after completing steps two or three (below). It is also important not to use too much water when cleaning because excess moisture can lead your new grout installation to fail prematurely.
- Next, create a solution of one part vinegar mixed in five parts warm water using an old toothbrush or sponge brush (do not use plastic!). Then start scrubbing at any stubborn spots where clumps may have formed using a circular motion. This will help loosen the buildup and allow it to be removed more easily, and kill any odor-causing bacteria in that area.
- Then, use another toothbrush or sponge brush (again, do not use plastic!) to scrub at any remaining grime left after cleaning with vinegar water solution before rinsing again with warm water and letting dry completely for about three days.
Precautions While Fixing Uneven Tile Edges
A tile cutter can cause your tiles to break because of its sharp blade, so it’s better to use a wet saw. Wet saws are much more effective and less likely to crack or chip your tiles.
Use only soft, adhesive-backed abrasive discs on a power drill for better control over the abrasion process than sandpaper; after all, you want even edges with as few marks as possible. The purpose of these disks isn’t just edge smoothing but also creating an “antistatic layer that fills in small gaps between mortar joints.
Abrasive discs are designed specifically for this use and “are made from aluminum oxide flakes bonded together into flexible sheets,” which are then cut into circles (or squares) for the power drill.
Apply a generous layer of adhesive to one side of your tile, then place it so that its edge is flush with the other tiles on the wall surface and press firmly for about 15 seconds (to ensure good adhesion). Consider using masking tape or painter’s caulk to seal up any gaps in between joints. When you’re finished curing your tiled surface, make sure to remove all excess glue residue by washing away every speck while wearing rubber gloves.”
When grouting, use a damp cloth instead of water because moisture can cause premature drying and cracking—and excessive amounts will slow down bonding time; wipe away as much liquid from each row before proceeding to the next one if necessary. Grout should be applied at least ¾” deep, and a rubber float helps achieve an even appearance.
After grouting, wipe any excess with a damp sponge (or cloth) to avoid getting it on surfaces that will be touched or walked on. For best results, continue this process until all the liquid has been wiped away from the surface of your tiles.”
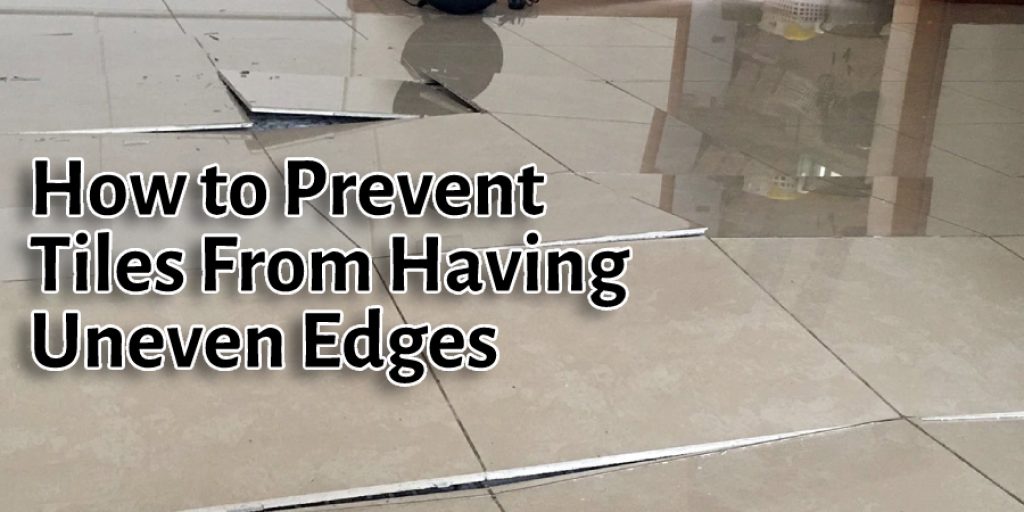
How to Prevent Tiles from Having Uneven Edges
When installing tiles in a shower, take care to ensure that the grout lines are aligned with the tiles. The edges of the tiles should be even, and the tile colors should not vary significantly from one another. If the tiles are not even or the colors are off, start over and apply more mortar to the back of each tile. If there is already adhesive on the tile, apply another layer before resetting it.
Different Issues Regarding Tiles Installation
Missing Tiles:
If you are missing tiles, they are highly likely to have been mislabeled or mixed up with other tile boxes during installation. Take a look at the closed wall on either side of your mistake to find out what should be there, and then go back to replace the misplaced box.
Uneven Tile Edges:
One set of tiles can meet another set unevenly, which can cause problems down the line if not accounted for. To avoid this, additional strips may need to be cut from leftover materials and placed between the two sets, leaving room for future expansion.
Vertical Lines:
If you see vertical lines on the bottom of your tiles, it may be caused by tiles that have not been laid in a level plane during installation. You can use a leveling line to fix any uneven edges.
Leveling Line Instructions
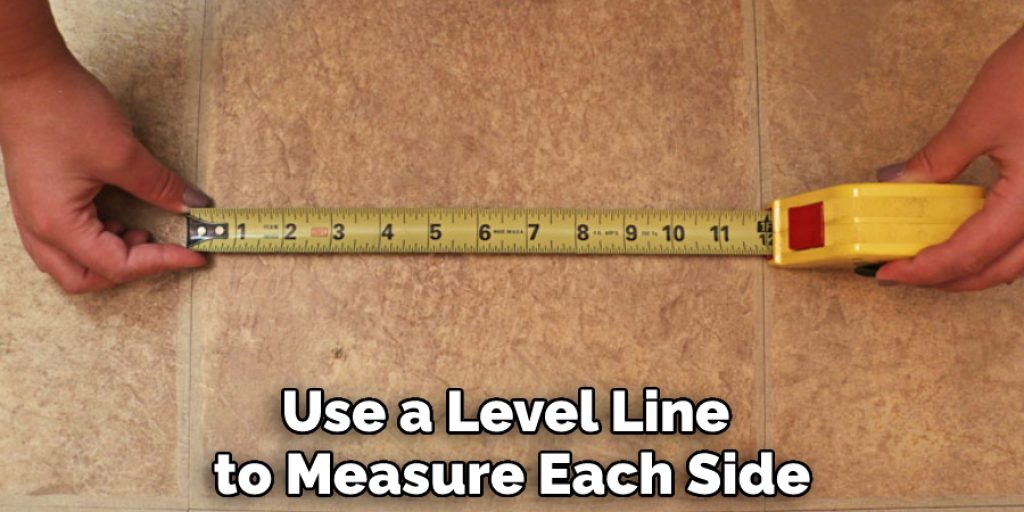
A chalk string can also be used if there is no other option available to mark this spot specifically -Use another level line to measure from either side against the first marking until they intersect with what should be even ground, as seen below.-Put down a level line at one end (the shorter side) of where the tile needs straightening or adjusting.-Adjust accordingly so that the lines are even with one another.
After adjusting, use a level line to measure each side against the new marking until they intersect again. If this process is repeated until these two marks meet up, you know that your tile will be aligned and true horizontal plane after the installation has been completed.
Frequently Asked Questions
Can You Fix Tile Lippage?
Lippage is a term used to describe the space between the tile and grout. This occurs because of improper installation or uneven grout lines, which causes tiles to move or fall off. If you have Lippage on your floor, it can be fixed by using a caulking gun to apply a thin layer of caulk around the edges of the tiles and grout lines, as well as along any small gaps that may exist.
Will Grout Hide Uneven Tile
If you have an uneven floor, grout will only be able to smooth out the surface and create a uniform appearance.
Some people might argue that the tile is too large for grout to hide and therefore should be replaced with tiles that are smaller in size. This is not recommended because it would lead to more work being required for your project as well as less time spent on other areas of your home.
Why Are My Tiles Uneven?
A tile can be uneven for a number of reasons.
1. The tiles may have been installed incorrectly. For example, the tiles may not be in straight lines, or the grout is not flush with the surface of the tile.
2. If you are using ceramic tiles, they may have been improperly fired, which will cause them to warp and crack over time, resulting in an uneven appearance.
3. If your floor is tiled with cork, it will also warp over time due to its natural water absorption properties that result from its porous nature.
Does Grout Hide Lippage?
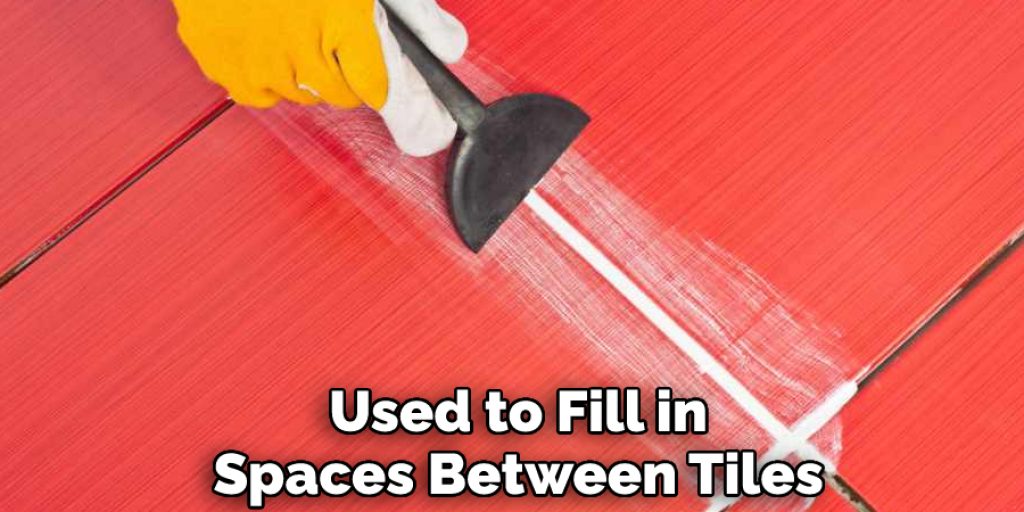
Grout is a material that is used to fill in spaces between tiles or between different surfaces of a floor. It is usually white, gray, brown, or black in color and can be applied as a liquid solution or dry powder. If grout covers up lippage, it will not be noticeable anymore.
Final Thoughts
A good tile installer will never leave a corner with an uneven edge. The best method for fixing tiles in the corners is using mortar or grout, depending on the situation and type of tile used. I hope the processes mentioned here have been helpful. Thank you, and have a good day!
You may read also: How to Frame a Bathtub for Tile


