How to Fix Warped Wood From Water
Introduction:
Several different issues can cause warped wood. In this article, we’ll look at the most common causes of warped wood and how to remedy the problem depending on what’s causing it so your furniture won’t suffer from any more water damage. Furniture makers use various kinds of wood to make their products sturdy enough for everyday wear and tear.
Unfortunately, there are many reasons why even the strongest woods may warp over time due to wrong placement or natural factors like moisture or temperature changes which cause an uneven expansion across the material. In this article, I will discuss how to “How to Fix Warped Wood From Water.” So let us get started.

A Detailed Stepwsie Guide on How to Fix Warped Wood From Water:
Step 1
Stop the source of water from getting to the wood.
Step 2
Scrape / Sand off as much water-soaked wood as possible.
Step 3
Allow the stressed, warped, or split pieces of wood to dry for several days in a dryer area outside if it is safe to do so, away from any additional sources of moisture, such as rainwater or puddles that might form from snowmelt elsewhere on the property which could subsequently seep into those open cracks and warp them even further, or cause rot to set in internally before you can find a solution to repair it.
Step 4
Sand the wood with a piece of 60 to 100 grit sandpaper flat against both sides of the wood, across the grain, at a 45-degree angle so as not to miss any spots or damage another warped section. You may have to do this several times based on how badly the wood was destroyed/warping it has done so far.
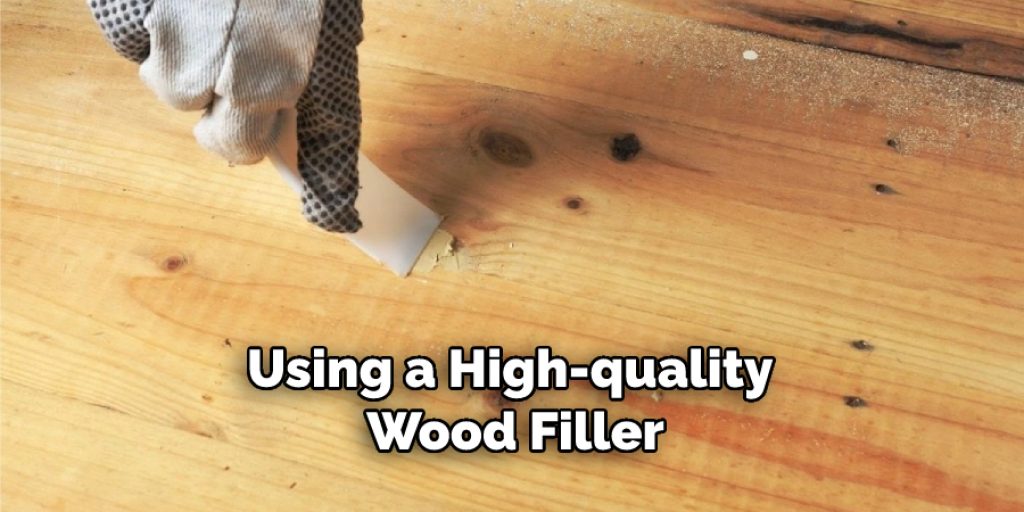
Step 5
Using a high-quality wood filler, spread it out evenly over one side of both ends of your board(s), making sure you coat them completely over each end and down into all the cracks along each side that will be visible after you reattach them back together again using either screws or dowels/pegs depending on whether they are attached by way of joints made up of corner pieces and side pieces of wood, or if the pieces that had split were just long straight pieces that needed to be joined back together.
You will want to varnish them for protection as well as have a beautiful finish once you’re finished with this repair job.
Step 6
Allow the filler to dry according to the manufacturer’s instructions before sanding it down, depending on how quickly it dries, which can vary from one brand of filler to another – some may take several hours up to overnight – before applying the next coat / sometimes two coats are required – consult your filler’s manufacturer’s instructions sheet for more detailed information on this step and allow sufficient time (overnight) between coats, then sanding afterward with 100 or 120 grit sandpaper, or higher if that is all you have available.
Step 7
Apply the final coat(s) of your chosen varnish for extra protection and help prevent Warping/splitting in the future, especially after applying two coats of filler. Allow time (overnight) between coats if it requires more than one coat before sanding with 100 or 120 grit sandpaper again, or higher if that is what you have available to use at this point.
Step 8
The next day, after applying the last coat of varnish and allowing time to dry overnight (where possible), reattach each piece back together by using either screws only; or conjunction with dowels/pegs; whichever method was used to join them together initially.
Reattach them the same way they were attached before, using either metal corner pieces if you have them to join the corners together again, or use small nails/wood pegs/dowels to rejoin each side piece back together with one another if they are long enough.
Step 9
Allow time for everything to dry well after reattaching all pieces back correctly and securely in place as before – this will still take some additional time, so be patient and allow more than 24 hrs before testing your newly repaired items out on your pool deck or other surfaces where damage might not matter as much as it would where water is concerned.
Potential for future damages and repairs may result from those warped boards, which should no longer pose a problem now that they have been adequately repaired and realigned back in the correct position/orientation.
Step 10
Finally, be sure to recaulk along all exposed edges of your pool deck boards for a more finished look and additional protection from further water damage, which may have weakened them enough to warp or split them before finally applying an application of fresh, clear silicone caulk around the entire perimeter where they meet up with other items that are used for protection against moisture, such as spas, pools, etc.,
But do try not to get any on your newly repaired boards if at all possible. Protecting surfaces is always best when it comes to preventing things like wood warping or splitting, so choose wisely regarding what you apply this final coating of clear silicone sealant over the top for protection and best results, or at least let it dry thoroughly before applying the silicone caulk if you do not want it touching your newly repaired boards, depending on what you’re caulking in that area.

Precautions While Fix Warped Wood From Water:
It is essential to take specific precautionary measures before you begin to fix warped wood from water, and these include:
-Use plastic sheeting to cover the floor in case of spilling.
-Put on gloves and wear safety goggles while working with resin.
-Eliminate all ignition sources, such as an open flame or electrical components like any fans or lights that could create a spark when working with the resin because it contains flammable chemical solvents.
-Do not allow children and pets in the work area while working with resin.
-Wear old clothing and shoes, as it is tough to get the resin out of fabric and leather, and once it does set in and dry, you will not be able to remove it quickly.
Conclusion:
I hope you have obtained a clear connection on how to fix warped wood from water. Ensure all the precautions while performing the process. Thank you and have a nice day!