
How to Fix Water Damaged Paper
Introduction:
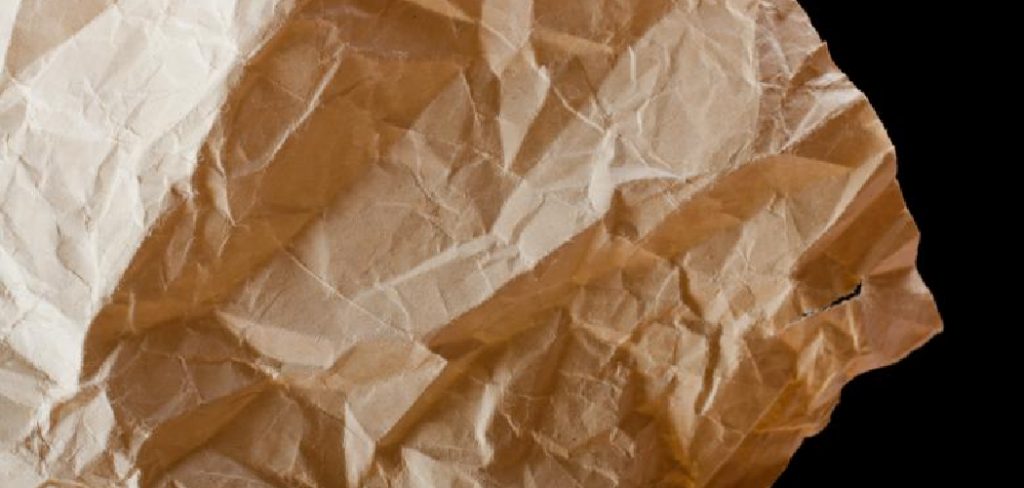
Water damaged paper is a paper that has been spoiled or destroyed by the penetration of water. While this can include books, mail, and other documents, water-damaged paper most commonly refers to those papers that had become damaged because they were in filing cabinets, file boxes, or envelopes when they got wet.
Unfortunately, this is a relatively common occurrence after floods or heavy rains when basements fill with water. And once water gets inside your basement, it will often get into all those drawers where you’ve put all your important papers over the years, from tax returns and insurance policies to family photos and journals. In this article, I will discuss how to fix water damaged paper. So let us get started.
What Happens When Paper Gets Damaged By Water?
The paper is made of 100% cellulose, which is a natural organic material. When it soaks in water for an extended period of time, the paper expands and swells because of the water absorption from the paper fibers. This can damage documents such as photos, books or contracts, etc. If left too long without repairs, the paper may mold or get stuck together on pages that are stuck together.
Stepwise Guide on How to Fix Water Damaged Paper:
It is important to speed up the process of fixing water-damaged papers. One can expect more damage when left unattended over a period of time.
Step 1:
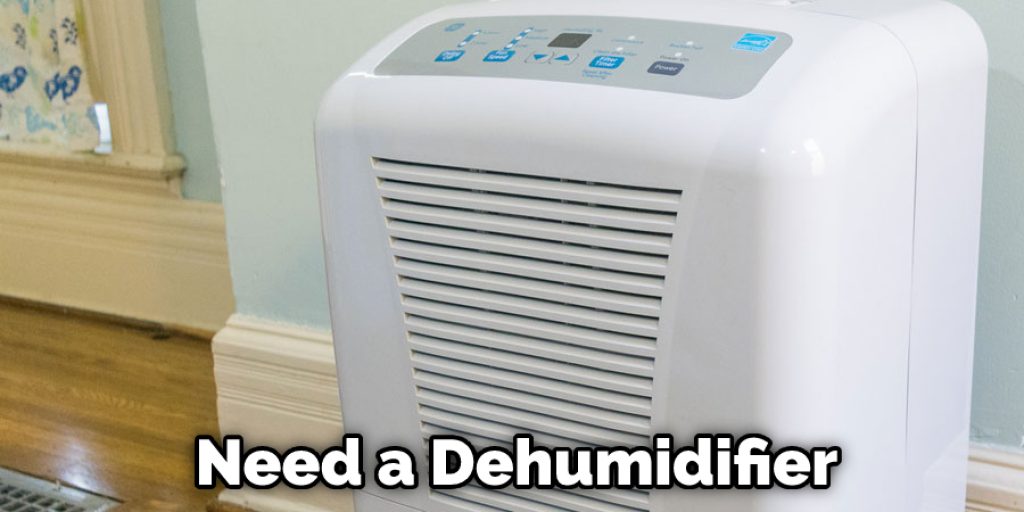
Reduce the extent of damage in the first 48 hours or less. If you have just discovered that your papers are wet, open all windows and use a dehumidifier for faster drying as soon as possible. According to experts, this will reduce by 50% the rate at which mold spreads on paper, which is immersed in water for 48 hours or less. This method also minimizes ‘mildew growth’ and ‘efflorescence’.
If not possible, spread the sheets in an unused space to prevent mold from growing on them (storage rooms may not be appropriate for opening windows).
Step 2:
Use fans and dehumidifiers to dry water-damaged sheets. Once the papers are at room temperature, apply air pressure of more than 50 psi by blowing with a fan with blades rotating at speed greater than 3500 rpm or using a dehumidifier to hasten the drying process.
If you intend to let your books now dry naturally, stack them up so that they can take advantage of 100 cubic feet of air space on every 1-foot height. In addition, aim to expose each sheet of paper on each side to allow even distribution of heat from surfaces (color print on one side and white spaces/black print on another). If this is not possible, you may place them in a mold-free environment and leave them for about two days.
Step 3:
Use humidity level to keep pace with the drying process. It is advisable to keep moisture levels at 50%. Dryness level can be determined by a gauge that reads from 20% to 90%. Monitor air inside your home (or place of work) by using a hygrometer/humidistat.
At this stage, you may need special equipment such as a dehumidifier or humidifier depending on whether it is too dry or too moist respectively. Choose one that can restore moisture level in the room as needed without making it too wet.
If the paper is in good enough condition around its edges, use tape to lift it off the hard floor or furniture. This will protect its edges when you stack it up so that the weight of other papers does not crush it and, simultaneously, permit air circulation underneath the stacked pile of paper to speed the drying process.
Step 4:
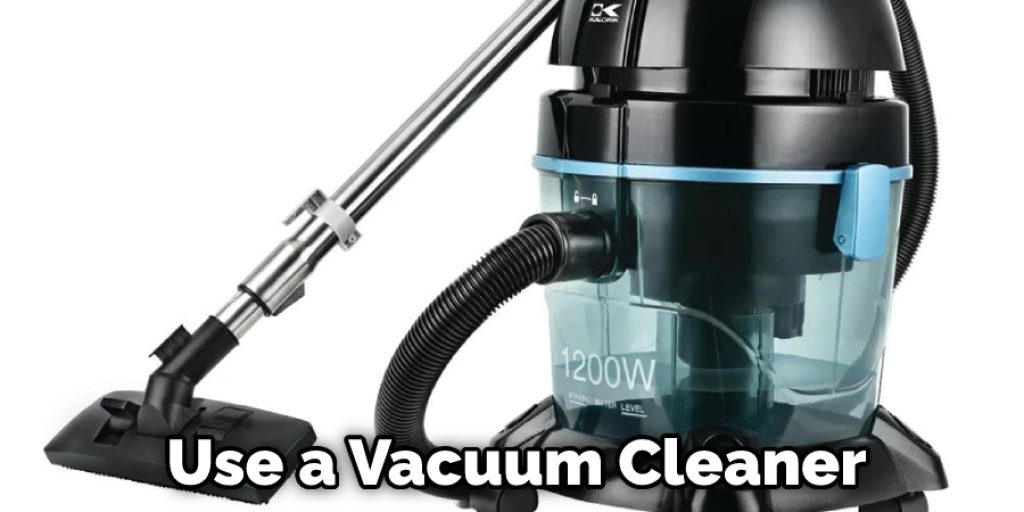
Use a vacuum cleaner or blower to remove excess water from a wet sheet of paper. A vacuum cleaner’s hose can be used for this purpose. However, some people use a blower to blow out excess water from the ceiling and other surfaces where the collection is found. Blowing with a towel on a hard surface may cause wrinkling or distortion if left. Thus, it is strongly discouraged.
Step 5:
Remove mold growth and mildew using fungicides such as B-9 spray or Lysol, which contains 75% alcohol solution. Spray it generously on mold growths and let it dry naturally. Using a mask during this step is advisable as breathing in alcohol can harm your health.
Step 6:
Put the dried sheets of paper on a flat surface such as a table and allow them to dry out completely for about two days after spraying fungicide.
Step 7:
Once fully dried, you may iron the sheets of paper using steam from iron for a faster drying process. However, do not place a heated sheet above 140 degrees Fahrenheit/60 degrees Celsius when doing so, lest you risk damaging its fibers or ink, which would have caused permanent damage if left that way.
In addition, never put the wet paper between two irons unless they are heavy-duty models with special features (such as ‘no steam’ print) for such purpose.
Step 8:
Use a vacuum cleaner to suck out as much water from the damaged books once they have dried, if possible. However, do not use ‘inhalation mode’; otherwise, it may ruin that book. Instead, choose a standard model with a filter bag to vacuum water from the hardcover of that book so that it will not turn hard and dry out at the edges in case you decide later on to press or flatten it again for preservation purposes.
Precautions While FIxing Water Damaged Paper:
1. Do not touch the water damaged area with your hands or any other object
2. Stop the source of water at once, and it is advisable to consult a professional if you are dealing with an underground pipe leak or flooding.
3. Work at your own risk because even after drying, there can be hidden damage like mold growth which is difficult to find due to changing color of the paper over time.
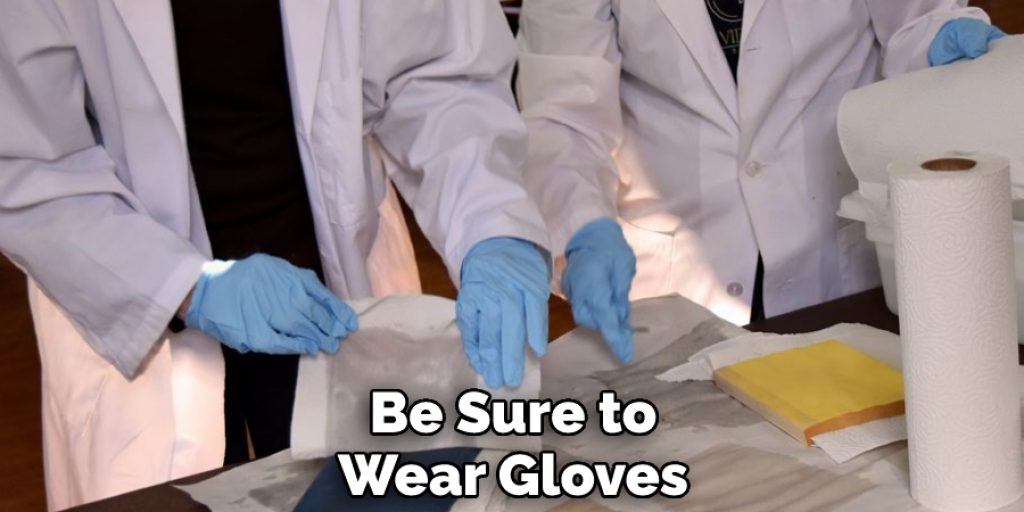
4. While handling damaged paper, be sure to wear gloves and a face mask, as it may be riddled with bacteria and other harmful germs which are too tiny to see. If the document is a book, there may be mold on it even when you cannot find any water seepage on the cover or pages.
5. Do not use a heat gun near your damp documents as the hot air might cause damage or warping of contents
Conclusion:
I hope this article has been beneficial for learning how to fix water-damaged paper. Ensure all the precautions while performing the process. Thank you, and have a nice day!


