
How to Fold Ribbon for Wreath
Do you need help with your holiday wreath ribbon? Do you want to create a beautiful and professional-looking bow for your wreath without spending hours on it? Look no further. We have some simple steps for you to follow to fold ribbon for your wreath like a pro.
How to fold ribbon for wreath is an essential skill that can enhance the overall appearance and elegance of your decorative centerpiece. Whether you’re preparing for a festive occasion or simply want to add a touch of charm to your home, learning how to fold ribbons effectively will elevate your wreath-making process.
This guide will walk you through the steps to create beautifully folded loops and tails that will give your wreaths a polished and professional look. By mastering these techniques, you can experiment with different ribbon styles, textures, and colors, allowing your creativity to shine.
What Will You Need?
Before we dive into the steps, you must gather a few materials to get started. These include:
- Wreath base
- Ribbon (preferably wired)
- Scissors
- Glue gun or floral wire
10 Easy Steps on How to Fold Ribbon for Wreath
Step 1: Measure and Cut Your Ribbon
Begin by selecting the ribbon you wish to use for your wreath. Decide on the style of your bow—larger bows require longer ribbon lengths, while smaller bows can be created with shorter pieces. As a general guideline, cut a length of ribbon approximately 36 to 48 inches for a standard-sized wreath.
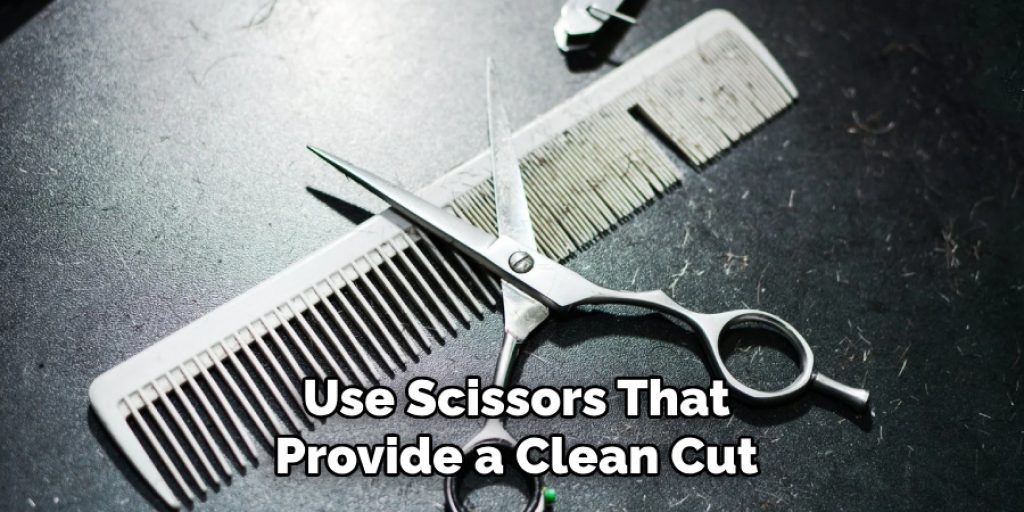
Make sure to use scissors that provide a clean cut, as frayed edges can detract from the overall appearance. If you’re using wired ribbon, it will be easier to shape and maintain your design, giving you more control when arranging the loops and tails. Once you have your ribbon cut to size, you’re ready to move on to the next step, where you’ll learn how to create the perfect loops to form your bow’s body.
Step 2: Create the Loops
To form the loops for your bow, take the cut length of ribbon and make a loop on one end, securing it with your thumb. This initial loop will determine the size of your bow, so adjust accordingly to your desired finished look. Once you have your first loop, use the remaining ribbon to create a second loop of equal size. Pinch the center where the loops meet to hold them together. This technique will give your bow a balanced and symmetrical appearance. Depending on your design, you can create additional loops by repeating this process; just ensure all loops are proportionate for a cohesive look.
Step 3: Secure the Loops
Once you have your loops created and pinched together, it’s time to secure them. Take a piece of floral wire or use your glue gun to attach the loops’ center firmly. If using floral wire, wrap it tightly around the center where the loops are held together, twisting it to secure the shape. If you use a glue gun, apply a small dot of glue to the center while holding the loops together until the glue sets. This will ensure your loops maintain their shape and integrity as you continue to create your bow.
Step 4: Shape the Tails
Now that your loops are secured, it’s time to add some flair to your bow with tails. To create tails, take another length of ribbon—approximately 12 to 24 inches—depending on how long you want them to hang. Fold the ribbon in half to find the center point, then cut from the looped end towards the edge at a diagonal angle to create a “V” shape. This adds visual interest and helps the tails to complement the loops. Once you’ve shaped the tails, position them behind the secured loops and attach them using your floral wire or a small dot of glue, ensuring they sit nicely within the overall design of your bow.
Step 5: Fluff and Adjust the Bow
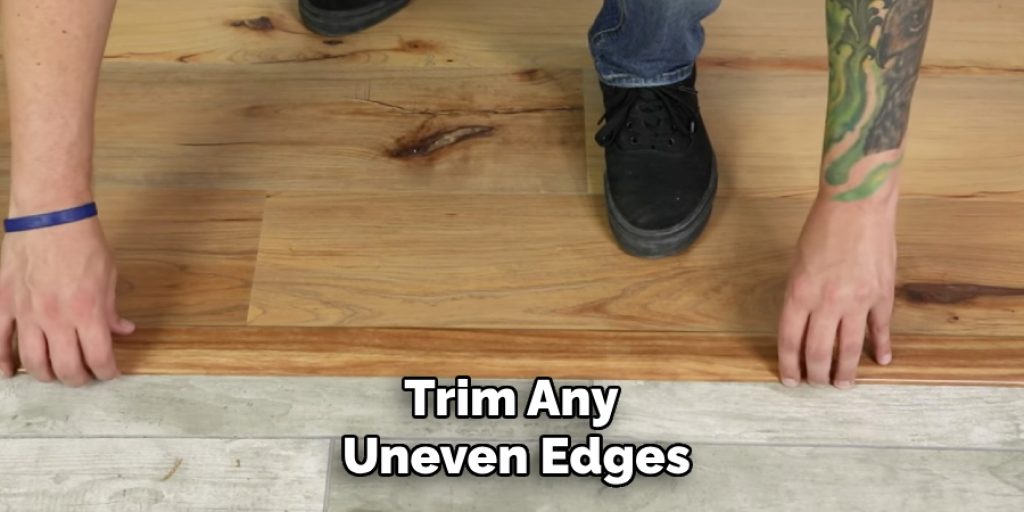
With your loops and tails securely attached, it’s time to add some dimension to your bow. Gently pull and separate the loops to give them a fuller appearance, being mindful not to tear the ribbon. Adjust the tails by positioning them so they fall gracefully and frame the bow. If necessary, trim any uneven edges to achieve a polished look. This fluffing step is crucial, as it transforms your bow from flat to fabulous, giving it depth and character that enhances the overall presentation of your wreath.
Step 6: Attach the Bow to the Wreath
Now that your bow is beautifully shaped and ready, it’s time to attach it to your wreath. Position the bow at your desired location on the wreath, typically at the top or slightly off-center for an aesthetically pleasing look. If you used floral wire to secure your bow, simply thread the wire through the wreath base and twist it tightly to secure the bow in place.
Alternatively, if you prefer a more streamlined approach, use your glue gun to apply a generous amount of glue to the back of the bow and press it firmly onto the wreath base. Hold it for a few moments until the glue sets and ensure your bow is firmly attached and ready to be displayed proudly.
Step 7: Add Additional Decorations
To enhance your wreath’s visual appeal, consider adding embellishments that complement your bow and ribbon choice. These can include artificial flowers, greenery, berries, ornaments, or seasonal accents that align with the theme you’re aiming for. Strategically position these decorations around your bow, attaching them with a glue gun or securing them with floral wire, ensuring they blend harmoniously without overshadowing your carefully crafted bow. This layering technique will create depth and interest, transforming your wreath into a stunning focal point for your home or event.
Step 8: Final Touches
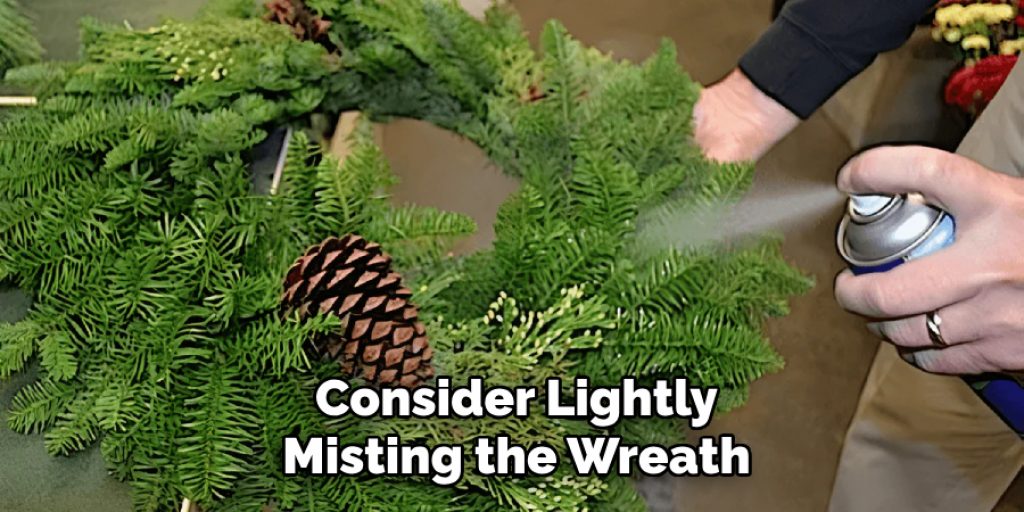
Step back and evaluate your wreath once all your decorations are in place. Make adjustments to ensure a balanced look; fluff up any ribbons and re-position decorations as needed. Add or remove elements to achieve your desired aesthetic if any areas seem sparse or cluttered. You might also consider lightly misting the wreath with a fixative spray to keep everything in place, mainly if you use outdoor materials. With these final touches, your wreath will be polished and ready for display.
Step 9: Hang Your Wreath
Now that your wreath is complete, it’s time to showcase it proudly! Choose an appropriate hanging mechanism, whether it’s a wreath hook, ribbon, or adhesive hanger, ensuring that it’s sturdy enough to support the weight of your creation. If you’re hanging it on a door, consider the height at which you want it displayed; it should be at eye level for a pleasing effect. Ensure that it hangs straight and securely attached so it looks beautiful and remains safe from falling.
Step 10: Enjoy Your Creation
With everything in place, take a moment to admire your hard work. Your beautifully folded ribbon wreath, adorned with thoughtful decorations, is now ready to brighten up your space or celebrate a special occasion. Whether it’s placed on your front door, above the fireplace, or as part of your holiday décor, your custom wreath is sure to bring warmth and charm to any setting. Don’t hesitate to experiment with new designs and color schemes as the seasons change, allowing your creativity to shine through with every wreath you create.
By following these simple steps and using your imagination, you can create gorgeous ribbon wreaths that become a beautiful addition to any home or event.
5 Things You Should Avoid
- Skipping the Measurements: Do not neglect to measure your ribbon before cutting. Inconsistent lengths can lead to uneven loops and tails, diminishing the overall appearance of your wreath. Take the time to plan and measure to ensure uniformity.
- Overusing Glue: While hot glue is handy for securing your bow and decorations, using too much can prevent the ribbon from becoming stiff or unsightly. Apply just enough glue to hold your pieces together without overwhelming the ribbon’s natural flow and softness.
- Neglecting Quality Ribbon: Cheap or flimsy ribbons can affect the finished product’s durability and appearance. Always opt for a higher-quality ribbon appropriate for the look and feel you want, ensuring your wreath stands the test of time.
- Ignoring the Wire’s Flexibility: If you’re using floral wire, don’t twist it too tightly, as this can damage the ribbon and distort its shape. Allow some flexibility so that the loops maintain their fullness and character.
- Rushing the Fluffing Process: Fluffing is an essential step in achieving a polished look. Avoid rushing through this process, as it allows the bow to take on a vibrant and appealing shape. Spend time adjusting and shaping until you’re satisfied with the final look.
Conclusion
How to fold ribbon for wreath begins with the essential technique of folding the ribbon correctly. By selecting a high-quality ribbon and ensuring your measurements are precise, you lay the foundation for an aesthetically pleasing design.
Each step—blending colors, fluffing loops, and attaching the bow—is crucial in bringing your vision to life. You can transform simple materials into a beautiful centerpiece for your home or events with patience and creativity.
Remember, the art of wreath-making is an opportunity to express your style, so don’t hesitate to experiment with different ribbons, bows, and embellishments to create unique pieces that reflect your personal touch. Happy crafting!
Elizabeth Davis
Elizabeth is a creative writer and digital editor based in the United States. She has a passion for the arts and crafts, which she developed from a young age. Elizabeth has always loved experimenting with new mediums and sharing her work with others. When she started blogging, she knew that DIYquickly would be the perfect platform to share her tutorials and tips. She's been writing for the blog from the beginning, and her readers love her helpful advice and easy-to-follow instructions. When she's not writing or editing, Elizabeth enjoys spending time with her family and friends.


