
How to Frame a Shipping Container
Shipping containers are becoming increasingly popular as a form of alternative housing. They are sturdy, watertight, and relatively inexpensive to purchase or rent. But before you can use a shipping container as a home, you need to frame it. In this blog post, we will discuss how to frame a shipping container.
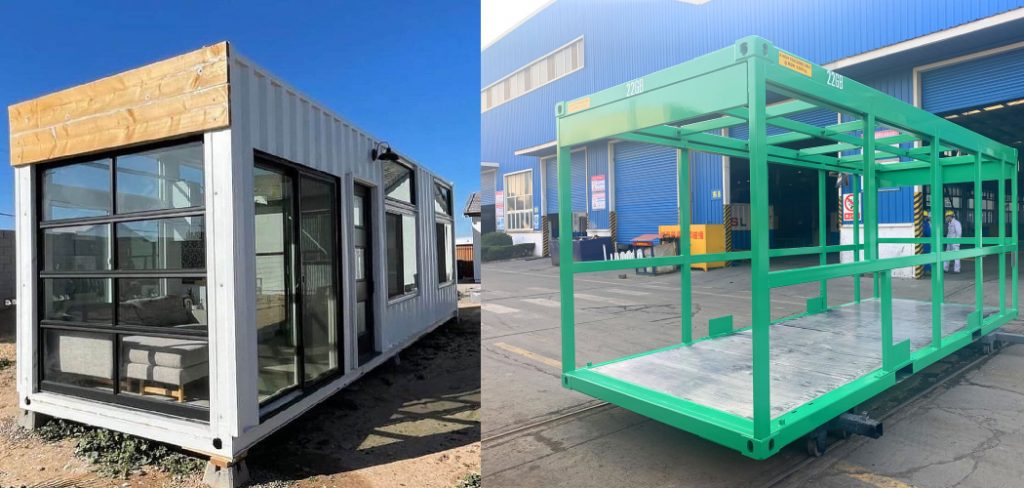
Shipping containers are becoming increasingly popular as building blocks for small homes and studios. They are affordable, durable, and easy to work with. You can create a more solid and secure structure by framing a shipping container. In this blog post, we will discuss the basics of framing a shipping container and provide some tips on how to get the job done right. Stay tuned!
8 Easy Ways on How to Frame a Shipping Container
1. Use a Single Container
If you want to use a single shipping container as your home, the best option is to stack another container on top of the first. This will provide you with more space and makes the building easier to construct as it can be made from just one opening. If you want to use a single shipping container as your home, think about contacting a contractor specializing in this type of construction.
They will be able to provide you with more details on how this can be done. However, the process usually involves building a wooden platform, raising it high enough off the ground to sit below the bottom of your container. Then it would help if you made sure that steel beams support all four corners. It would be best if you also added cross beams to support the weight of your container. Next, the platform would need to be painted or coated with a sealant to protect it from the elements.
2. Place an Interior Structure
If you want to frame a shipping container, one easy way to do it is to put an interior structure inside. This will make the container more elevated and easier to move around in. However, this kind of structure will usually take up some space inside your home, so you need to be aware of that before you start building. You can use different materials to make this kind of structure, and it’s important to remember to include flooring.
3. Use an Exterior Wall
Another way that you can do this is by using exterior walls as your frame. This type of structure will allow you to create an additional room on each side, which may be helpful depending on what you need from your shipping container home.
4. Use a Container as Your Foundation
The first step to doing this is to dig a large hole and then place a single container inside it. Make sure that the bottom side is sealed off completely. Next, place a second container on top of it and fill up all of the space in between with dirt and rocks. This will provide you with a foundation that is more stable and easier to work on.
5. Add a Floating Wall
A floating wall is an interior wall that doesn’t go all the way up to the ceiling, but still keeps everything in place. You can attach it to one side of your shipping container and make it into whatever shape you need. However, while this type of wall is a good option for a shipping container, it can make your home more expensive to build.
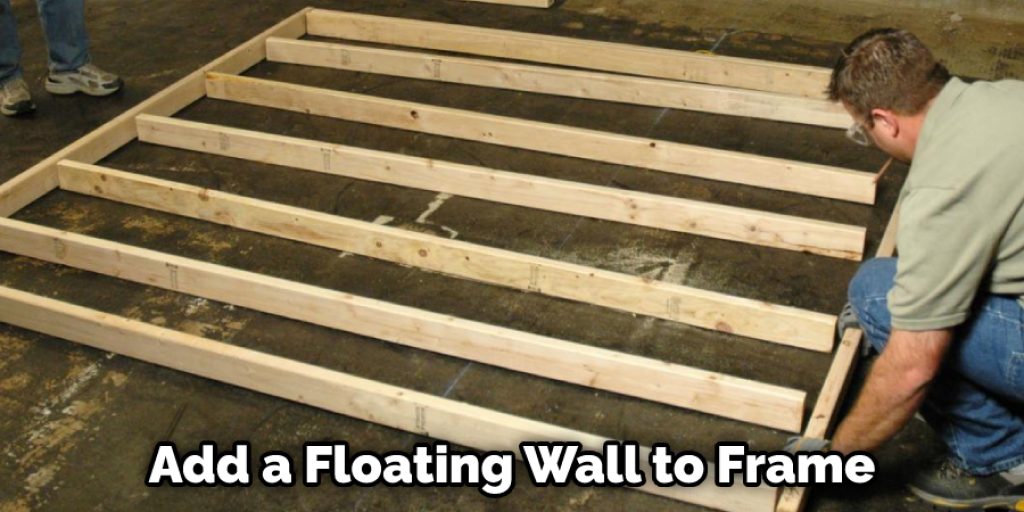
6. Build the Floor First
The first step in framing a shipping container is to build the floor. You need to make sure that you use proper beams and heavy-duty screws while doing this. Then you have to add any insulation if you want to keep the heat in.
7. Make a Container Roof
The next step for this is to turn your container into a roof, which can be done with what is known as purlins. These are steel beams that run vertically down the sides of your container and are connected by bolts on the top and middle of the containers. Once this is done, you will need to attach a waterproof membrane and add the rest of your roofing materials.
8. Use Ladders
The last method used to frame a shipping container is using ladders as your frame. This consists of a ladder sitting on top of your first shipping container and extending outwards onto the ground. Then you need to attach the second container to this ladder. This will make it easier to access your home but may not be the best option depending on how much use you expect from your shipping container.
Some Tips and Suggestions
1. Check to make sure your city (or county) does not have building codes that you will need to follow.
2. Find out if there is a height limit in your city (most likely 8 feet).

3. Make sure the container you use has all four corner posts and that they are straight and not rusted or corroded.
4. If possible, use containers without holes in them before cutting so you don’t have to worry about patching.
5. Ensure that the shipping container you choose was used to transport goods and not liquefied gas (LPG). If it does have any petroleum products in it at all, then you will need to take additional precautions and follow other rules and regulations as well.
6. Find out what type of scrapping the container went through after it was used to transport goods. There are a few different types of scrapping that a container goes through, and they provide different insulation levels.
7. Ensure that you place the frame at least 12 feet from your property line if possible, but not less than eight feet from any other structure on your property, including garages, sheds, or houses.
You Can Check It Out to: Break Into a Shipping Container with A Lock Box
Conclusion
The tips in this blog post will give you some ideas for how to frame a shipping container. With the right design, your new home could be just what you need. With these tips, you can frame a shipping container for any occasion. Whether it’s to store items in the garage or out of sight under your deck, create an addition on your house, or use as additional living space with a kitchen and bathroom, framing comes in many sizes and materials that will fit every budget.
If you have any questions about anything we’ve discussed or want help with framing your own container, please contact us! Our team of experts is standing by to answer all of your questions and provide whatever assistance they can.


