How to French Knot Embroidery
The French knot, a charming and versatile embroidery technique, adds texture, dimension, and a touch of elegance to any design. As one of the fundamental stitches in the world of embroidery, mastering the art of creating French knots opens up a world of creative possibilities. Whether you’re a novice embroiderer or an experienced crafter, learning how to French knot embroidery brings a delightful level of intricacy to your projects.
In this guide, we will delve into the step-by-step process of crafting these knots, from selecting the right thread and needle to achieving varying sizes and densities. By understanding the nuances of tension and positioning, you’ll be able to incorporate French knots seamlessly into your embroidery repertoire, allowing you to infuse your designs with a sense of depth and refinement that is uniquely their own.
The French Knot as a Decorative Embroidery Stitch
The French Knot is one of the more intricate embroidery stitches, but it’s well worth the effort! This stitch can add a special touch to any project and can be used to create many different designs. In this tutorial, we’ll explain how to do a French knot with detailed steps and accompanying photos.
First, you’ll need a few supplies:
- Embroidery hoop
- Embroidery floss (or yarn) in the color of your choice
- Needle
- Scissors
Selecting Appropriate Fabric and Embroidery Floss
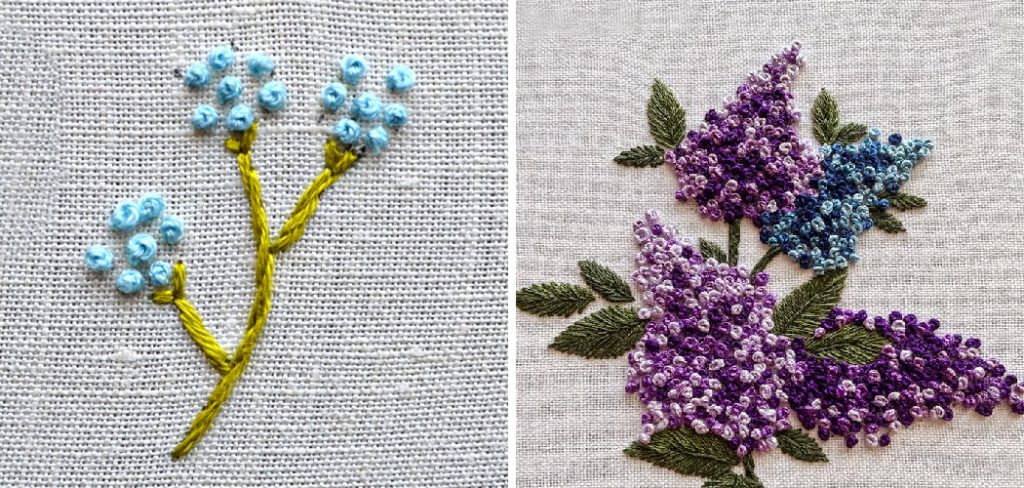
The fabric used for French Knot embroidery should be lightweight and tightly woven. Natural fibers like cotton, linen, or silk work best; however, you can use fabrics like fleece or felt if you want a more textured effect. The type of thread needed will depend on the type of fabric chosen — for natural fibers, use two strands of embroidery floss, while thicker fabrics may require four strands.
When buying embroidery thread, it is important to look for quality materials and avoid synthetic blends or cheaply made threads that may fray easily. Thin cottons are typically the best choice as they will not add bulk to the project and can produce a smoother knot. Choose colors that match or complement the fabric for an aesthetically pleasing effect.
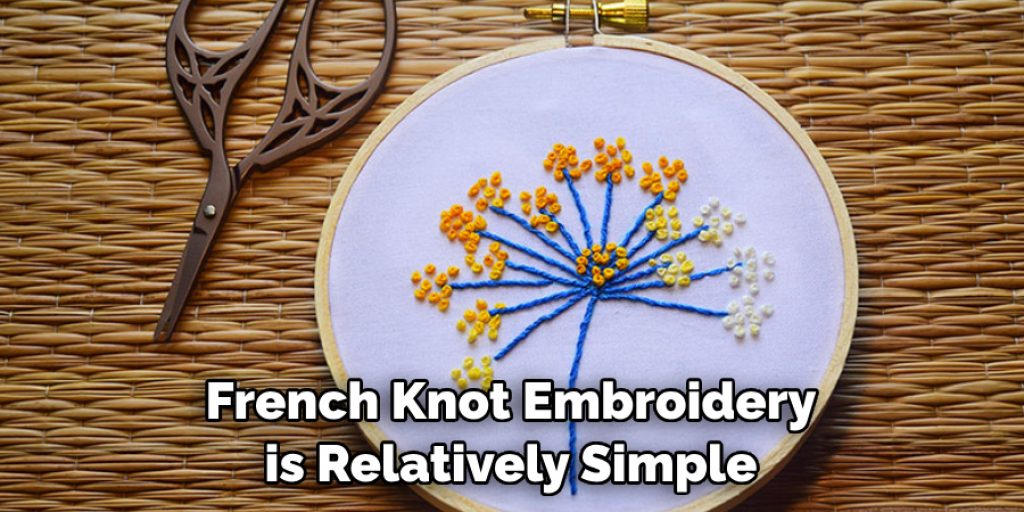
Although French Knot embroidery is relatively simple, it takes practice to perfect. It can be helpful to experiment with different fabrics and threads until you find a combination that works best for your project. With some patience and practice, you will soon have beautiful French Knots adorning all of your embroidery projects.
11 Steps How to French Knot Embroidery
Step 1: Gather Your Materials
Before diving into French knot embroidery, ensure you have the necessary materials on hand: embroidery hoop, fabric, embroidery floss, embroidery needle, and scissors. Choose a fabric that accommodates your chosen embroidery floss thickness and needle size.
Step 2: Prepare the Fabric
Secure your fabric in the embroidery hoop, ensuring it’s taut but not overly stretched. A stabilized fabric helps create consistent French knots. You can use stabilizers such as fabric starch, spray-on adhesive, or a block of foam or cardboard beneath the embroidery hoop.
Step 3: Thread the Needle
Select a single strand of embroidery floss and thread it through the eye of the embroidery needle. You can use the entire strand or separate it into two strands for a finer knot. Make sure that enough thread is available for the knot to be created.
Step 4: Anchor the Thread
Start by bringing the threaded needle up from the backside of the fabric at the desired starting point for your French knot. Hold the thread tail against the fabric to anchor it. Pull the needle through, but don’t pull it too tightly. You need a little slack to be able to form the knot.
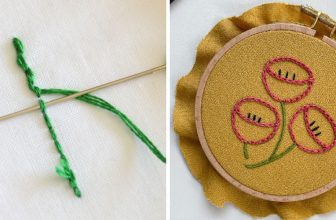
Step 5: Form the Loop
With the needle on the front side of the fabric, hold the floss taut with your non-dominant hand. Use your dominant hand to wrap the floss around the needle once or twice, depending on the desired size of the knot. Leave a small loop of floss on the front side. To create a tight knot, keep tension on the floss as you wrap it around the needle.
Step 6: Insert the Needle
Insert the needle back into the fabric very close to the point where it emerged initially. Ensure the wrapped floss lays flat against the fabric to form a neat knot. Inserting the needle at an angle is essential for creating a nice shape.
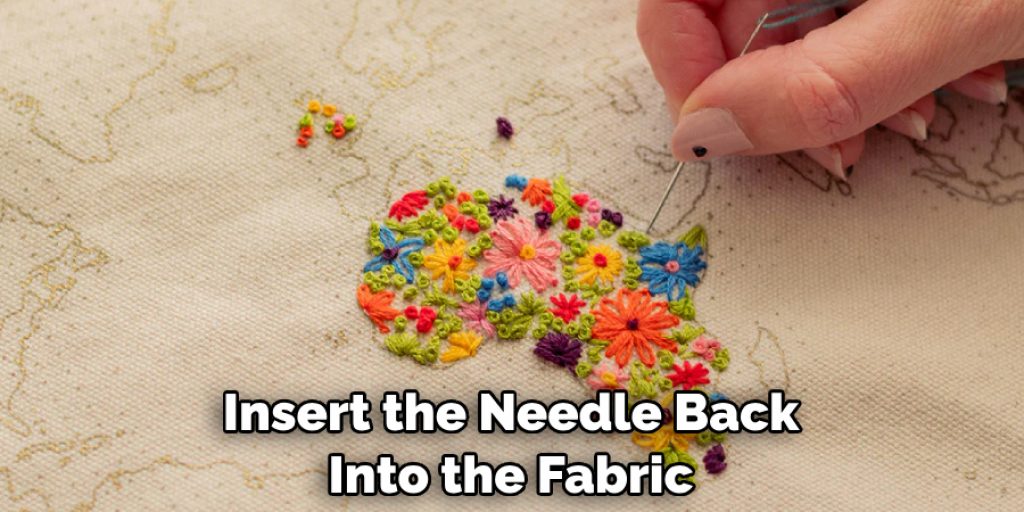
Now, hold the thread taut and gently push the needle towards its original emergence point. The floss should travel through the loop created by your finger to form a knot similar in size to a grain of rice.
Step 7: Tension Control
As you insert the needle back into the fabric, maintain gentle tension on the floss with your non-dominant hand. This tension helps regulate the knot’s size and prevents it from becoming too loose or too tight.
For more delicate fabrics, such as silk and chiffon, you should use a lighter tension to prevent the fabric from puckering or gathering in one spot. For heavier materials like denim and canvas, you can apply more pressure to ensure that your knots stay secure.
Step 8: Tighten the Knot
Hold the floss taut with your non-dominant hand while gently pulling the needle through the fabric. The wrapped floss will tighten around the needle, forming the French knot. Keep the floss taut until the knot is secured against the fabric. If the knot is too loose or too tight, you may need to adjust it by gently pulling on either the needle or the floss.
After tightening and adjusting your French Knot, slide the knot off of the needle with a tweezer and trim any excess threads. You have now completed a French Knot!
Step 9: Control Knot Density
To create denser knots, wrap the floss around the needle more times before inserting it back into the fabric. For sparser knots, wrap the floss around the needle fewer times. Experiment with different wraps to achieve your desired effect. Another way to vary the look is to switch up the size of the needle you use. If you’re using a thin floss, opt for a smaller needle. However, if you’re using thicker floss, you’ll want to use a larger needle.
If you’d like, you can also add beads to your French Knots for added texture and dimension. This is especially helpful in places where the design should be particularly eye-catching.
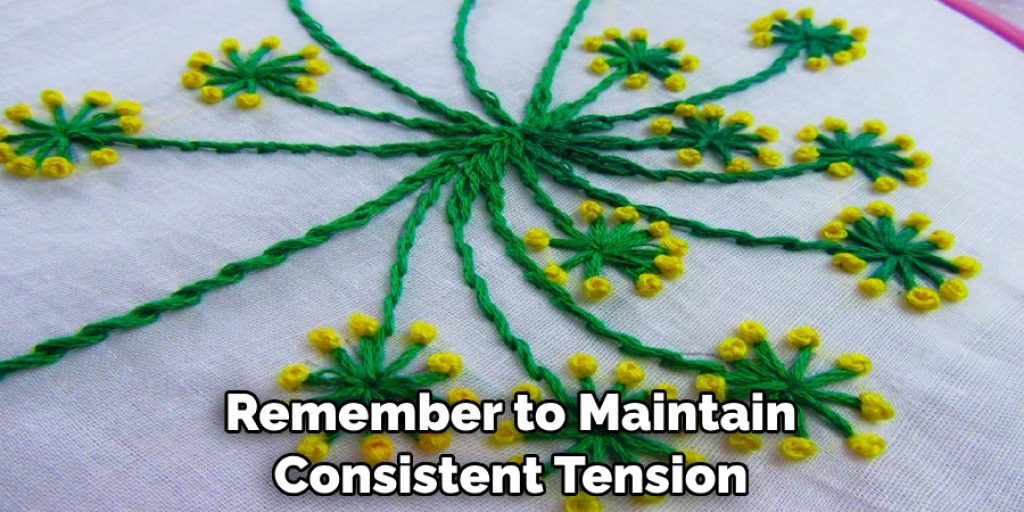
Step 10: Repeat and Space
Continue creating French knots according to your design. Space the knots as desired, either close together for a textured effect or farther apart for a scattered look. Remember to maintain consistent tension and wrap the floss evenly for uniform knots. If desired, you can add beads or crystals to the knots for an extra sparkle.
Once you have completed your design, secure the threads at the back of the fabric by tying a few knots and cutting off any excess thread. Your French knot embroidery is now complete!
Step 11: Finishing and Securing
When you’ve completed all the French knots in your design, secure the thread on the backside of the fabric by weaving it under a few stitches. Trim any excess floss carefully. You can also use fabric glue to secure the knots, if desired.
If you want to make sure that your French knots are secure and won’t come off with wear and tear, you can stitch over them a second time. This will also add an interesting texture to your design.
Things to Consider When French Knotting Embroidery
When creating French knots in embroidery, there are a few things you should keep in mind. To create beautiful and durable stitches, it’s important to pay attention to the thread weight, needle size, and type of fabric being used.
Thread Weight: For medium-weight fabrics like linen or cotton batiste, use two strands of standard 6-stranded embroidery floss. For heavier fabrics, use three strands. When using metallic thread or rayon, however, it’s best to stick with a single strand regardless of fabric weight.
Needle Size: The size of the needle depends on the type and thickness of the fabric being used. A standard embroidery needle ranging from size 7 to 9 should be used on most medium-weight fabrics. Heavier fabrics, such as denim, require a larger needle size.
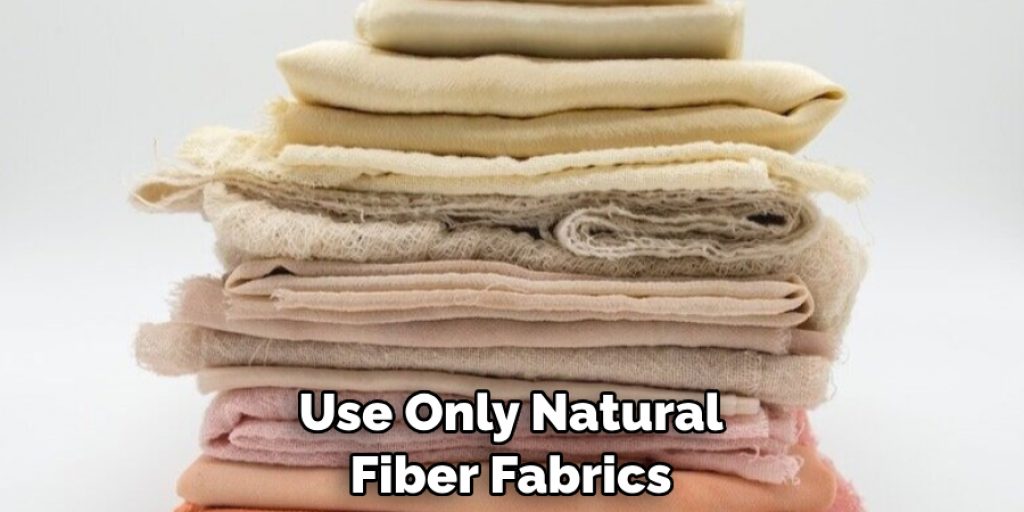
Fabric Type: It’s best to use only natural fiber fabrics when creating French knots. Natural fibers like cotton and linen are more durable and don’t fray as easily, ensuring that your stitches stay put.
Conclusion
Learning how to french knot embroidery is an important skill if you want to make unique and beautiful garments and accessories. Although it may seem scary at first, just know that it becomes much easier with practice! You can start by practicing the basic stitch on scrap fabric or paper before tackling a more advanced project.
With dedication and persistence, you’ll make fast progress and find yourself developing your own creative ideas for how to use this stitch. There’s no greater feeling than being able to admire a piece of clothing or decoration that you have sewn yourself – why not be the one who takes the initiative to learn how to french knot today? Your future fashionable creations are waiting for you – get stitching!
Nancy Behan
Nancy is an embroidery artist, fashion blogger and a full time editor at DIY quickly. Nancy edits the fashion section on DIY quickly, focusing on the embroidery and cross stitch articles, alongside with fabric and other costume design elements. She graduated from the University of Michigan with a Bachelor of Arts in Art History. She loves to work on her own projects, read books and watch romantic movies in her spare time.