
How to Organize Fabric Scraps
Fabric scraps are the remnants of our sewing projects that often accumulate and create clutter in our craft spaces. However, with a little organization, these scraps can become valuable resources for future projects.
In this article on how to organize fabric scraps, we will provide you with a step-by-step guide on how to effectively organize fabric scraps. By implementing a system and finding storage solutions that suit your needs, you’ll be able to easily access and utilize your fabric scraps, while keeping your sewing area tidy and inspiring. Let’s dive in and discover how to tame the chaos of fabric scraps and turn them into a well-organized collection.
Needed Materials
Before you get started, gather the following materials:
- A container for storing the scraps (this could be a box or a bin, depending on the size of the scraps)
- Clear storage bags or containers, for sorting
- Labels and a pen (for labeling your containers)
- A ruler for measuring scraps
Step-by-step Instructions on How to Organize Fabric Scrap
Step 1: Sort and Categorize
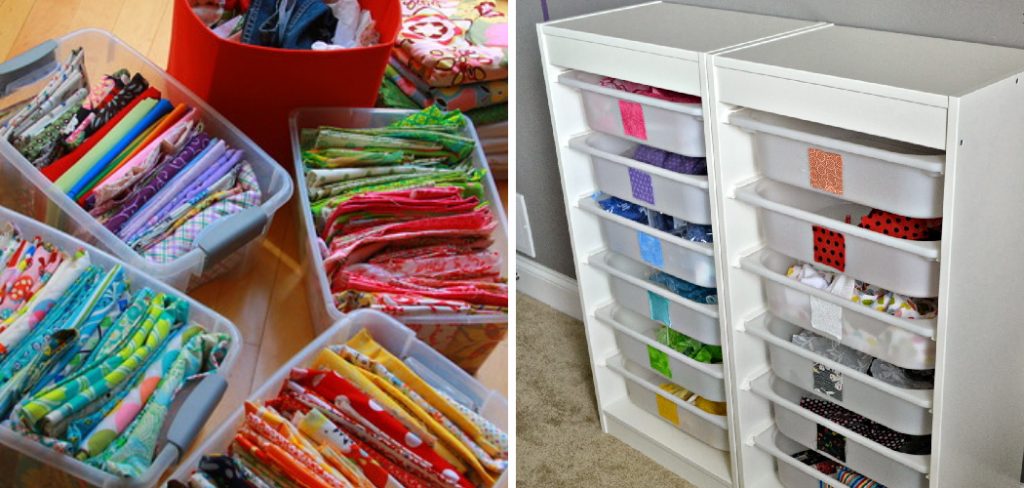
Start by sorting your fabric scraps into categories based on color, print, texture, or fabric type. This will help you easily locate specific scraps when needed. If you are short on space or have limited storage options, consider grouping fabrics that are similar in color and texture together. This will help you create a more compact and organized collection.
It can also be helpful to label each category and store them in labeled bins or boxes for easy access. So if you have scraps categorized by color, for example, create a label for each color group and attach it to the box or bin.
Step 2: Determine Storage Solutions
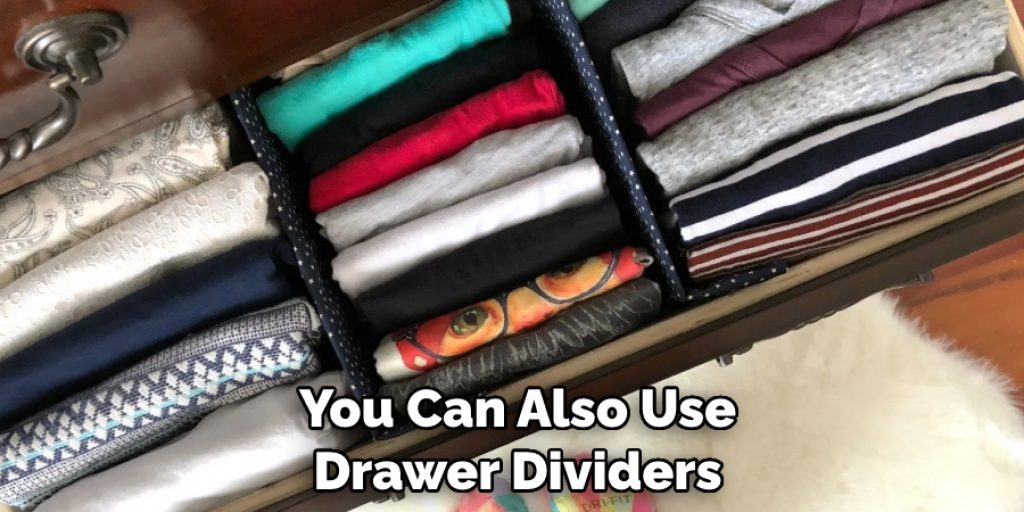
Assess your available storage space and choose suitable containers or organizers for your fabric scraps. Clear plastic bins, baskets, or fabric bins with labels are popular options. Consider the number of your scraps and the ease of accessing them when selecting storage solutions. But don’t feel limited to just those options – you can also use drawer dividers, file folders, or repurposed items like mason jars or cookie tins to store fabric scraps.
It is important to note that you should keep your scraps in a cool, dry place away from direct sunlight.
Step 3: Fold and Store Neatly
Fold your fabric scraps neatly to maximize storage space and maintain organization. Aim for consistent sizes, such as folding them into squares or rectangles. Store them vertically in your chosen containers, as this allows for better visibility and accessibility.
It can also be helpful to store fabrics together – such as cotton, linens, canvas, or synthetic fabrics. However, make sure not to overcrowd the containers and allow for air circulation. It is also important to store them in a dry and cool environment.
Step 4: Utilize Clear Zipper Bags or Envelopes
For smaller fabric scraps or remnants, use clear zipper bags or envelopes to keep them contained and easily visible. Label the bags/envelopes with relevant information, such as fabric type or color, to quickly identify the contents. But keep in mind that you don’t need to label every single bag/envelope.
Otherwise, it can start to become a time-consuming task. It is often easier to label the containers holding the fabric scraps instead. But if you do decide to label, make sure to use waterproof labels or permanent markers.
Step 5: Create a Scrap Library
Consider creating a fabric scrap library by attaching fabric swatches or samples to index cards or a ring binder. This can serve as a visual reference for your fabric scraps, helping you envision potential combinations for future projects. It can also be a great way to keep track of fabric scraps that you don’t have room to store.
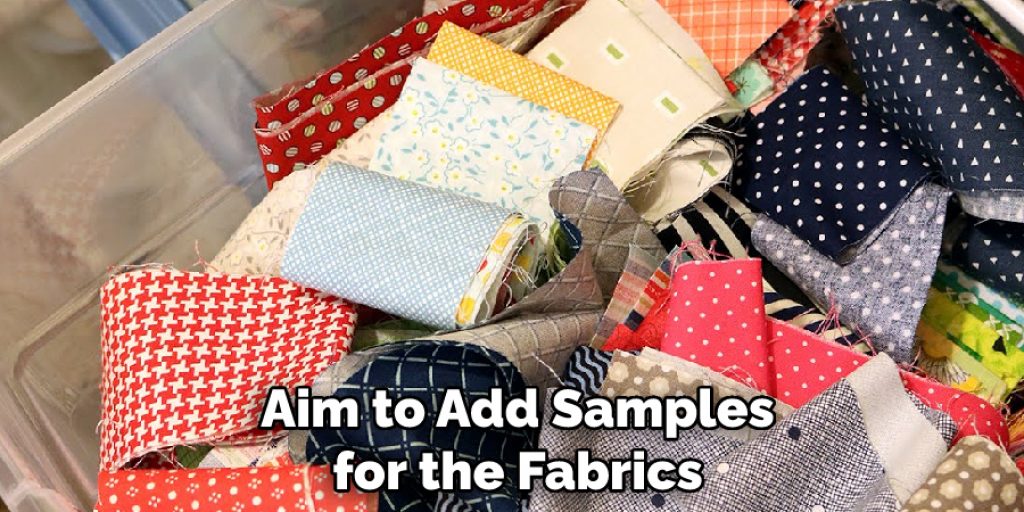
If you decide to create a scrap library, make sure to add labels with key information, such as color, fabric type, and content. But keep in mind that you don’t need to have a comprehensive library. Aim to add samples for the fabrics that you use most often or are the most difficult to identify.
Step 6: Repurpose Storage Solutions
Repurpose items you already have to store fabric scraps, such as shoeboxes, glass jars, or hanging organizers. Get creative and explore alternative storage options that suit your space and aesthetic preferences. This can help you maximize your storage space without breaking the bank.
If you do choose to purchase storage containers, opt for ones that are transparent or have a lid so that you can easily identify the contents. It is also important to periodically go through your fabric scraps and remove any unused or unwanted fabrics. This will help you maintain a more manageable and organized collection.
Step 7: Establish a System for New Scraps
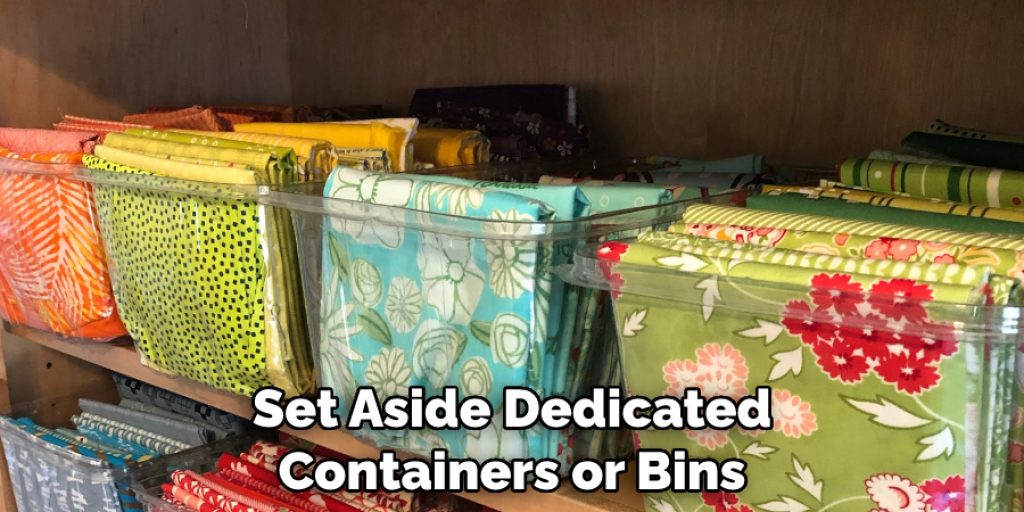
Implement a system for handling new fabric scraps. Set aside dedicated containers or bins specifically for newly acquired scraps. Regularly sort and categorize them to maintain organization. This will help you avoid an overwhelming pile of fabric scraps and keep your collection manageable.
It is also important to regularly assess and update your system as needed. But, most importantly, don’t forget to enjoy the process of creating something with your fabric scraps. You may be surprised at the amazing projects you can create!
Step 8: Consider Scrap Exchanges or Donations
If you find yourself overwhelmed with fabric scraps, consider participating in scrap exchanges with other sewers or donating excess scraps to schools, quilting guilds, or charitable organizations. This not only helps declutter your space but also supports creative communities. Otherwise, consider repurposing your scraps into smaller projects or art pieces.
Allowing yourself to be creative with your fabric scraps can also help you explore new techniques and craft ideas. If you are feeling extra creative, think outside of the box and try something completely unique. You may discover that you can create beautiful pieces with materials that you would otherwise have thrown away! And, of course, don’t forget to enjoy the process. After all, organizing your fabric scraps can be a lot of fun!
Step 9: Maintain Regular Maintenance
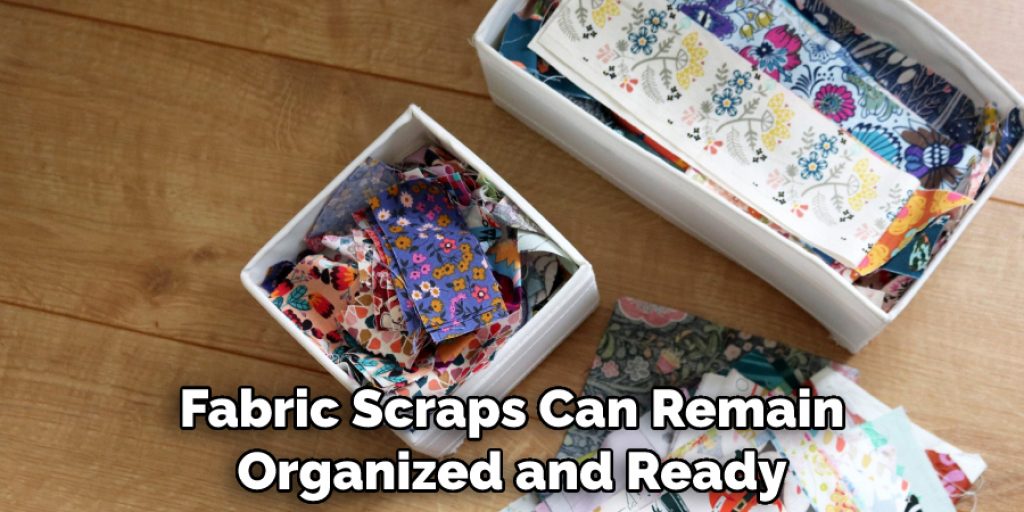
To sustain an organized fabric scrap collection, set aside time for regular maintenance. Schedule periodic sorting sessions to keep scraps organized and discard any unusable or excessively small pieces. With consistent effort, your fabric scraps can remain organized and ready to be used for future projects.
Always remember to be creative and have fun with the process! But, most importantly, don’t forget to enjoy the process of creating something with your fabric scraps. You may be surprised at the amazing projects you can create! However, you choose to organize your fabric scraps, enjoy the process and have fun! With a few simple steps, you can easily create an organized collection of fabric scraps that you can use for future projects! Happy crafting!
Following these steps on how to organize fabric scraps can help you organize your fabric scrap collection and save time, energy, and money. With a bit of creativity and effort,
Do You Need to Use Professionals?
Organizing fabric scraps can be a manageable process if done systematically. You don’t necessarily need to hire professionals unless you are overwhelmed with the task or need assistance with implementing an organizational system. Even then, consider consulting online tutorials or asking for advice from other sewers before engaging the services of a professional.
How Much Will It Cost?
The cost of organizing fabric scraps will depend on the type and number of storage solutions you choose. Generally, containers and organizers range from a few dollars to several hundred dollars, depending on the size and brand. Used items or repurposed containers can be a great way to save money while still achieving an organized system.
Frequently Asked Questions
Q: What Are Some Tips for Organizing Fabric Scraps?
A: Utilize clear zipper bags or envelopes, create a scrap library, repurpose storage solutions, establish a system for new scraps, consider scrap exchanges or donations, and maintain regular maintenance.
Q: How Can I Maximize My Storage Space?
A: Get creative and explore alternative storage options that suit your space and aesthetic preferences. This can include hanging shelves, pegboards, clothing racks, or even creative repurposed containers. Utilize vertical space to maximize your storage area without breaking the bank.
Q: How Can I Keep My Fabric Scraps Organized?
A: Regularly sort and categorize your fabric scraps. Set aside dedicated containers or bins specifically for newly acquired scraps. Consider scrap exchanges or donations if you find yourself overwhelmed with fabric scraps. Lastly, maintain regular maintenance to achieve and sustain an organized fabric scrap collection.
Conclusion
Organizing fabric scraps can transform chaos into creative potential. By following these step-by-step guidelines on how to organize fabric scraps, you can establish a system that suits your needs and easily access your fabric scraps when inspiration strikes.
Enjoy the satisfaction of a tidy and well-organized sewing space while harnessing the endless possibilities that your fabric scrap collection offers. With a little effort and dedication to maintaining organization, you’ll be able to create beautiful projects using your curated fabric scraps with ease.
Nancy Behan
Nancy is an embroidery artist, fashion blogger and a full time editor at DIY quickly. Nancy edits the fashion section on DIY quickly, focusing on the embroidery and cross stitch articles, alongside with fabric and other costume design elements. She graduated from the University of Michigan with a Bachelor of Arts in Art History. She loves to work on her own projects, read books and watch romantic movies in her spare time.


