How to Get a Factory Finish on Cabinets
Introduction:
Factory finishes are applied by automatic spraying equipment. First, the color is sprayed onto the cabinets in a fine mist that atomizes the paint to produce an even coating with no orange peel or roller marks. Next, the finish is applied in stages, allowing one coat to dry before applying the next coat. Finally, multiple coats of high-gloss lacquer are applied for maximum protection and durability. I will discuss how to get a factory finish on cabinets in this article. So let us get started.

A Detailed Stepwise Guide on How to Get a Factory Finish on Cabinets:
One of the most rewarding things about refinishing cabinets is to get a factory finish. You can do this by following these steps:
Step 1:
Remove the door and drawer fronts and any hardware. Drawers must be removed and stacked face-up on top of each other; they cannot touch the bottom of another drawer or cabinet because dust will collect in them, causing dishing when you reinstall them (plus, it’s just not right).
- Remove any shelf boards if there are no doors or drawers above them.
- Tape down plastic sheeting over the floor and around the base cabinet; this will prevent any dust from these areas from being cleaned up.
- There should be an access panel for plumbing near the bottom of the base cabinet that you can remove. Tape down plastic under this area to prevent any leaks.
Now clean up, sanding, and mask as necessary. When everything is ready to refinish, paint the interior of the cabinets with good-quality shellac (BIN) or an oil-based primer (BIN if possible).
This will seal all those hard-to-reach places where dust collects and holds moisture. Shellac bonds well to wood; oil primers don’t — but if you use oil primer, coat the inside of each drawer and door front before reassembly because they’re much trickier to reglue than flat surfaces like side panels.
Step 2:
Apply your first coat of finish — usually something like dewaxed shellac, varnish, or lacquer. These colorless products are compatible with the glazes and stains you will use later. If it’s a chemical-type glaze or stain, apply the first coat of finish before applying the glaze or stain, so you have complete control over how much product goes where.
One reason I prefer shellac finishes to water-based ones is that there’s less chance of an amateur getting away with a mistake. Water-based finishes dry quickly, so any mistakes happen quickly.
Step 3:
Prepare and apply your coloring materials — glazes and stains — following the directions on their respective containers: mix thoroughly and strain well (if necessary Degrease all surfaces by wiping them with denatured alcohol.
Apply glazes by wiping them on with a cheesecloth rag, followed immediately by applying several coats of finish to seal in color. If you want to apply stain over an existing finish, ensure the surface is sound, and there are no loose fibers because the wood will suck up the stain like a sponge.
Step 4:
Sand between each coat following the directions for your particular finish system using fine sandpaper or steel wool (#0000) until smooth as silk. Do not rush this step! The idea is to produce a totally flat surface so that when the final topcoat goes on, it forms an invisible bond from side to side and end-to-. This ensures complete adhesion.
Step 5:
Apply your final topcoat to the flat surfaces and leave all the raised surfaces without any film on them so the color will show through.
If using a film-type glaze or a pigment stain, then apply several coats of clear topcoat following its directions for application. You might want to lightly sand the flat surfaces between coats to ensure complete adhesion.
Step 6:
Reassemble your doors and drawers, checking each fit for alignment before rehanging them in their original positions.
Precautions While Getting a Factory Finish on Cabinets:
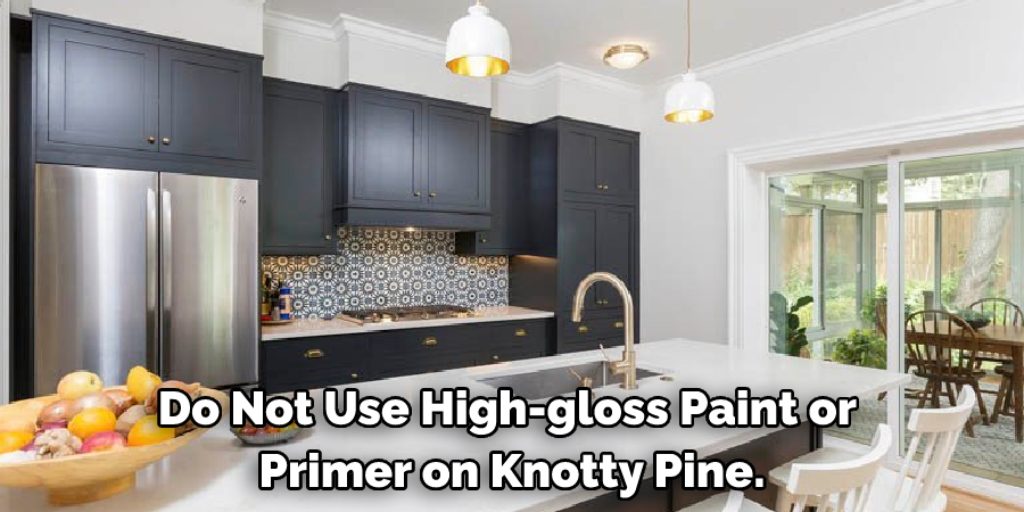
* Do not use high-gloss paint or primer on knotty pine.
* You must apply a sealer coat of oil-based paint, either gloss or semi-gloss, before applying the topcoat (it is best to use semi-gloss).
* Apply the first and second coats of the finish in one direction only (for example, from left to right) because if you go over an area again in the opposite direction, it may result in a line being drawn down the length of your cabinet.
If you have filled knots with putty before finishing, remember that the oil base will soften up this putty, so avoid going over these areas too often after they have been finished. This is especially true for doors since these spots will probably get more wear.
* Use a tack cloth to clean the surface before applying the finish.
* Always remove excess glue from plywood with a plastic scraper and sandpaper; never use a metal scraper because it will gouge the wood. If you do get a gouge in the wood, fill it with water-based filler purchased from your local paint store. Let dry completely, then follow previous directions for finishing.

How to Paint a Kitchen Cabinet?
Step 1: Catch the Sanding Details
The first step in this process is to catch all the sanding details. Next, you will need to remove all the imperfections in your cabinets before painting them. Then you might like to remove all hinges and knobs from the doors, drawers, and chests.
The best way out for this task is to keep two different boxes that are sealed to keep away items after they have been removed. Keep one box sealed with pens, keys, drawing boards, etc., while keeping another box sealed with knives, scissors, and other sharp tools.
Step 2: Clean Your Cabinets Thoroughly
The next thing in line is cleaning all your cabinets thoroughly. This may include removing loose particles and dust that have been formed after sanding. You can clean them using a vacuum cleaner or spray them with a mixture of vinegar and water.
Step 3: Apply Primer on Cabinets
Apply the primer coat to cover any blemishes, spots, scratches, etc., present on the wood cabinets. It is important to use a good quality primer when you are ready to paint your kitchen cabinets; otherwise, making them look new again would be difficult. Let this layer dry properly before going in for the next step.
Step 4: Paint Kitchen Cabinets
Now comes the time when you actually need to paint kitchen cabinets and choose colors according to your preferences and needs. Remember that more than one shade of color can be used on the cabinets and paint the inner surfaces. A semi-gloss or high gloss finish will make them look new again, and you can choose colors according to your room décor.
Step 5: Seal Cabinets After Painting
Once you are done with painting, you need to seal all cabinets to protect the paint from any moisture damage in the future. Then, you can apply a coat of polyurethane to ensure that your painted cabinets are protected against any harm.
Step 6: Apply Other Finishing Touches
The last step comes, which involves reattaching everything back on the kitchen cabinets, including hinges, knobs, doorstop, etc.; if some accessories are missing, you can easily get them at local stores.
How to Repair Hinges of Kitchen Cabinet:

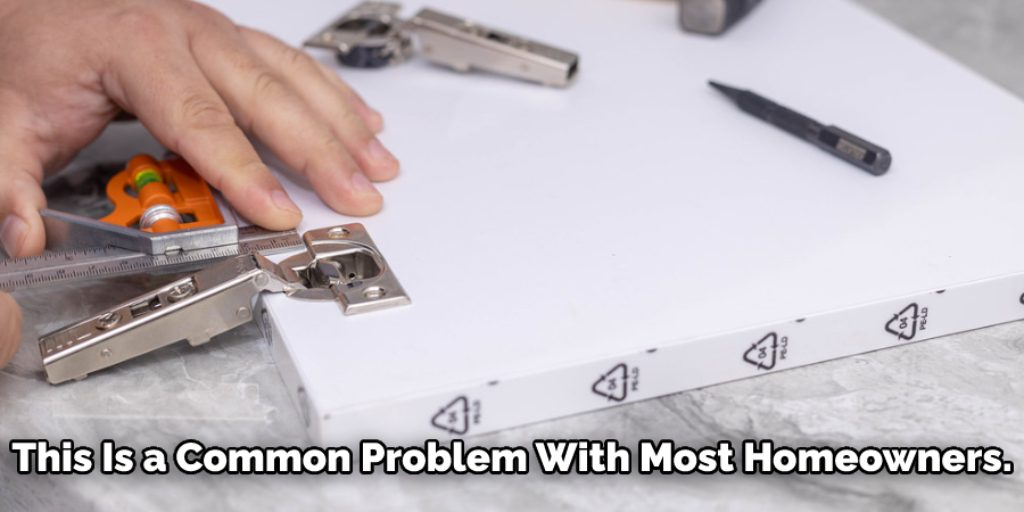
This is a common problem with most homeowners. Especially if they have custom-made cabinets, this can be a real headache. However, repairs are expensive and time-consuming, so it’s better to prevent them first, right?
Step 1
Always open your door fully before you close it! Open it 90 degrees against its frame direction. If you are closing the door normally without resistance, your hinge is probably nothing wrong. If you are applying extra pressure, your hinge is loose or broken, which needs immediate attention; otherwise, it will leave ugly marks on the inside face of your cabinet door.
Step 2
Remove all contents from kitchen shelves and drawers. If you have more than one door needing a hinge repair, go for a complete cabinet overhaul, remove all the contents, and restructure the whole system. It will be easier for you to work on each part separately.
Step 3
Take some sandpaper and remove paint from the surface of your cabinet doors where hinges will stick with. Ensure there is no finish over it, so the metal surface is exposed, allowing hinges to grip better on them with time after you finish all repairs.
Step 4
Once you have sanded off old paint from your cabinets, bring out your wood filler putty or wood putty knife and fill in any dings and chips on the wooden surfaces of doors; after a few hours, when the filler becomes dry, sand off the extra with the help of sandpaper.
Step 5
Now it’s time to restructure or redecorate your cabinets again with new hinges! Once you are satisfied with the appearance of cabinet doors on the front side, turn them over and look onto their backside. On most of the custom-made cabinets, you will notice a metal plate attached to the wooden door panel using countersunk screws, which hold everything together for better stability.
Step 6
Open all doors so you can access this metal plate easily. This plate might be about 3 inches wide, covering almost the whole width of the kitchen cabinet face frame (the wood that makes up the face frame). If someone replaced your hinges before then, they might have drilled new holes on this plate too. Now, gently pull this plate out of your cabinet so you can easily access the screws that hold it to the wooden door panel.
Step 7
Once the metal plate is pulled away from the wood, take a pencil and mark new holes on it for new hinges. You can make markings “Top”/”Bottom”, “Left Side”/”Right Side”, “Front”/”Back”. This will be helpful when you are trying to screw this plate back after installing new hinges.
Usually, 3-4 inches distance between two screw holes is enough, but don’t make them too far or too close that they become difficult to screw later.
Step 8
Drill these marks with the help of a drill machine and a drill bit one size smaller than the screws that came with new hinges. If you didn’t have screws with new hinges, then you can use old ones but make sure they are not rusty and stuck up too bad.
Step 9
Now attach new hinges on the metal plate using screws you just drilled holes for. Make sure each hinge is tightly fastened to the plate and wood door panel; otherwise, it will be challenging, later on,
to adjust and align them along with cabinet opening and closing direction (left/right). Usually, screws of a minimum of 2 inches in length can do the job. Even shorter ones will work if there is space between the door panel and the metal plate.
Conclusion:
I hope this article has been beneficial for learning how to get a factory finish on cabinets. Follow all the precautions while performing the process. Thank you and have a nice day!


