
How to Get Paint Off Window Trim
Introduction
The trim around the windows in your home is a construction detail that helps frame the window and help it stand out. The wood trim comes in various sizes to fit different-sized windows. The purpose of window trim is to give your interior and exterior design an elegant, clean look. It also protects the wood structure from moisture and fading due to sunlight exposure. Sometimes these window trims remain painted, and it needs to be removed for decorative purposes. For this reason, I will discuss a technique to get paint off window trim today. Let us get started.
Step-wise Guide on How to Get Paint Off Window Trim
Step 1: Protect Yourself and the Room, and Ensure Adequate Ventilation:
Get yourself a mask; the fumes from paint removal can be toxic and smelly. Ensure that the room you are working in has adequate ventilation so it doesn’t get stuffy and difficult to breathe. Finally, ensure that you wear comfortable clothing for you to work in 2 – 3 hours comfortably without having your clothes splattered with paint everywhere.
Step 2: Protect and Clean the Window Sill:
Cover your windowsill with newspaper or paper towels to protect it against getting covered in paint spray or drips. Make sure that any glass on top of the sill is covered properly also! Next, mix some water with dishwashing liquid (the amount will depend on how much surface area of your window trim you’re cleaning; you aim to create a mixture that can be applied with a paintbrush); apply the solution liberally on the window sill and use the dishwashing liquid as it is.
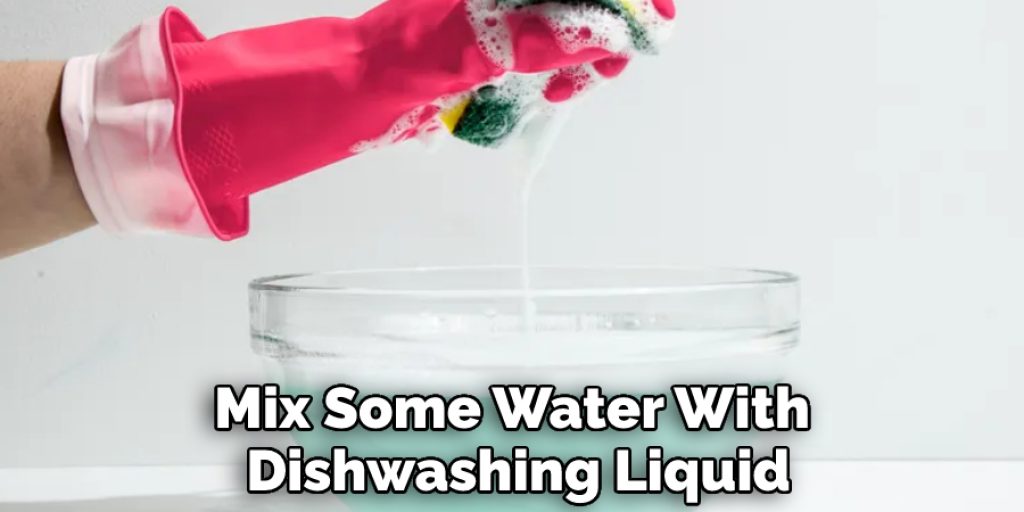
If you can’t remove all the paint with just water, try adding some soap to the water and spraying it on the areas where the paint is stubborn. Leave it for a while, then wipe it off with a rag. Use paper towels because they could drop bits of paint back onto your trim. If there’s still paint left after you try this, you can repeat the process until it’s all gone.
Step 3: Brush a Paint Stripper Onto the Molding:
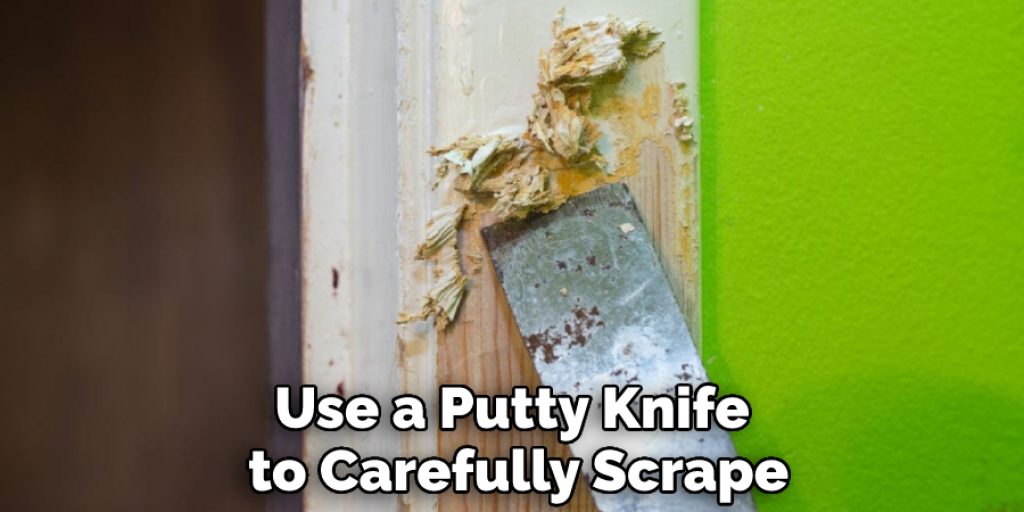
Get your paint stripper ready; read instructions on the can for best working times etc. Mix up the paint stripper with some water and apply it liberally all over the window sill using a brush (the amount you use will depend on how much surface area your molding needs to be cleaned – approx. 1 cup should do per 6 square feet). Let sit for 40 minutes, then scrape off any stubborn paint blobs with a putty knife.
Step 4: Use a Stripping Pad if Necessary:
If, after removing as much of the molding as you can, there are patches where paint is still present (such as around screw holes), then use some fine sandpaper and lightly sand them away; wipe these areas down and get your paint stripper ready again.
Step 5: Remove the Old Caulk/silicone:
Now that most molding is freed from paint, you can remove any old silicone or sealant used to seal over screw holes. Use a putty knife to carefully scrape all of this away (if it doesn’t come off easily, use some extra paint stripper and leave for another hour or so). Once all traces are gone, wipe clean with a rag.
Step 6: Scrape Away the Softened Paint:
Use a putty knife to carefully scrape off any paint which hasn’t come off easily. Try to get a small amount of paint off each scrape to soften more (you should aim for this step to take 15 – 20 minutes).
Step 7: Remove the Paint Residue With Steel Wool:
Scrape away as much of the remaining paint as possible; once most is gone, wipe down everything with some paper towels/rags and soak up any excess green stripper solution with them, too (all traces must be removed, or it could stain your trim if left on there).
Step 8: Use Vinegar to Neutralize Any Leftover Chemicals From the Paint Stripper:
Mix equal parts white vinegar and water in a spray bottle; apply the solution liberally over the window trim and let soak in for a minute or so. This should remove all traces of any leftover paint stripper chemical residue, which could otherwise attack your paint when you start to repaint! Wipe clean with rags/paper towels.
Step 9: Sand the Molding in the Direction of the Grain:
Using 200 grit sandpaper (or lower, depending on how ‘rustic’ you want your finish to be), start at any rough edges and sand all the way round until smooth; for a good finish, it’s best to work in one direction only – either clockwise or anticlockwise. Once done, wipe down with a clean rag.
Step 10: Clean Off Any Remaining Gunk:
Use soap, hot water, and a sponge to clean it thoroughly (this process may take 5-10 minutes depending on how well you’ve done it). Next, use the steel wool to scrub the silicone around screw holes, etc., once again until they are nice and shiny, then use a rag to wipe away any excess moisture left behind from the soap!

Precautions While Learning How to Get Paint Off Window Trim:
You need to take care of certain things while you want to get paint off window trim.
The solvent you choose doesn’t need to completely remove the paint from your window trim.
There are some chances that if you don’t follow proper precautions, then some of the paints may get removed, and some of them may stay there, or it may even damage your window trim.
So here we have included a few points you should keep in mind while getting paint off window trim. You can read all these points carefully before attempting to remove paint from your window trim. Let’s start with the precaution part:
- Do Not Use Hot Water To Get Paint Off Window Trim. Hot water cannot help you remove the paint from your window trim.
- Do Not Let Hot Paint Dry On The Window Trim.
- Do Not Use Strong Solvents To Get Paint Off Window Trim. Some strong solvents can eat away the other things on your trims or even on some other parts of your car. So you should be careful with that kind of solvents while getting paint off window trim materials.
- Precautions While Using Pressure Washers. You should always use a pressure washer with a proper nozzle so it can get into the crevices between the metal and glass. If you don’t, at least place a towel over the windshield wiper mechanism to protect it from damage.
- Use Protective Gear To Protect Your Skin. Nothing is more painful than getting paint on your skin. By using the protective gear, you will be able to protect yourself from paint and any harmful solvents that may be used to remove paint. Gloves would do for this purpose, and they should definitely come with a good mask or goggles to prevent the breathing of fumes and particles while getting paint off window trim.
- Don’t Use Paint Remover Which May Contain Acetone Or Solvents Having Bad Odor. You have cleaned your car with an acetone-based cleaner or any solvent which had an oily smell? If yes, you should know that such chemicals can damage your car’s window trim. So avoid them while you want to get paint off the window trim.
- Don’t Use Electrical Sander. This is not a good idea at all. You may damage your window trim if you use an electrical sander. Rather, you should opt for hand sanding or, even better yet, stick to soap and water and a toothbrush to remove any paint on your car’s window trims.
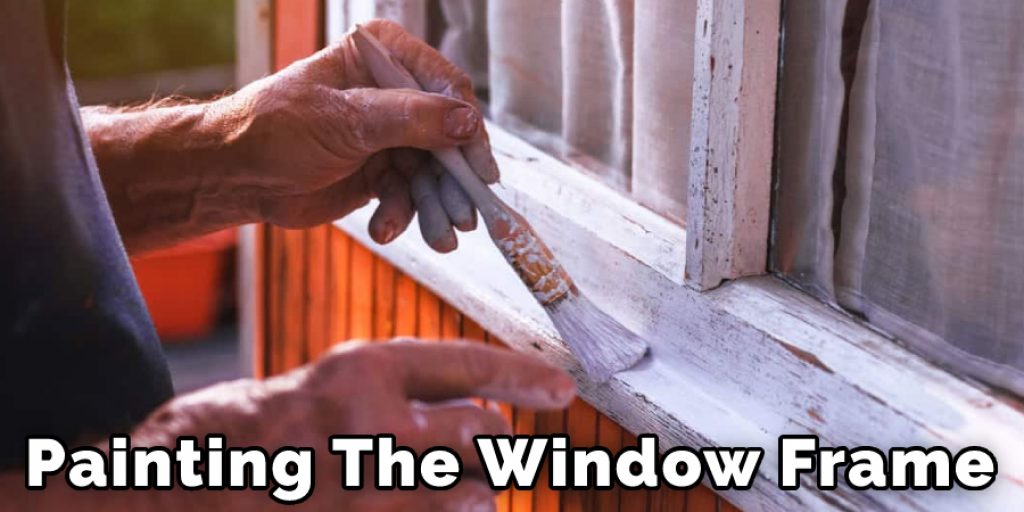
How to Clean Paint From Vinyl Window Frames?
Painting the window frames may not be a bad idea, but it leaves some tough traces.
To help you achieve your painting goals with minimal hassles, here are some simple steps to rid your home of paint splatter from the vinyl frame.
Find out what caused the problem in the first place:
#1- Excess Paint on Window Frames:
Sure! It would help if you covered up that old stained woodwork but beware of using too much paint. Once you have painted one side and flipped it over, you will find excess paint on surfaces that were once clean. The only way to take off this excess paint would be to wait for it to dry and then sand them down – not exactly a tough job, though.
#2- Painted Over Vinyl Window Frames:
One of the biggest mistakes people tend to make is painting their window frames and then getting busy with other projects in the house. The paint dries up after a couple of days, and you get back home to find that it has left traces everywhere. Luckily for you,
Here are some simple steps that can help you regain your clean window frames with ease:
- Always wear gloves to keep your hands clean from dirt and additional smudge or fingerprints when using tape or paper towels (Not recommended).
- Start by washing down your windows with a mild detergent mixed in water (be careful not to put any abrasive or harsh chemicals, as they will ruin your paint job)
- Use a stiff paintbrush to remove all the loose dirt and smudges of paint from the window frames. Be careful with this step; you don’t want to unnecessarily rub too hard on the surface and end up with scratches.
- Go for a damp paper towel next: use gloves again, soak the towel in clean water, and gently stroke down the vinyl frame until no excess paint is visible. Make sure that you do not leave any part wet. They can cause mildew growth later on.
- A good way to dry out these prints would be by taking an old sheet/towel and gently blotting the excess water until no more moisture is left behind.
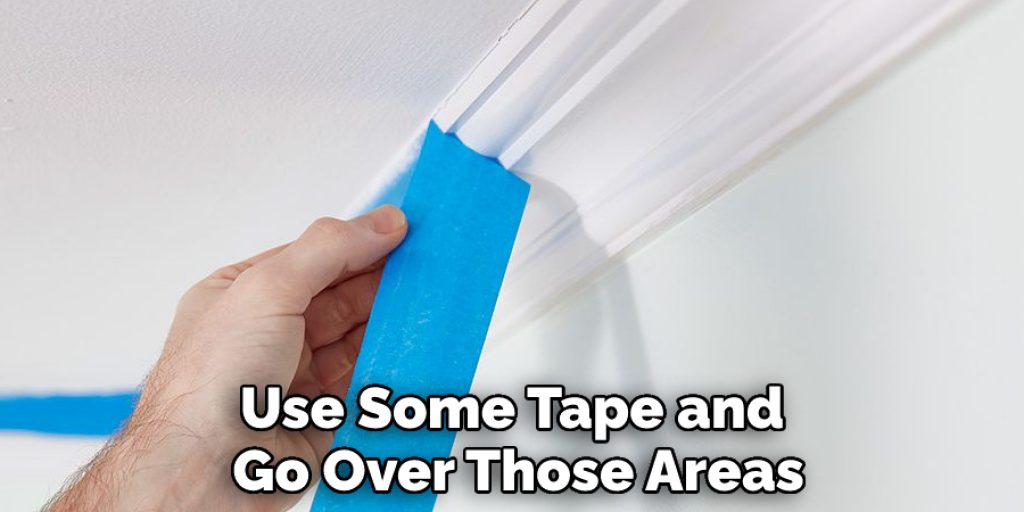
- If you don’t feel like going through all these troubles, you can do this: instead of using a clean towel to blot out the paint prints, use some tape and go over those areas that have not dried up completely. This will ensure that your window frames are back to “normal” within minutes!
Conclusion
I hope you have all the relevant information about getting paint off window trim. Also, ensure proper safety while performing the process. Thank you and have a nice day!
Angela Ervin
Angela is the executive editor of DIY quickly. She began her career as an interior designer before applying her strategic and creative passion to lifestyle and home. She has close to 15 years of experience in creative writing and online content strategy for housekeeping, home decorations as well as other niche efforts. She loves her job and has the privilege of working with an extraordinary team. She lives with her husband, two sons, and daughter in Petersburg. When she's not busy working she spent time with her family.


