How to Glaze Ceramic Tile
Glazing ceramic tile is an essential process that enhances both the aesthetic appeal and durability of the tile surface. It involves applying a glassy coating that not only comes in a variety of colours and finishes but also serves to protect the tile from moisture, stains, and wear. Whether you’re a DIY enthusiast looking to refresh your space or a professional contractor seeking to improve the quality of your installations, understanding the glazing process is crucial.
In this guide, we will walk you through the necessary steps and considerations for how to glaze ceramic tile, ensuring a beautiful and long-lasting result.
What is Glazing for Ceramic Tiles?
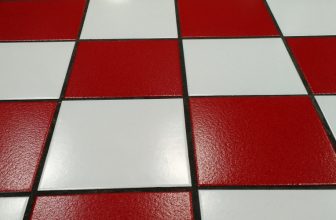
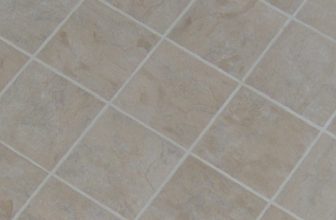
Glazing for ceramic tiles refers to the process of applying a vitreous coating to the surface of the tiles, which not only enhances their visual appeal but also provides a protective layer. This glaze can be clear or coloured, with various textures and finishes, allowing for a wide range of design options. The glaze is typically formulated to make the tiles more resistant to moisture, stains, and physical wear, thereby prolonging their lifespan and maintaining their aesthetic quality.
The glazing process occurs during the manufacturing phase, where the tiles are fired at high temperatures in a kiln, resulting in a durable and visually striking surface that can elevate any indoor or outdoor space.
Materials and Tools
To successfully glaze ceramic tiles, you will need several materials and tools to ensure an efficient and effective process. The key materials include:
- Ceramic Tiles: Choose high-quality ceramic tiles that suit your aesthetic preferences.
- Glaze: Select a vitreous glaze suitable for ceramic tiles, available in various colours and finishes.
- Substrate: If required, a suitable substrate may be used to provide additional support for the tiles.
The essential tools for glazing ceramic tiles consist of:
- Kiln: A high-temperature kiln is necessary for firing the glazed tiles, ensuring the glaze adheres properly to the surface.
- Brushes and Sprayers: Use brushes or sprayers for applying glaze evenly across the tile surface.
- Protective Gear: Safety goggles, masks, and gloves are advisable to ensure safety during the glazing process.
- Mixing Containers: For preparing and mixing glazes if you are creating custom colours.
Gathering these materials and tools will set the foundation for achieving beautiful and durable glazed ceramic tiles.
10 Methods How to Glaze Ceramic Tile
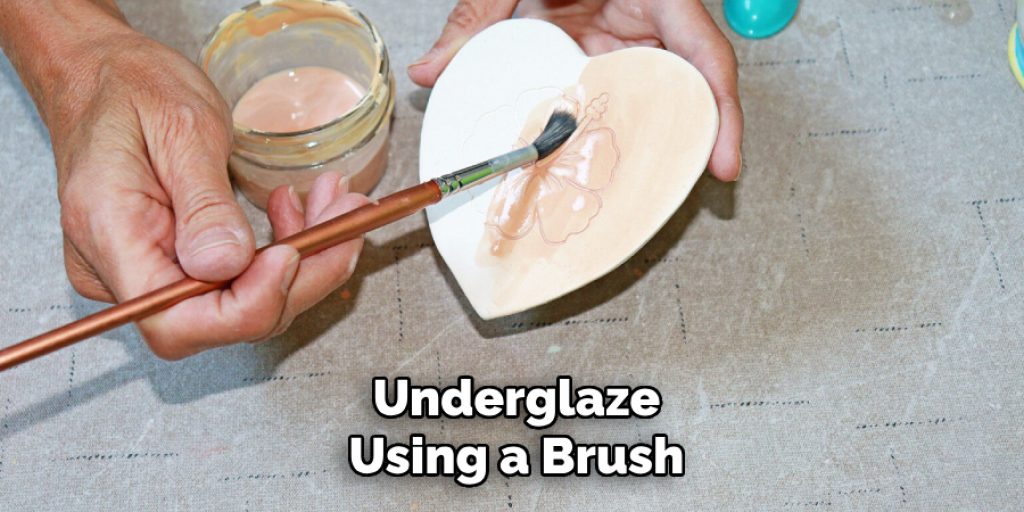
1.Basic Underglaze Application:
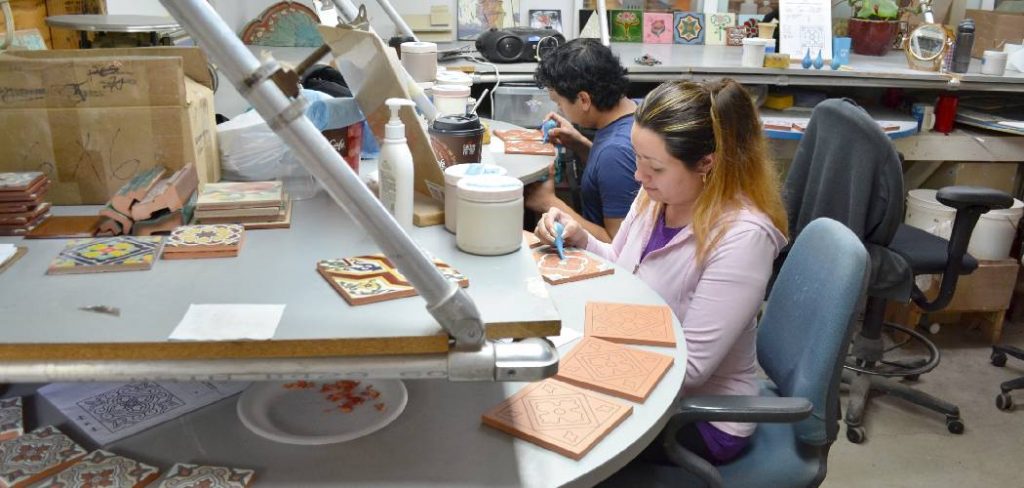
Underglaze is a technique used to apply color to ceramic tiles before they are glazed. Start by cleaning the tiles thoroughly to remove any dust or grease. Apply the underglaze using a brush, sponge, or sponge applicator, ensuring an even coat across the tile surface. Allow the underglaze to dry completely before applying a clear or colored glaze over it. This method allows you to achieve intricate designs and vibrant colors by layering the underglaze with a transparent glaze that enhances the underlying color.
2.Dipping Method:
The dipping method involves immersing the entire tile in a container of glaze. Begin by preparing the glaze according to the manufacturer’s instructions. Submerge the tile into the glaze, ensuring it is fully coated. Gently remove the tile and allow any excess glaze to drip off. Place the tile on a drying rack or kiln shelf to let it dry before firing. The dipping method is efficient for covering large numbers of tiles and ensures an even application of glaze. This technique is ideal for achieving a consistent finish across multiple tiles.
3.Brushing Technique:
The brushing technique is a versatile method for applying glaze, especially for detailed work. Prepare the glaze and pour it into a clean container. Use a high-quality brush to apply the glaze to the tile, working in thin, even layers. Allow each coat to dry before applying additional layers. This method is excellent for achieving detailed designs, gradients, and texture on ceramic tiles. It offers greater control over the application process and is suitable for both small-scale projects and intricate patterns.
4.Spray Glazing:
Spray glazing involves using a spray gun or aerosol can to apply glaze evenly across the tile surface. Prepare the glaze and load it into the spray gun or shake the aerosol can well. Apply the glaze in light, even coats, holding the spray gun or can at a consistent distance from the tile. Allow each coat to dry before applying additional layers. This method provides a smooth, even finish and is particularly useful for large tiles or when a uniform color is desired. It also reduces the risk of brush marks or streaks.
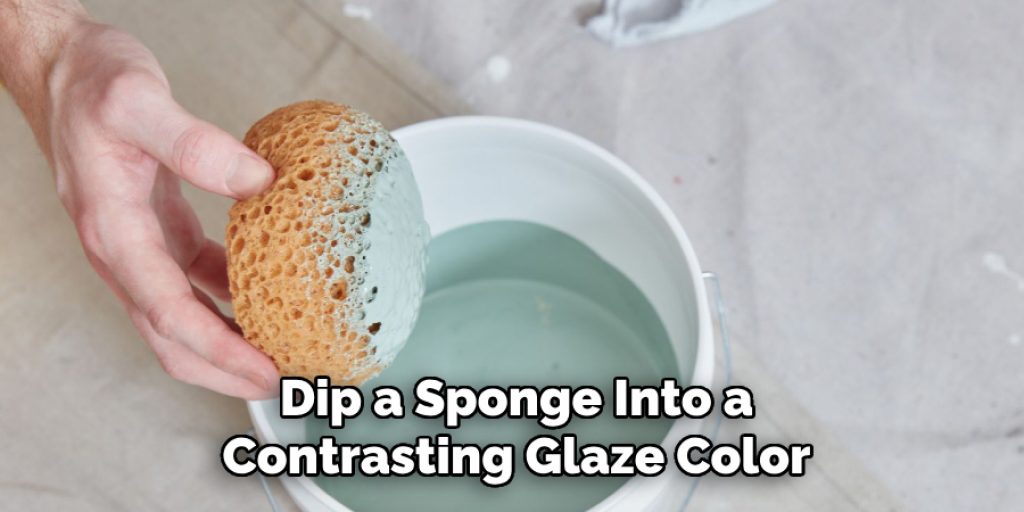
5.Sponging Technique:
The sponging technique creates a textured and varied glaze effect. Start by applying a base coat of glaze using a brush or roller. Once the base coat is dry, dip a sponge into a contrasting glaze color and lightly dab it onto the tile surface. This technique adds depth and dimension to the glaze, creating a visually interesting and unique finish. The sponging method is ideal for achieving a natural, textured look and can be combined with other glazing techniques for added complexity.
6.Sgraffito Technique:
Sgraffito involves carving or scratching designs into a layer of glaze to reveal the clay underneath. Apply a base layer of glaze to the tile and allow it to dry. Once dry, apply a contrasting glaze on top and allow it to set slightly. Use a sharp tool or stylus to scratch through the top layer of glaze to reveal the base color or design. This method creates intricate patterns and designs with a high-contrast effect. It is especially effective for detailed artwork and adds a tactile quality to the finished tile.
7.Mosaic Glazing:
Mosaic glazing involves applying different glazes to small, individual tile pieces that are then assembled into a larger design. Prepare each tile with a different color or texture of glaze, using techniques such as brushing, sponging, or dipping. Once the tiles are glazed and fired, arrange them into a mosaic pattern and grout the joints between the tiles. This method allows for creative and custom designs, making it ideal for decorative wall panels, countertops, or backsplashes.
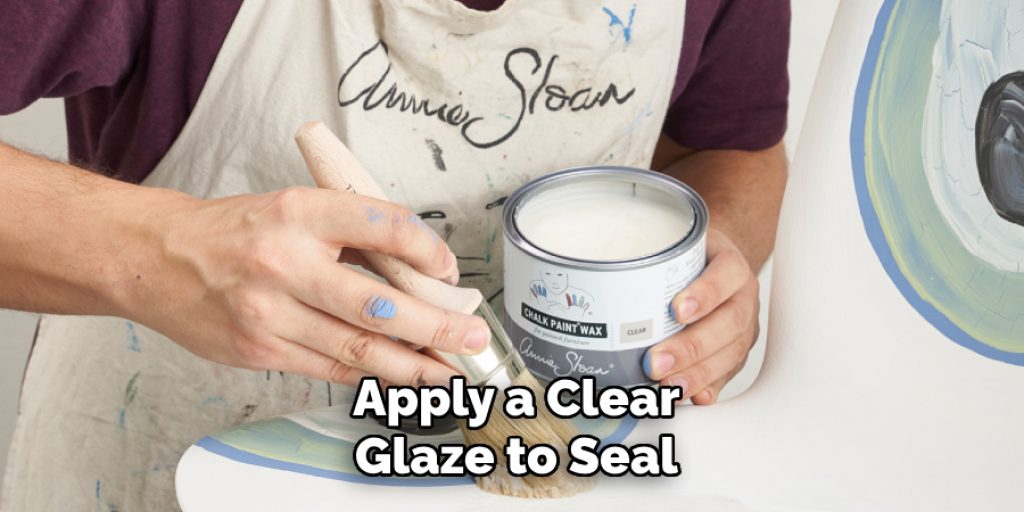
8.Crackle Glaze Technique:
Crackle glaze creates a distinctive, cracked effect on the surface of the tile. Apply a base coat of glaze and allow it to dry completely. Next, apply a crackle glaze over the base coat. The crackle glaze will create a network of fine cracks as it dries and shrinks. Once the crackle glaze is dry, apply a clear glaze to seal and protect the cracks. This technique adds a unique texture and visual interest to the tile surface, making it a popular choice for decorative accents and vintage-inspired designs.
9.Raku Glazing:
Raku glazing is a traditional Japanese technique that involves removing the tile from the kiln while still hot and placing it into a container with combustible materials. Prepare the tile with a base glaze and fire it in a kiln. While still glowing hot, transfer the tile to a container with materials like sawdust or newspaper. The combustible materials react with the hot glaze, creating unique color variations and effects. Raku glazing produces striking, unpredictable results and is ideal for artistic and experimental projects.
10.Frit Application:
Frit application involves using frits, which are pre-melted glass particles, to add texture and color to ceramic tiles. Sprinkle or sprinkle frit onto the surface of the tile before firing. The frit will melt during the firing process, creating a glossy and colorful finish. This method allows for the creation of textured, multi-colored, and glossy surfaces. Experiment with different frits and application techniques to achieve various effects, such as speckles, gradients, or glassy finishes.
Tips for Achieving the Best Glazing Results
- Surface Preparation: Ensure that your tiles are clean and free from dust or oils before applying any glaze. Properly bisquing your clay can also help in achieving better adhesion of the glaze.
- Test Your Glazes: Before committing to a large project, test your glazes on sample tiles. This allows you to see how the colors react to firing and different application methods.
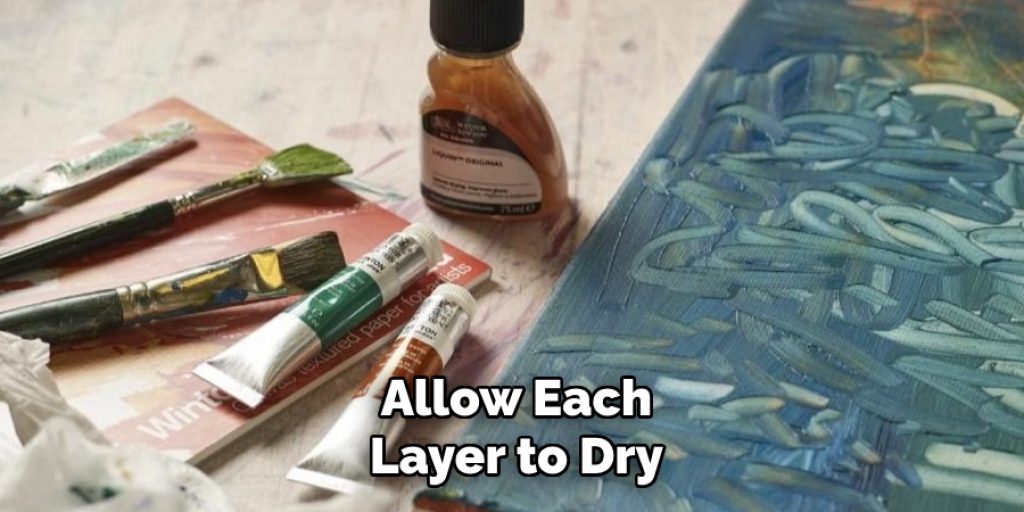
- Layering Techniques: When using multiple glazes, allow each layer to dry thoroughly before applying the next. This prevents mixing and ensures that the individual colors retain their vibrancy.
- Consistency in Application: Whether brushing, spraying, or dipping, aim for a consistent application. Uneven application can lead to streaks or inconsistencies in the final finish.
- Experiment with Techniques: Don’t be afraid to mix and match techniques for unique effects. Combining techniques such as sponging and sgraffito can yield stunning results.
- Control the Environment: Keep humidity and temperature conditions in check during glazing and firing. Extreme changes can affect the glaze’s performance and finish.
- Use Quality Tools: Invest in good quality brushes, sprayers, and tools to help achieve more precise and professional results.
Conclusion
Glazing ceramic tiles is a multifaceted process that allows for a wide range of artistic and practical effects. Whether you prefer the simplicity of brushing, the efficiency of dipping, or the intricate designs of sgraffito, each method offers unique possibilities for achieving a beautiful and durable finish. By exploring these ten methods, you can enhance your ceramic tile projects with a variety of colors, textures, and techniques. Thanks for reading, and we hope this has given you some inspiration on how to glaze ceramic tile!
Elizabeth Davis
Elizabeth is a creative writer and digital editor based in the United States. She has a passion for the arts and crafts, which she developed from a young age. Elizabeth has always loved experimenting with new mediums and sharing her work with others. When she started blogging, she knew that DIYquickly would be the perfect platform to share her tutorials and tips. She's been writing for the blog from the beginning, and her readers love her helpful advice and easy-to-follow instructions. When she's not writing or editing, Elizabeth enjoys spending time with her family and friends.