How to Grid Cross Stitch Fabric
Grid cross-stitch fabric is a popular choice among stitchers as it provides a structured framework for creating intricate and precise cross-stitch designs. Whether you’re a beginner or an experienced cross-stitch enthusiast, gridding your fabric can significantly enhance your stitching experience.
In this article, we will explore the step-by-step process of gridding cross-stitch fabric, providing you with easy-to-follow instructions and valuable tips along the way.
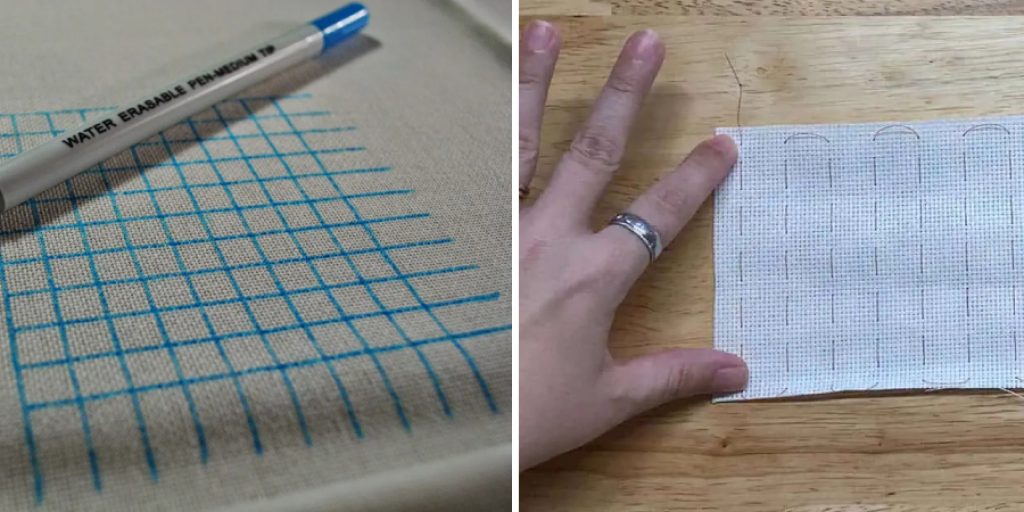
From selecting the right materials and calculating grid lines to marking your fabric and maintaining accuracy throughout your project, we’ll cover all the essential aspects of how to grid cross stitch fabric.
Whether you prefer traditional methods or modern tools, gridding your cross-stitch fabric will help you stay organized, save time, and achieve beautiful and evenly-spaced stitches. Get ready to embark on your cross-stitch journey with confidence and precision by mastering the art of gridding your fabric.
What Is Gridded Aida?
Gridded Aida is a cross-stitch fabric that has pre-printed grids on it, making it easier to create precise designs. The grid lines are usually printed in light grey or blue and the fabric comes in various sizes and counts. It can be found in most craft stores or online retailers.
Gridded Aida is a great fabric for beginner and experienced cross-stitchers alike since it provides an easy way to create even stitching. The grids also make it easier to transfer patterns onto the fabric, as they can be traced right onto the grid lines. Gridded Aida is available in various colors, including white, ivory, cream, grey, black, and other colors.
It is also available in various sizes, depending on the pattern you’re creating. When selecting the size of your fabric, you should consider the size of the finished project to ensure that your design will fit properly when completed. Gridded Aida can be used for a variety of projects, such as home decor items, ornaments, wall hangings, and more. With its easy-to-follow grid lines and a wide array of colors, Gridded Aida is an excellent choice for your next cross-stitch project.
What Thread Is Used for Gridding Cross Stitch?
The most common type of thread used for cross stitch is six-strand embroidery floss. This is a stranded cotton thread that consists of strands twisted together, making it easier to separate when stitching. You can also use other types of threadsCross stitch is a stitched art form such which as involves using two strands of thread to create a perle or pearl cottons and metallics. Each has its own pattern on an even-weave fabric.
The most common type of thread to use for cross stitch is embroidery floss, made up of six thin strands that can be separated and used individually or combined into larger amounts for more coverage. Other types of threads like pearl cotton, metallics, and silk ribbons, can be used as well.
Depending on the project you’re working on, you may want to select a thread that provides more coverage or thicker texture for your work. Ultimately, selecting the right thread for your cross-stitch project is entirely up to personal preference.

10 Methods How to Grid Cross Stitch Fabric
1. Choose the Right Fabric
The first step in grid cross stitching is to choose the right fabric. Aida cloth is the most popular choice for beginners, as it is easy to work with and produces great results. However, you can also use other types of fabrics, such as linen or evenweave. Make sure the fabric has a tight weave, as this will help with your stitching accuracy.
The count of the fabric is also important: it indicates how many stitches you can fit into one square inch. Generally speaking, higher counts are better for more detailed designs. Finally, choose a color that will make your pattern stand out against the background. Keep in
2. Cut the Fabric to Size
Once you have chosen your fabric, you will need to cut it to the desired size. It is important to make sure that the fabric is cut straight, as this will make it easier to stitch later on. You can use a ruler and fabric scissors to do this. If the fabric is too large, you will need to fold it in order to be able to accurately measure and cut the desired size. Once the fabric has been cut, you should check that all pieces are of equal size in order for them to fit together properly.
3. Mark the Center of the Fabric
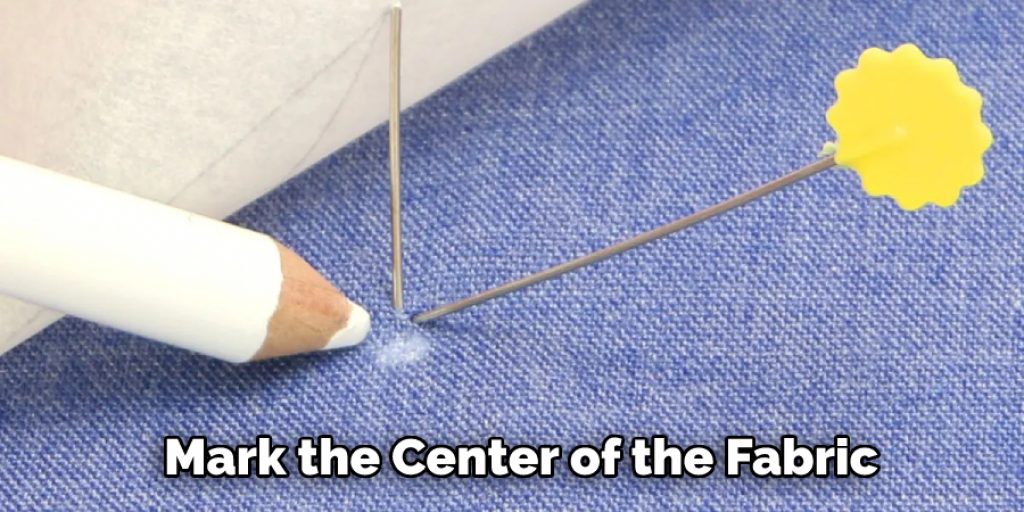
The next step is to mark the center of the fabric. This can be done by folding the fabric in half and then in half again. Once you have found the center, mark it with a pencil or a piece of chalk so that you know where to start stitching. This is an important step as it will ensure that your fabric pieces are lined up correctly when sewing.
After the center has been marked, you can then begin to pin the fabric together along the edges. Making sure that everything is properly aligned and pinned securely before beginning to sew will give you a professional finish.
4. Find the Center of Each Square
Once you have marked the center of the fabric, you will need to find the center of each square. To do this, simply draw a line from one corner of the square to the opposite corner. Once you have found the center of each square, mark it with a pencil or chalk so that you know where to stitch.
Now you are ready to start sewing! Additionally, you can use the center of each square as a guide to make sure that all your stitches are even and spaced correctly. By following this simple guideline, you will produce professional-looking quilted squares in no time!
5. Start Stitching from the Center
Now that you have marked all of the centers, you are ready to start stitching! Begin by threading your needle and tying a knot at the end. Then, start from the center of one square and stitch toward the center of an adjacent square. Continue stitching until you have completed one row.
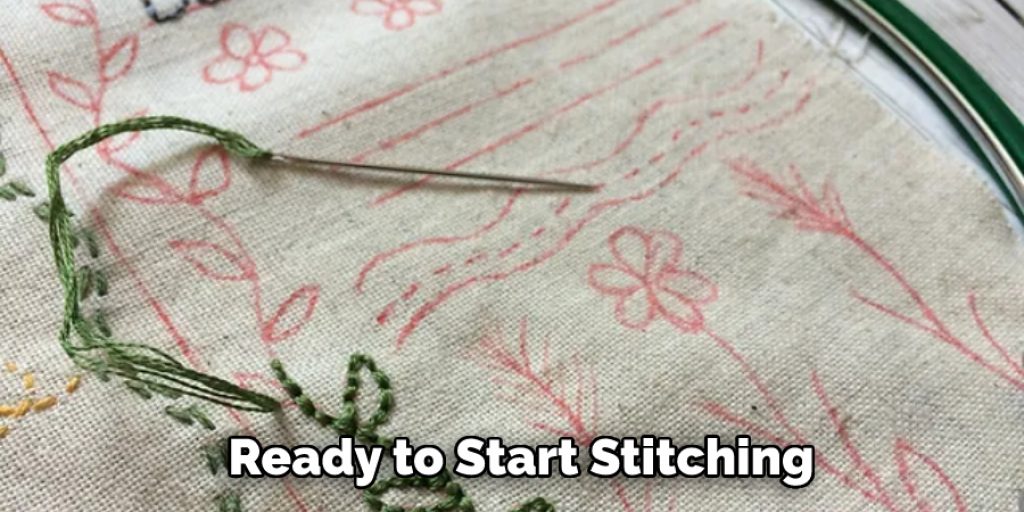
You can then stitch the next row by beginning from the center of the first square and stitching towards the center of the last square in that row. Continue in this manner until you have completed all of your squares. Once all of your rows are stitched together, tie off your thread and snip off any excess.
6. Change Directions When Stitching Rows
When you reach the end of a row, it is important to change directions so that your stitches are evenly spaced. To do this, simply stitch from the center of one square to the center of the square below it. Continue stitching in this manner until you have completed all rows.
7. Finish Off Your Stitches
Once you have reached the end of your project, it is time to finish off your stitches. To do this, simply thread your needle through all of the loops on your fabric and then tie a knot at the end. Trim any excess thread and your project is complete!
8. Mark the Corners of Each Square
If you would like to make your cross-stitch project even more precise, you can mark the corners of each square. To do this, draw lines from each corner of one square to the opposite corner on an adjacent square. This will help ensure that your stitches are evenly spaced and in straight rows.
9. Use a Marking Pen to Trace Your Design
If you are working from a pattern, it can be helpful to use a marking pen or pencil to trace your design onto the fabric. This will make it easier for you to remember where each stitch should go and help you keep track of your progress. When tracing, it is important to make sure that the lines you draw are as close to the original pattern as possible.
This will ensure that your finished product looks professional and accurate. Once you’ve traced the design onto your fabric, you can use an erasable pen or chalk pencil to mark out where each stitch should go.
10. Iron Your Finished Project
Once you have completed your project, it is important to iron it. This will help set the stitches in place and ensure that your design does not become distorted after washing or stretching. To do this, simply lay a piece of cloth over the fabric and then press with an iron on a low heat setting.

Conclusion
In conclusion, cross-stitching with a grid has a lot of benefits to it. Not only will it help you achieve more precise patterns, but it also gives beginners an effective way to get started. The most important thing is to take your time and practice so that you can achieve the desired result. With a little patience and dedication, anyone can learn how to grid cross stitch fabric!
So pick up your needle and thread, find yourself some fabric, and get ready to start making those wonderfully intricate designs on cloth! Don’t forget to share your work on social media! We hope this article has helped equip you with the knowledge needed to begin your own masterpiece – happy stitching!

