
How to Hang a Fabric Projector Screen
A projector screen is a necessary component for any home theater setup. But with so many different types and styles on the market, choosing the right one for your needs can be tricky.
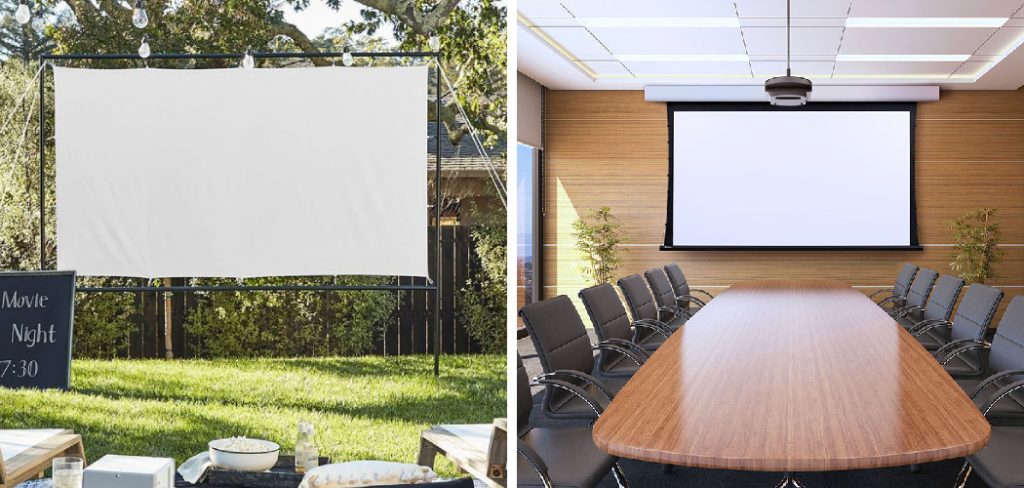
If you’re looking for a projector screen that’s both sleek and functional, look no further than the fabric projector screen. Here’s how to hang a fabric projector screen in six easy steps.
Can You Hang a Fabric Projector Screen?
You may be considering a fabric projector screen if you’re looking for an inexpensive way to set up a home theater. While there are several different types of screens on the market, a fabric screen can offer several advantages.
In addition to being lightweight and portable, fabric screens can also be hung on a wall or ceiling, making them ideal for small spaces. And because they don’t require any special installation, they’re easy to set up and take down.
However, there are a few things to remember if you’re planning to hang a fabric screen. First, it’s important to choose a fabric that is opaque and non-reflective. Otherwise, the image from your projector will be distorted or blurry. Second, make sure that the screen is securely attached to the wall or ceiling so that it doesn’t sag or wrinkle.
Finally, consider using blackout curtains or blinds to reduce the room’s light and improve the image’s contrast. By following these simple tips, you can ensure that your fabric projector screen provides an enjoyable and hassle-free viewing experience.
Why Should You Hang a Fabric Projector Screen?
You might want to consider hanging a fabric projector screen for many reasons. First, fabric screens provide a smoother surface than traditional matte white screens, which can produce a more detailed image. Additionally, fabric screens diffuse light more evenly than other types of screens, resulting in less glare and hot spotting.
Finally, fabric screens are acoustically transparent, meaning that they won’t interfere with the sound quality of your projector. A fabric projector screen is an excellent option if you’re looking for the best possible viewing experience.
How to Hang a Fabric Projector Screen in 6 Easy Steps
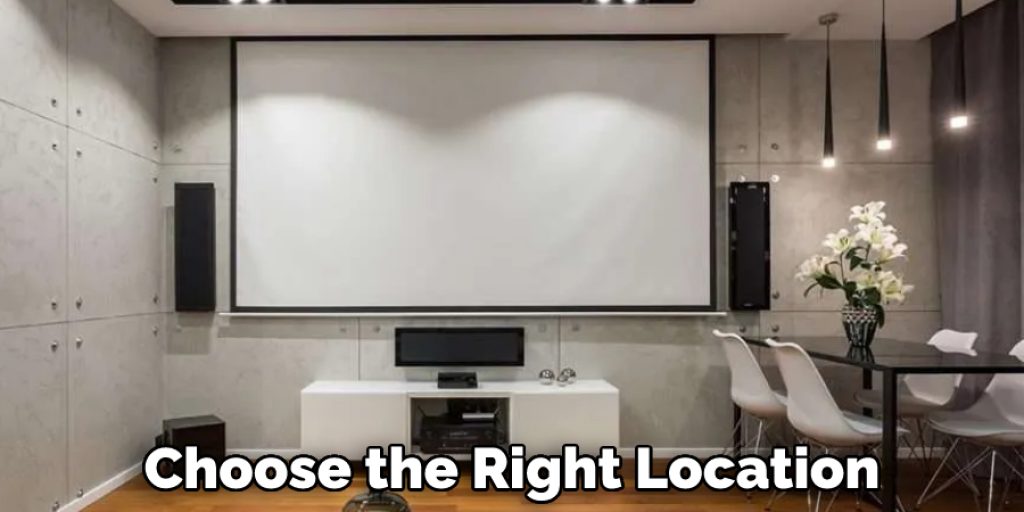
Step 1: Choose the Right Location
The first step is to choose the right location for your fabric projector screen. You’ll want to find a spot with plenty of light, as this will help ensure a clear image. You’ll also want to ensure that the area is free of any obstacles that could obstruct the view of the screen. Once you’ve found the perfect spot, it’s time to get started on Step 2.
Step 2: Assemble Your Screen Frame
The next step is to assemble your screen frame. If you’re using a pre-assembled frame, simply follow the instructions that came with it. Start attaching the four corner brackets to your chosen surface if you’re making your own frame. Then, use the screws and dowels to secure the horizontal beams. Once your frame is assembled, it’s time to move on to Step 3.
Step 3: Cut Your Fabric
Now it’s time to cut your fabric. The best fabric to use for a projector screen is a white polyester, as it provides excellent clarity and contrast. Using a measuring tape, measure out and mark where you’ll need to cut along all four sides of the fabric so that it’s slightly larger than the frame itself. Once you’ve cut along all four sides, move on to Step 4.
Step 4: Attach Your Ceiling Mounts
This next step is optional, but we recommend attaching ceiling mounts if you want your screen to be truly ceaseless. Begin by measuring out how far apart you’ll need to drill your holes based on the size of your screen. Then, drill pilot holes into your chosen surface and screw in your eyehooks or ceiling mounts. Once they’re secure, move on to Step 5.
Step 5: Attach Your Fabric To The Frame
Now it’s time to attach your fabric to the frame itself. Begin by inserting each side of the fabric into the groove at each corner of the frame until it’s taut but not too tight—you don’t want it to rip when you project onto it!
Once all four sides are in place, use zip ties or twist ties to secure them in place along all four sides of the frame. And that’s it—your new fabric projector screen is ready to use!
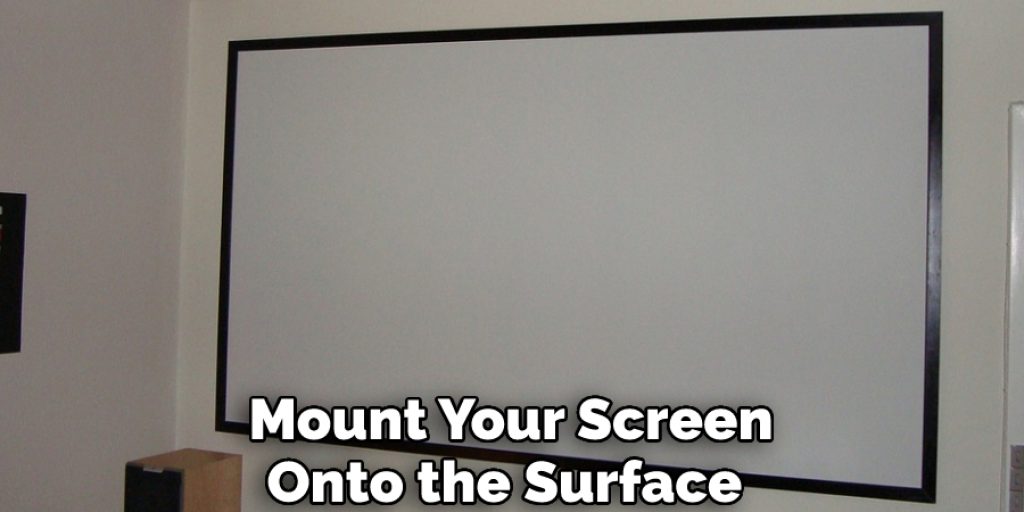
Step 6: Mount Your Screen
The final step is to mount your screen onto the surface of your choice. If you choose to attach ceiling mounts, simply thread the frame into the eyehooks and secure them in place. Alternatively, if you’ve chosen to use regular wall mounts, use the screws that came with your screen frame to attach it to the surface.
That’s it! You’ve now learned how to hang a fabric projector screen in just 6 easy steps. With the right tools and materials, this is a project that anyone can tackle! So go ahead and get started on your own DIY projector screen today.
Things You Need to Know Before Hanging a Fabric Projector Screen
Hanging a fabric projector screen is a great way to create a big-screen experience in your home theater. However, there are a few things you need to know before you get started. First, it’s important to choose the right fabric. A thick, high-quality fabric will ensure better image quality and prevent wrinkles or sagging.
Second, you’ll need to attach the fabric to a frame or mounting surface. This will provide support and ensure that the screen stays flat. Finally, you’ll need to position the screen carefully. The ideal position will depend on the size of your room and the distance between your projector and your seating area.
By following these simple guidelines, you can ensure that your fabric projector screen provides years of enjoyment.
5 Benefits of Hanging a Fabric Projector Screen
1. Easy to Install
One of the primary benefits of hanging a fabric projector screen is that it is easy to install. Unlike traditional screens that need to be mounted to a wall or ceiling, fabric screens can simply be hung from a rod or other support. This makes them much easier to set up and take down, which is ideal for those who use their projector regularly.
2. Lightweight and Portable
Another benefit of fabric screens is that they are lightweight and portable. This makes them easy to transport from one location to another, which is ideal for those who use their projector for business or pleasure. Additionally, fabric screens are often less expensive than traditional screens, making them a more affordable option for those on a budget.
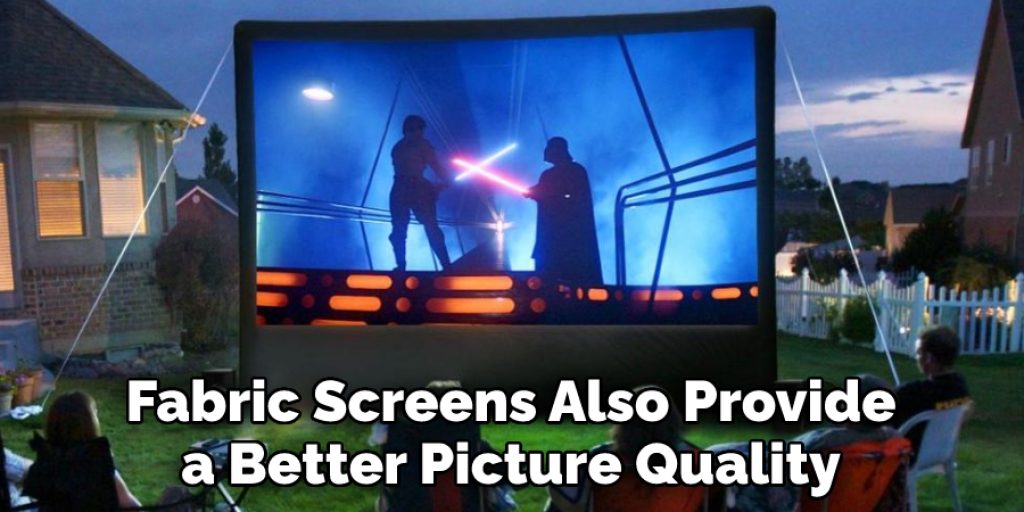
3. Better Picture Quality
In addition to being easy to install and transport, fabric screens also provide a better picture quality than traditional screens. Fabric screens diffuse light more evenly than traditional screens, resulting in a sharper and more vibrant image. Additionally, fabric screens are less likely to produce glare, which can be a problem with traditional screens.
4. Increased Viewing Area
Another advantage of fabric screens is that they provide an increased viewing area. Traditional screens typically have a limited viewing area, which can be problematic for those who want to watch movies or television shows with a large group of people.
Fabric screens, on the other hand, can be hung from a support system that extends beyond the edges of the screen, providing an increased viewing area for all.
5. Enhanced Audio Quality
In addition to providing better picture quality, fabric screens can also enhance audio quality. The material used in fabric screens absorbs sound waves better than traditional materials, resulting in clearer and more accurate sound reproduction. This is especially beneficial for those who want to use their projector for watching movies or listening to music.
Some Common Mistakes People Make When Trying to Hanging a Fabric Projector Screen
While a fabric projector screen can significantly improve the quality of your home theater experience, it’s important to avoid common mistakes when hanging it. One mistake is not taking the time to clean the wall surface where the screen will be hung. Even a small amount of dust or dirt can create a visible line on the projection surface.
Another mistake is not properly preparing the wall for mounting. If you’re not using an adhesive specifically for fabric screens, you’ll need to apply a thin layer of gesso or another primer to ensure good adhesion. Finally, ensure that the screen is hung level and flat against the wall; otherwise, you’ll end up with an uneven image.
By following these simple tips, you can ensure that your fabric projector screen provides years of enjoyment.
Conclusion
A fabric projector screen is a great way to get a sleek and professional look for your home theater setup without breaking the bank. Plus, they’re relatively easy to hang—all you need is some careful measuring and assembly!
By following these simple steps, you’ll have your new screen hung up in no time so that you can start enjoying all your favorite movies and TV shows in style! Thanks for reading our post about how to hang a fabric projector screen.


