
How to Heat Set Fabric Paint
Have you ever wanted to take your artwork from canvas to wearable? With fabric paint, creating unique designs on clothing or accessories has never been easier! Heat setting fabric paint is the best way to ensure that your design stays secure and doesn’t rub off with regular wear. Learn what supplies are needed, how easy it is, and why you should heat set — all in this handy guide to heat setting fabric paint. Make sure your art lasts a lifetime!
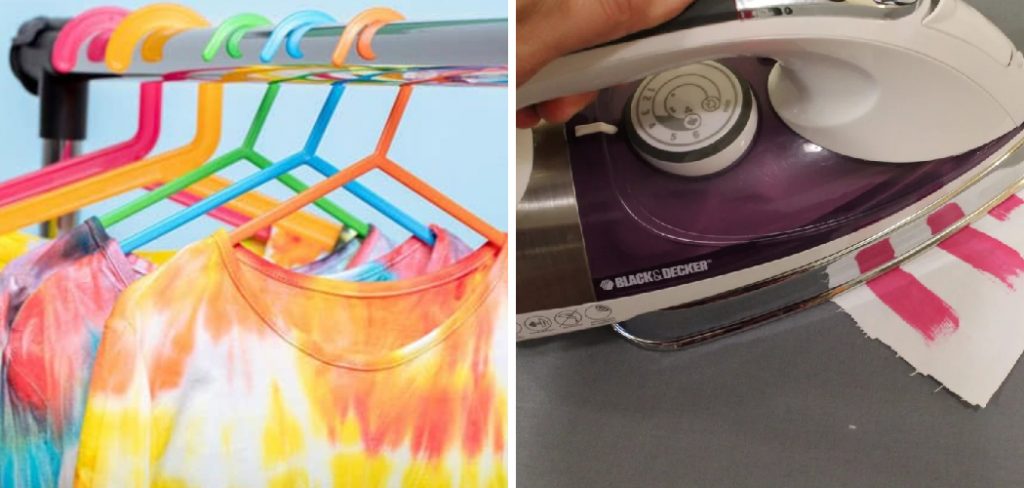
Fabric paint can be a great way to make your own designs on clothing, bags and other items. Heat setting your fabric paint will help the design to last longer against the rigors of repeated wear and washing. It’s an important step in creating professional-looking painted pieces. In this blog post, we’ll explain how to heat set fabric paint, talk about why it’s important and give you some tips for successful fabric painting with heat set fabrics. Read on to learn more!
Why May You Need to Heat Set Fabric Paint?
There are many reasons why you may need to heat set fabric paint. Such as:
1. To Customize and Decorate Clothing
One of the most popular uses of fabric paint is to customize and decorate clothing. Heat setting ensures that the design will stay intact, even after multiple washes.
2. To Make Fabric Paint Permanent
Heat setting your painted fabric creates a permanent bond between the paint and the fabric, making it much less likely to crack or peel over time. So if you want to make sure your design is going to last, it’s important to heat set the fabric paint.
3. To Create a Professional Finish
Heat setting gives painted fabric projects a professional looking finish, as it helps even out any brushstrokes or inconsistencies in the paint’s application. This ensures that your finished project looks neat and polished.
4. To Create a Durable Product
Finally, heat setting your fabric paint helps to make the fabric more durable. The heat from the iron sets the paint and gives it extra strength, making it less likely to be damaged by wear or tear over time.
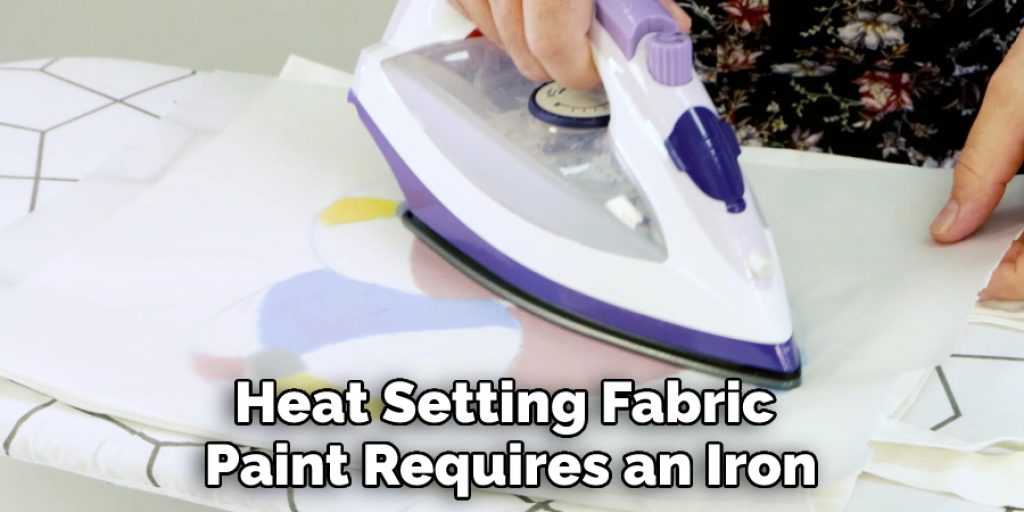
How to Heat Set Fabric Paint in 6 Easy Steps
Now that we know why you may need to heat set fabric paint, let’s take a look at how it is done. Heat setting fabric paint requires an iron and a piece of parchment paper. Here’s what you do:
Step 1: Place the Painted Fabric Onto an Ironing Board
One of the most important steps when it comes to heat setting fabric paint is to ensure you keep the surface flat and even. Make sure there are no wrinkles or air bubbles in between the fabric and the ironing board.
Step 2: Set Your Iron on the Desired Heat Setting
When it comes to heat settings, the temperature can vary depending on the type of fabric and paint you are using. Consult the label on your product or refer to an online guide for what heat setting is ideal for your specific project.
Step 3: Place a Piece of Parchment Paper On Top of the Fabric
The parchment paper acts as a barrier, protecting both you and the fabric from any direct contact with the iron. Also, make sure the parchment paper is large enough to cover the whole paint area.
Step 4: Press Your Iron On Top of the Parchment Paper
This step requires firm and even pressure. Make sure to press your iron onto the parchment paper for a few seconds, without moving it back and forth or lifting it off from the fabric too quickly.
Step 5: Lift the Iron and Check Your Work
After pressing your iron onto the fabric, lift it off and take a look at the paint area. If the paint is still wet, you may need to repeat steps 3-5 until all of the paint has been properly heat set.
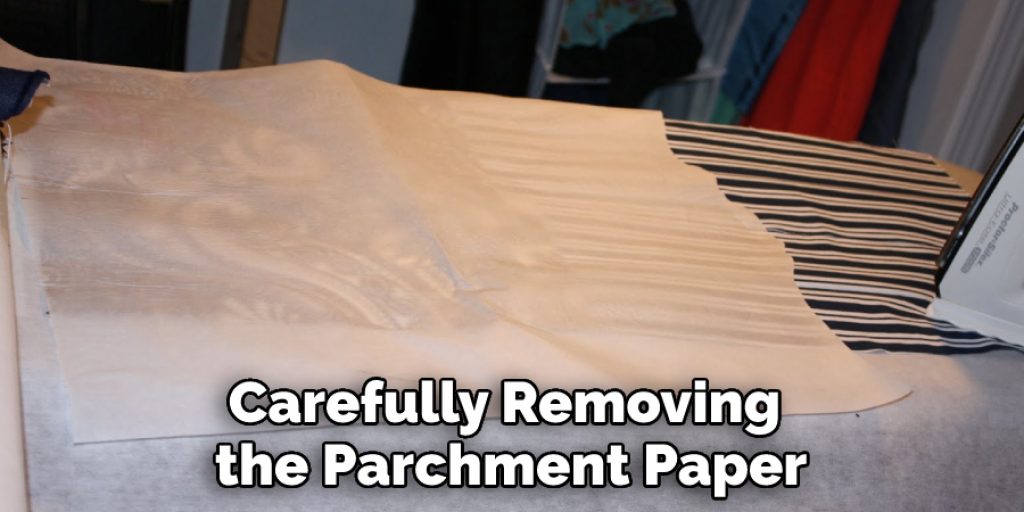
Step 6: Carefully Remove The Parchment Paper
Once you’re sure that the paint has been properly heat set, let the fabric cool before carefully removing the parchment paper. Finally, your project is ready to be enjoyed!
Heat setting fabric paint is a relatively simple process, but it can make all the difference when it comes to making sure your artwork stands the test of time. Make sure to carefully follow the steps outlined above, and you’ll be sure to have beautiful fabric paint projects that will last. Good luck!
Some Additional Tips to Heat Set Fabric Paint
1. Do Not Overheat
Fabric paint that is overheated will start to discolor, crack and peel. Be sure to follow the manufacturer’s instructions for temperature settings. Also make sure you provide even heat distribution and to apply the heat for an adequate amount of time.
2. Do Not Press Too Hard
Pressure can cause fabric paint to become unevenly heated, resulting in it becoming discolored or distorted. If you are using an iron to set the paint, do not press too hard as this will flatten and distort the design.
3. Pre-Heat the Fabric
Before applying your fabric paint, pre-heat the fabric to help with even distribution of heat and ensure that all areas of the fabric have been heated properly.
4. Use Heat Protection
Always use protection when using an iron or any other heat setting tool for fabric paint. This includes using a heat resistant mat or surface beneath the fabric and using an ironing cloth between the iron and the fabric.
5. Allow Fabric to Cool
Once you have finished heating the fabric, allow it to cool completely before handling it in order to ensure that all of the paint has been set properly. This will also help prevent any further damage to the fabric or the painting.
By following these tips, you can ensure that your fabric paint is heat set perfectly and that it will stay on for years to come. With proper care and maintenance, your fabric paint designs will remain vibrant and intact for a long time. Additionally, make sure to always read up on the manufacturer’s instructions for any additional tips or tricks to properly heat set your fabric paint.
Frequently Asked Questions
What Precautions Should I Take Before Heating Fabric Paint?
When heating fabric paint, it is important to make sure the area you are working in is well-ventilated and that you wear protective clothing such as a mask and gloves. Additionally, you should use a heat gun that is designed for use with fabrics since some guns can produce temperatures too high for fabric and may ignite it. Make sure to keep the gun moving constantly and at a distance of 4-6 inches from the fabric while heating.

How Long Should I Heat Set Paint on Fabric?
The amount of time it takes to heat set paint on fabric will vary depending on both the type of paint used and the material you are painting. Generally, the process should take no longer than a few minutes. It is important to monitor the fabric closely as excessive heat or pressure can damage it.
What Temperature Is Best for Heating Fabric Paint?
The ideal temperature for heating fabric paint will depend on the type of paint used and the material being painted. If you are not sure what temperature to use, refer to the manufacturer’s instructions. It is usually best to start at a lower temperature and increase it gradually until you achieve the desired results.
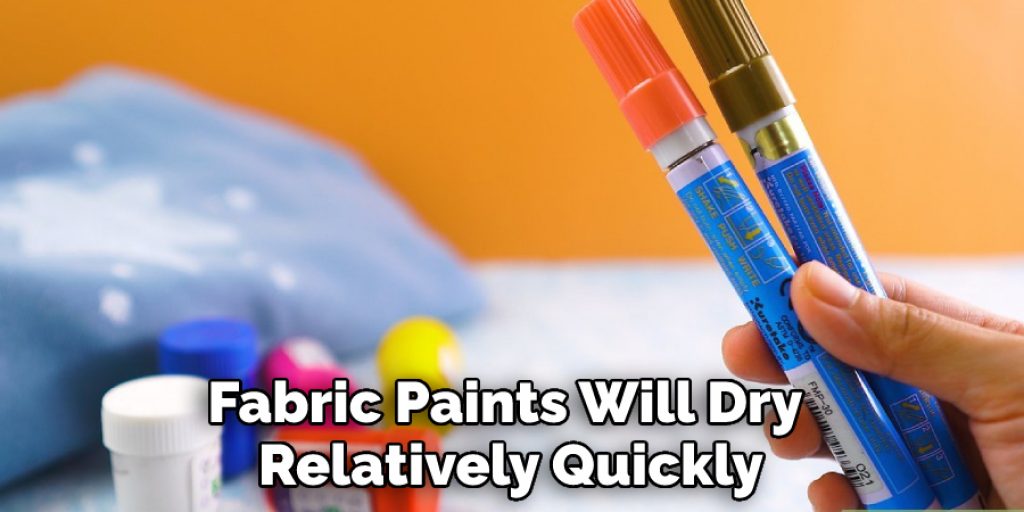
Is There Any Way to Speed Up the Heat Setting Process?
Yes! Most fabric paints will dry relatively quickly when exposed to heat. To speed up the process, use a heat gun on the highest temperature setting and move it quickly across the surface of the fabric. Additionally, apply a thin layer of paint to the fabric and make sure to evenly spread it before heating. This will ensure that all areas of the fabric are exposed to an equal amount of heat for an even finish.
Conclusion
Now you know how to heat set fabric paint properly so that it will stay on for years to come. Always make sure to pre-heat the fabric, use heat protection, and allow the fabric to cool completely before handling it. Additionally, be sure to follow the manufacturer’s instructions regarding temperature settings and length of time needed for heating. With these tips in mind, you can create vibrant fabric paint designs with ease!
Good luck and have fun!
In conclusion, fabric paint is a great way to customize your clothes, bags, or household items. Although it can be intimidating at first, the process of heat setting fabric paint is not as difficult as you might think!
With the right tools and techniques, anyone can achieve long-lasting results with their fabric painting projects. It all goes back to the three main steps: preparing, painting and heat setting. Just make sure to wear protective gloves when handling your project, take your time and enjoy the creative process.
Nancy Behan
Nancy is an embroidery artist, fashion blogger and a full time editor at DIY quickly. Nancy edits the fashion section on DIY quickly, focusing on the embroidery and cross stitch articles, alongside with fabric and other costume design elements. She graduated from the University of Michigan with a Bachelor of Arts in Art History. She loves to work on her own projects, read books and watch romantic movies in her spare time.


