
How to Hinge a Gate Outwards
Hinges are used on all types of doors, gates, cabinets, and boxes for support. Without them, most objects would fall apart, or they wouldn’t be able to stay closed properly. They’re pretty easy to use once you know what kind you need for your project!
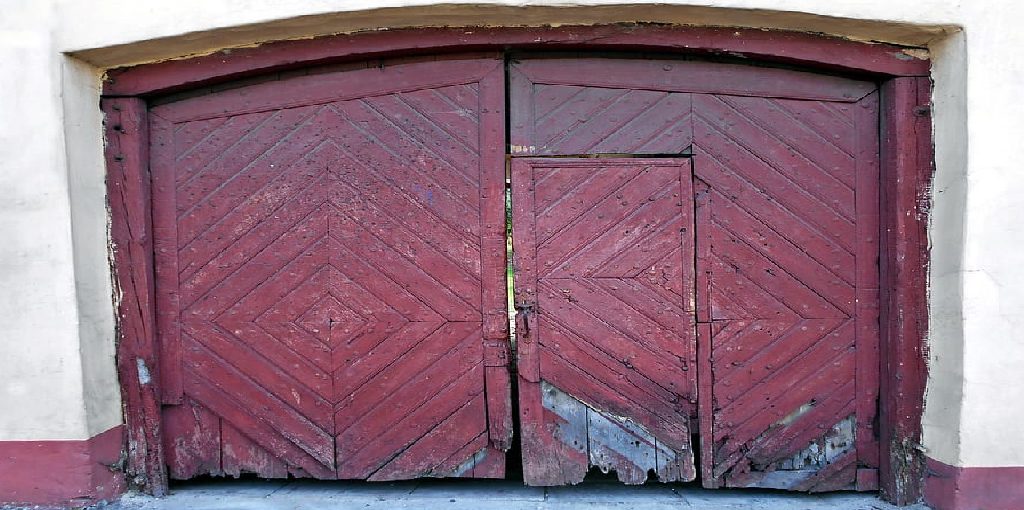
If you want to know how to hinge a gate outwards, keep reading! Hinging a gate inwards will cause the hinges to wear down faster due to constant use. Over time, this can lead to loose or even broken hinges that may not hold your gate firmly in place anymore. There are several methods for hinging a gate outwards; here, we’ll cover some of them using bolts and metal straps.
8 Reasons Why You Should Hinge a Gate Outwards:
- Gate hinges are special kinds of hinges that can be used for both gate posts and fence posts. These hinges allow the gate to open outwards, away from the post, which can be helpful if you have a large garden or pasture area.
- Gate hinges have a stout construction that enables them to be used on large wooden gates that may weigh 150 lbs. This ensures that these hinges will last for years and provide sturdy support when in use.
- Most gate hinge models are made from cast aluminum which makes them both lightweight and rust-resistant.
- Gate hinges have a fair amount of adjustment, meaning that you can easily fit them into existing gates. They are so versatile that they can even be done to metal, wood or vinyl fencing posts, allowing you to create your own custom gate designs.
- Fitting the hinges is a relatively straightforward process and can be done with relative ease by someone who has basic DIY experience. As a result, you don’t have to worry about needing highly specialized tools or knowledge to get these gate hinge models up and running, making them perfect for most householders.
- The gate will look neater once it’s been opened because the hinges are not shown. Unlike traditional hinges, which fasten onto the gateposts, these ones remain mostly hidden from view.
- It’s possible to get a good range of design options with these types of hinges due to how adjustable they are. You can choose from several different styles and finishes so you can find something that will complement the design of your gate.
- These hinges can be adjusted to enable you to open up a larger gate without compromising stability. They can also pivot both in and out with ease, which is great for users needing wide access, such as farmers and those who look after large animals, such as horses.
Step by Step Guide: How to Hinge a Gate Outwards
Step 1:
To start with, it is necessary to measure the height of your gate about the location of the hinges. For example: If you want to hinge your gate at 1 meter above ground level, this would mean that the bolts on each side of each hinge need to be drilled into something approximately about 2 meters high.
Step 2:
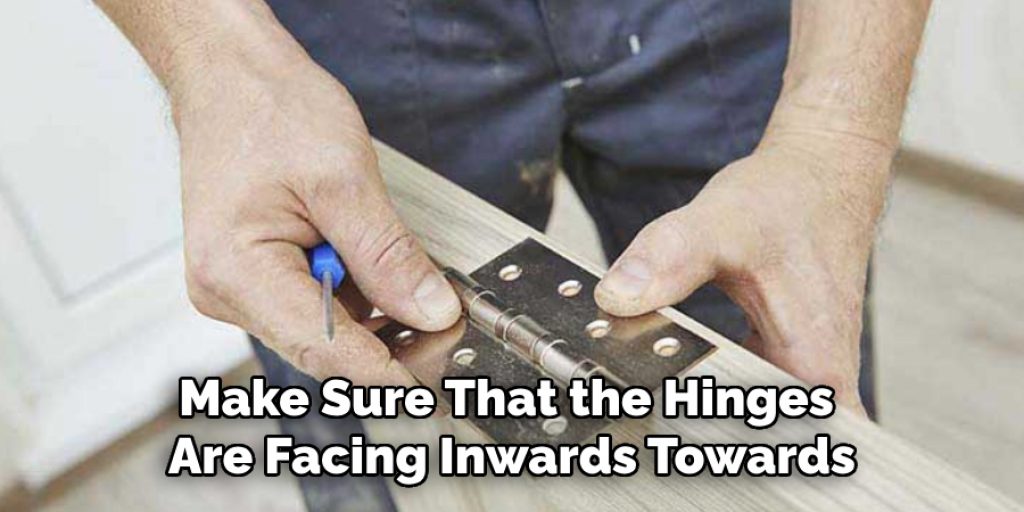
One way to start this stage is by finding out where your gate will sit on the hinges once placed into position. You can do this by placing your gate down and then marking up where each of your hinge bolts will go through the post material (whether that be brickwork or a wooden gate frame). Make sure that the hinges are facing inwards towards each other before you fix them into place.
Step 3:
Next, decide where the back of your hinge should be once it is fixed onto the post material. This can usually be done by placing a drill bit through one side of the hinge and marking up where it should be at the back. If you have trouble marking up where it should go, put your drill bit through one of the hinge plates and mark it onto the material.
Step 4:
When drilling into brickwork, always measure twice and drill once! This will ensure that both sides are marked up in the same place, allowing you to drill right through both sides of your material simultaneously. This way, the holes will line up perfectly when fitted together.
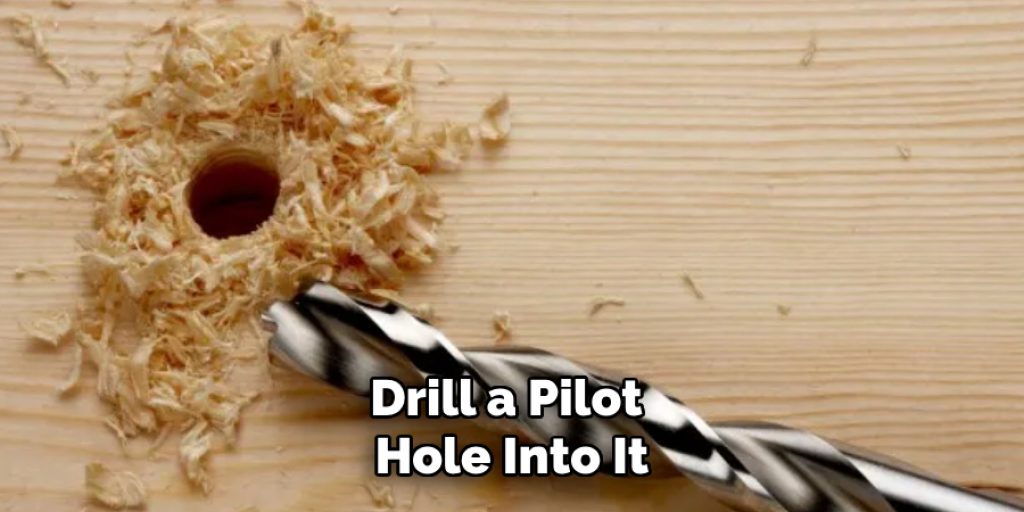
Step 5:
Once you have marked out where you want to place your hinges, be sure that you are happy with the location before making any marks on the post material itself. Once you have marked up the post material, drill a pilot hole into it before placing in your masonry screws.
Step 6:
Once both sides have been drilled and marked up for where the hinges will go, fix them into place. This can be done by tightening up nuts onto expansion bolts or concrete screws, depending on what sort of material you are anchoring your hinges into.
Step 7:
When the hinges have been fixed in place, you can begin to drill a pilot hole through each of them and straight down into the post material beneath. Here is where it becomes important that both sides get drilled at the same time! Make sure that before you put any pressure onto the drill, the hinge plates face each other. If they are not, you will be drilling through them instead of your post material.
Step 8:
You can now position your gate between the two hinges, allowing the hinges to hang from it.
Step 9:
Once your gate is in place, you can now screw your bolts with their nuts and washers into the holes that have been drilled through them all. At this point, you’ll be able to tighten up all of your nuts with a spanner or socket wrench. Make sure to screw up all bolts equally, as this will ensure that your gate hinges evenly and swings without obstruction.
You Can Check It Out to Attach a Wooden Gate to a Round Metal Post

Step 10:
To finish off, you can now cut out or remove any excess post material to flush with where the two hinge plates sit. Now you have a fully operational gate that opens away from the house!
Conclusion:
Hinging a gate outwards is a simple project that can make your backyard more secure. It’s also an easy DIY job for those with some basic knowledge of carpentry and handyman skills. If you’re unfamiliar with the process, follow these steps to hinge a gate outwards! To install hinges on the outside of the door frame, measure from one side of the inside edge to find where it intersects on the other side.
Mark this spot on both sides of each piece so they will line up when installed together-this should be about six inches in from either end or 12″ overall. Please make sure all pieces are level before cutting them down according to their measurements, as notches cannot be made once cut down.
To do this, measure across each piece and mark the halfway point. After all, pieces are laid out, and you can start cutting! We hope this blog post on how to hinge a gate outwards has been helpful. Let us know your thoughts!
Read Our Another Post : How to Attach a Wooden Gate to a Round Metal Post


