
How to Hook Up Second Battery for Car Audio
If you’re looking to improve your car audio setup, installing a second battery is one way to do it. This can be a daunting task, but we’re here to help. This will not only give you more power for your amplifiers and subwoofers, but it will also help keep your electrical system more organized and efficient.
In this blog post, we’ll walk you through everything you need to know about how to hook up second battery for car audio. This will allow you to run your amplifier and other high-powered equipment without draining your primary battery. By the end, you’ll be an expert on the subject! So keep reading to learn more!
7 Methods on How to Hook Up Second Battery for Car Audio
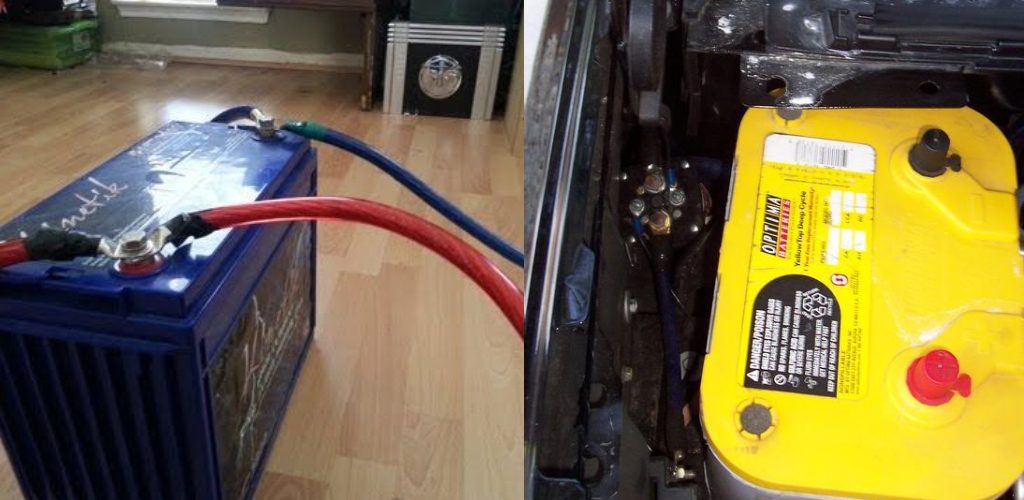
1. Using a Second Battery Box:
This is the most common way to install a second battery for your car audio system. There are many different boxes available on the market, so you can choose the one that fits your needs and budget. The box will contain all of the necessary wiring and hardware to connect the batteries, and it will also provide a place to mount the batteries.
2. Using a Battery Crossover:
This is a less common way to install a second battery, but it can be very effective. A crossover is a device that connects two or more batteries and allows them to share power. This can be a great way to add extra power to your audio system, and it can also help prolong the life of your batteries.
3. Using a Battery Isolator:
An isolator is a device that prevents one battery from draining power from another. This can be a great way to keep your audio system running smoothly, and it can also help to prolong the life of your batteries.
4. Using a Voltage Booster:
A voltage booster is a device that increases the voltage of your car battery. This can be a great way to improve the performance of your audio system, and it can also help to prolong the life of your battery.
5. Using a Capacitor:
A capacitor is a device that stores energy and releases it when needed. This can be a great way to improve the performance of your audio system, and it can also help to prolong the life of your battery.
6. Using a Battery Tender:
If you choose to use a battery tender, you must select the correct type. There are many different types of battery tenders on the market, so be sure to select the one that is specifically designed for charging lead-acid batteries. The process of hooking up a battery tender is relatively simple.
First, connect the positive (red) cable to the positive terminal of the battery. Next, connect the negative (black) cable to a metal ground on the car. Finally, plug the battery tender into a standard household outlet.

7. Using a Solar Charger:
Consider using a solar charger if you’re looking for a more environmentally-friendly way to charge your battery. Solar chargers are available in various sizes, and some can even be mounted directly to the battery. This is a great option if you’re frequently on the road or just want to be prepared for any emergency.
What Tools and Supplies You’ll Need
- Drill with a 3/8″ or 1/2″ bit
- Socket wrench and socket set
- Wire cutters
- Electrical tape
- Crimp connectors
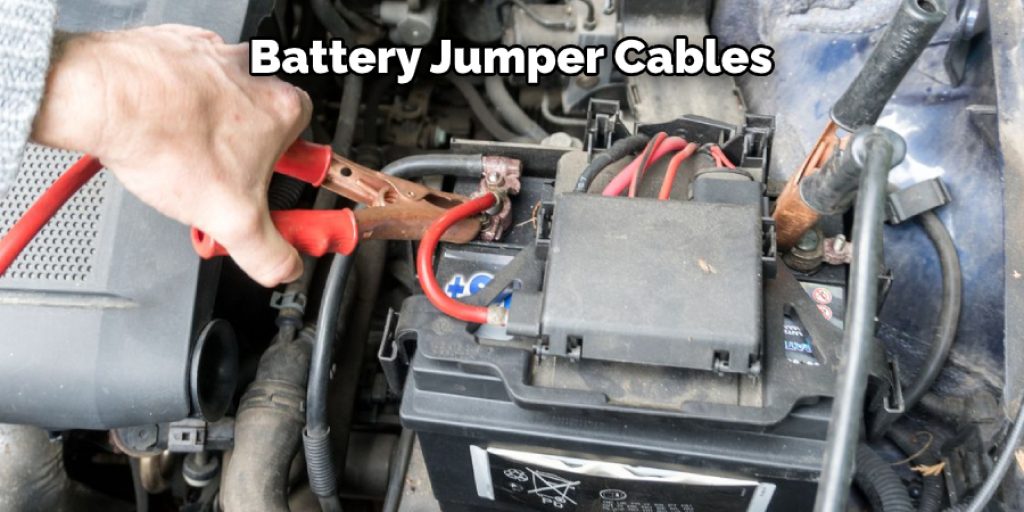
- Battery jumper cables
Step by Step Guide: How to Hook Up Second Battery for Car Audio
Step 1: Disconnect the Negative Terminal of the First Battery
Using a wrench, loosen and remove the negative terminal of the first battery. If your car has two batteries, disconnect the negative terminal of the second battery as well.
Step 2: Cut the Positive Wire Leading to the Amplifier
Cut the positive wire that leads from the first battery to the amplifier using a wire cutter. Cut the positive wire on the second battery if you have two batteries. This will disable the current from flowing to the amplifier.
Step 3: Strip the Ends of the Cut Wires
Strip about a half-inch of insulation off the end of each of the cut wires. Twist each wire around a corresponding terminal on the new battery, and then use a crimping tool to secure the connection. Make sure that the connections are tight and free of any gaps.
Step 4: Attach Wires to Battery Terminals
Attach the positive wire to the battery’s positive terminal, and then attach the negative wire to the battery’s negative terminal. For example, if you have two batteries, attach the positive wire to the positive terminal of the second battery and then attach the negative wire to the negative terminal of the second battery.
Step 5: Attach the First Ring Terminal to the Amplifier
Attach the first ring terminal to the amplifier using a wrench. Attach the second ring terminal to the second battery if you have two batteries. Ensure that both batteries are connected in parallel (positive to positive, negative to negative).
Step 6: Connect the Wires to the Amplifier Terminals
Now that you have the positive and negative wires from the batteries connected to the amplifier, it is time to connect the terminals. There will be two sets of posts on the amplifier – one for the positive wires and one for the negative wires.
Match each post up with the correct wire, and then tighten down the terminal screws. Be sure not to overtighten the screws, as this can strip the posts and make it difficult to remove the wires later.
Step 7: Twist the Ends of the Wires Together
Twist the ends of the wires together using a wire twistor. This will create a stronger connection and prevent the wire from coming unplugged. Ensure the positive wire is twisted with the positive wire and the negative with the negative. If you mix them up, your system will not work properly.
Step 8: Cover the Wires With Electrical Tape
Wrap the electrical tape around the wire twistor to cover the exposed wire. This will keep the wires from coming in contact with any metal surfaces and create a safe electrical circuit. Repeat this process for all of the other wires. Ensure that the electrical tape is tightly wrapped around the wires to prevent short circuits.
Now that the second battery is hooked up, it’s time to test it out! Turn on your car and crank up the music. You’ll be amazed at the difference in sound quality. You can now enjoy your music while driving without worrying about your car battery running low. Congratulations on completing this project!
Some Helpful Tips and Suggestions
- If you will be using an amplifier, make sure that the new battery can handle the current draw.
- Find a place to mount the new battery away from the exhaust and heat sources.
- Ensure that the cables are long enough to reach the new battery.
- If you are using a battery isolator, make sure it is compatible with your new battery.
- Be sure to keep the cables tidy and organized. This will make it easier to work on them later if needed.
- Make sure that all of the connections are clean and tight.
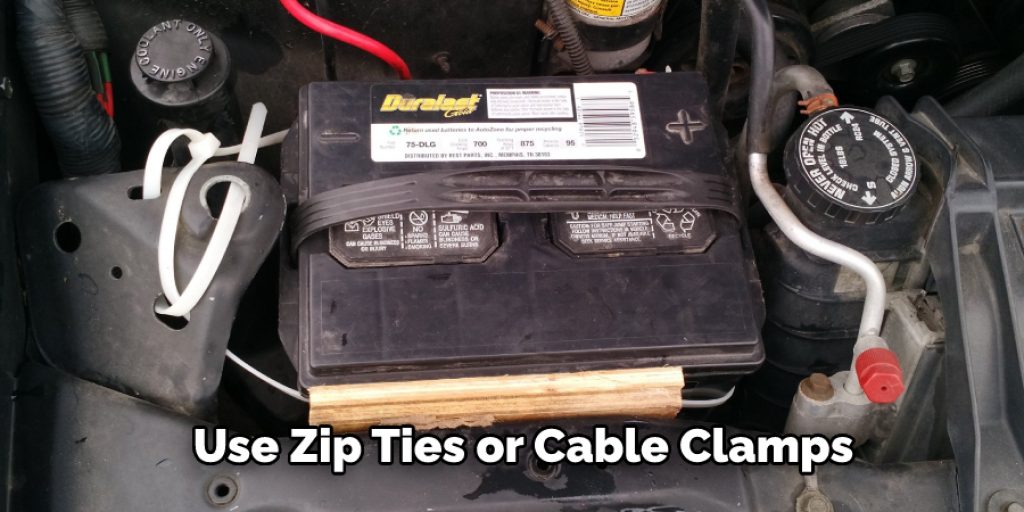
- Use zip ties or cable clamps to secure the cables.
- Ensure that the battery terminals are covered with terminal covers or boots.
Why Should You Hook Up Second Battery for Car Audio?
Many good reasons to add a second battery to your car audio system. The most obvious reason is that it will allow you to play your music for a longer period without worrying about the battery running out of power. Another reason is that it can help improve the quality of your sound system.

When you have a second battery, you will be able to run your amps more effectively and get better sound quality. Finally, having a second battery can also help protect your car’s original battery from being drained. You can create a backup power supply for your car audio system by hooking up a second battery.
When Should You Add a Second Battery for Car Audio?
Adding a second battery to your car audio system is a great way to ensure that you have plenty of power to run your system. There are a few different scenarios where adding a second battery may be beneficial:
- If you have a large car audio system that draws a lot of power, you may need to add a second battery to keep your system running.
- If you live in an area with hot summers, adding a second battery can help keep your car audio system cool and prevent it from overloading.
- If you live in an area with cold winters, adding a second battery can help keep your car audio system warm and prevent it from freezing.
- If you use your car for audio competitions or shows, adding a second battery can give you more power and better sound quality.
Conclusion
If you want to get better sound quality from your car audio system, hooking up a second battery is the way. By doing this, you will be able to bypass the often-problematic alternator and provide power directly to your amplifier. This simple modification can make a big difference in sound quality, and it’s not too difficult to do yourself.
Just make sure that you have all of the necessary supplies and follow these steps on how to hook up second battery for car audio, and you should be enjoying improved sound in no time. Have you tried this modification? What was your experience like? Let us know your thoughts in the comments below!
You can check it out to Clean Egg Off Car Windshield
Louis Wein
Louis has always been fascinated by cars. He loves the way they look, the sound of the engine, and how they make him feel when he's driving. He is always keen to learn more about different mechanics of cars and how the engine contributes to other aspects of the car. As an automotive technician with over 10 years of experience, he knew how they worked and loved taking them apart to see how they went back together. He was especially interested in the mechanics of combustion engines and loved finding ways to make them more efficient. He loves to work on cars and help people keep their vehicles running smoothly. As a senior editor, he enjoys contributing to Diy quickly because it allows him to share his knowledge and expertise with others.


