How to Install a Snap Button
Are you tired of using ordinary buttons for your clothes? You should try snap buttons. These are easy and convenient to use, and they come in a variety of colors and designs. In this guide, we will show you how to install a snap button.
Installing a snap button can be a straightforward process that adds both functionality and style to your garments, accessories, or crafts. Snap buttons are widely used in various applications, from clothing and bags to home décor projects, providing a secure and easy-to-use fastening option.

This guide will walk you through the essential steps to install snap buttons correctly, ensuring a professional finish. Whether you’re a seasoned DIY enthusiast or a beginner, mastering this skill will enhance your creative projects and provide durable closures that stand the test of time.
What Will You Need?
Before we start, let’s gather the necessary materials and tools to install a snap button:
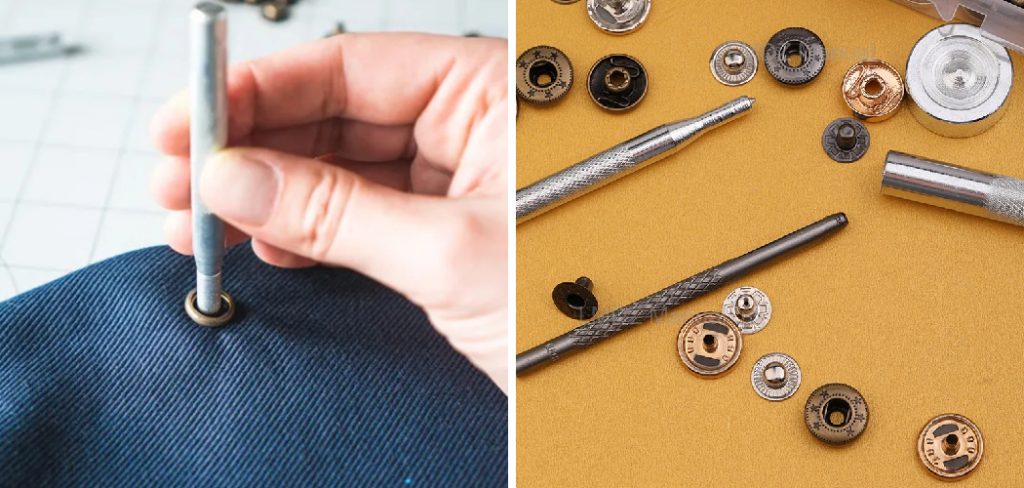
- Snap Button Kit: This typically includes the snap buttons, prong attachments, and a tool for installation.
- Fabric Markers or Chalk: These will help you mark where to place your snaps.
- Hammer: A lightweight hammer is ideal for this task.
- Scissors: To cut thread and excess material as needed.
10 Easy Steps on How to Install a Snap Button
Step 1: Prepare Your Fabric
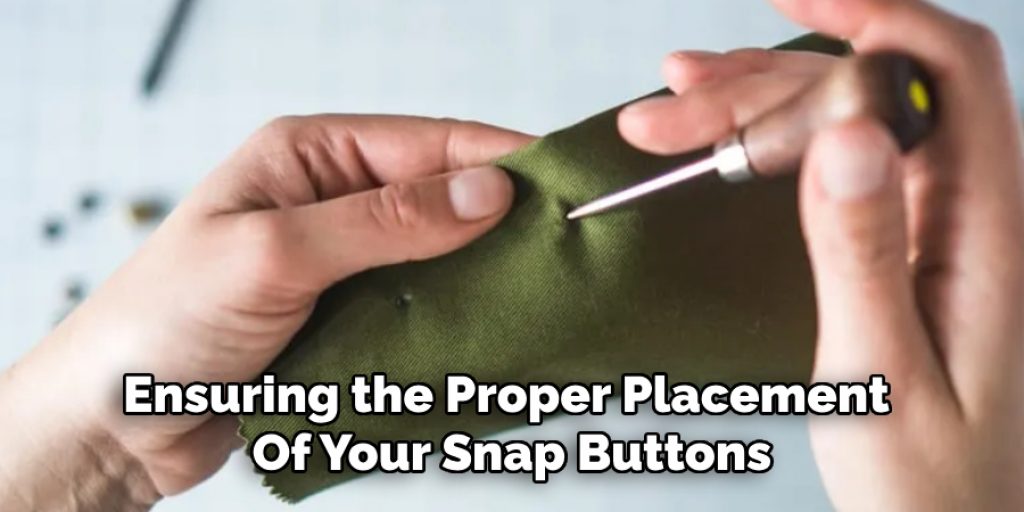
Preparing your fabric beforehand is crucial to ensuring the proper placement of your snap buttons. Lay your fabric on a flat surface with the right side facing up. Using fabric markers or chalk, mark where you want to place your snap buttons.

Step 2: Select the Appropriate Snap Button
Choosing the right snap button is essential for both functionality and aesthetics. Snap buttons come in various sizes, materials, and styles, so consider the purpose of your project when making your selection. For heavy fabrics or items that will experience frequent use, opt for larger and sturdier snap buttons made from durable materials like metal. Conversely, smaller plastic snap buttons may be more suitable for lighter fabrics. Additionally, match the color and finish of the buttons to your fabric to ensure a cohesive look. If you want to add a decorative touch, explore snap buttons with unique designs or embellishments.
Step 3: Mark the Snap Placement
Once you’ve selected the appropriate snap buttons, it’s time to mark their exact placement on your fabric. Position the two pieces of your snap for each side of the closure where you want them to go. To ensure they align correctly when fastened, use a ruler or measuring tape to maintain equal spacing. Make precise dots with your fabric markers or chalk to indicate where each snap button will be attached. Take your time with this step to avoid any misalignment later, as accurate placement is crucial for a functional and visually appealing installation.
Step 4: Prepare the Snap Button Components
Before attaching the snap buttons, preparing the individual components correctly is essential. Each snap button assembly comprises a cap, a stud, and a socket. Take the cap and the socket for one side of your project and place them on the marked position on your fabric. The cap is the decorative part that will be visible on the outside, while the socket is the part that will be secured on the reverse side of the fabric. For the other side, take the cap and the stud, ensuring you know which orientation they will have when attached. This preparation will help streamline the installation process and ensure everything is organized.
Step 5: Attach the Snap Button Components
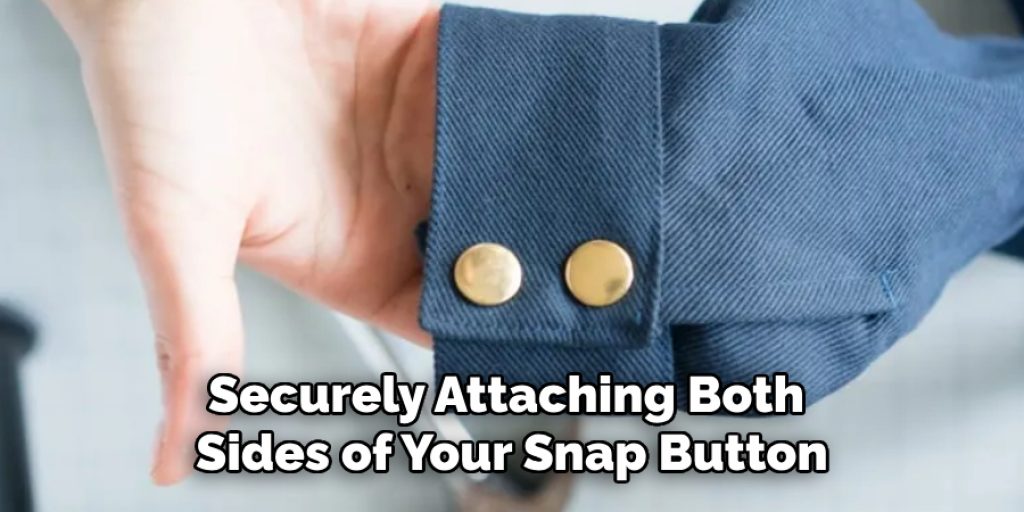
Now that you have prepared the snap button components, it’s time to attach them to your fabric. Start with the first side of the snap button; place the socket underneath the fabric at the marked position, ensuring it’s aligned with the cap on the top side. Using the installation tool from your snap button kit, press the socket and cap together firmly to secure them in place. For added security, you may use your hammer to gently tap the tool, ensuring a tight fit without damaging the fabric. Repeat this process for the other side of the snap button, ensuring that the stud is positioned correctly beneath the fabric. Double-check that both sides are securely attached before moving on to the next step.
Step 6: Test the Snap Button Functionality
After securely attaching both sides of your snap button, testing their functionality is essential to ensure they operate smoothly. Press the two snap components together to fasten them, then pull them apart to check if they release quickly. If the snaps connect and disconnect easily, you’ve successfully installed them! If you notice any resistance or misalignment, double-check the attachment of the components and make any necessary adjustments to ensure they align correctly for optimal performance.

Step 7: Trim Excess Fabric
Once you have confirmed that your snap buttons are functioning correctly, the next step is to trim any excess fabric around the snap attachment points if necessary. Using your scissors, carefully cut away any stray threads or fabric that may interfere with the closure. Be cautious not to cut too close to the snap components; you want to maintain the integrity of the fabric while ensuring a clean and polished appearance. This step not only enhances the visual aspect of your project but also allows for ease of use when opening and closing the snaps.
Step 8: Reinforce the Snap Area
To ensure longevity and durability, it’s a good idea to reinforce the area around the snap buttons, especially if they will be subjected to frequent use. You can do this by stitching a small rectangle or a circle around the snap components with a sewing machine or by hand. Use a thread that matches your fabric to keep the appearance sleek. This reinforcement helps to prevent any future wear and tear, secure the snaps in place, and maintain the overall quality of your project.

Step 9: Final Testing
After reinforcing the snap area, conduct a final test to ensure everything is securely in place. Press the snap buttons together and pull them apart multiple times to confirm their stability and functionality. Check that the reinforcement stitching does not interfere with the operation of the snaps. If everything functions properly, you can feel assured that your installation was successful!
Step 10: Enjoy Your Finished Project
Congratulations! You have successfully installed snap buttons on your fabric project. Now, you can enjoy the benefits of easy-to-use closures that enhance the look of your item and improve its functionality. Whether you use them on a garment, bag, or any other crafty creation, snap buttons add a professional touch that is sure to impress. Remember to explore more creative applications for snap buttons in your future projects!
You can easily install snap buttons on your fabric projects by following these simple steps and using the right tools.
5 Things You Should Avoid
- Skipping the Measuring Step: Avoid rushing through the marking and measuring phase. Inaccurate placement of snap buttons can lead to misalignment, making them difficult to use and visually unappealing.
- Using the Wrong Tools: Do not use tools that are not explicitly designed for snap button installation. Using inappropriate tools can damage the fabric or result in improperly secured snaps that may not hold up over time.
- Neglecting Fabric Type: Be cautious when paying attention to the type of fabric you are working with. Some fabrics, such as those very thin or stretchy, require special considerations and may only hold snaps well with reinforcement.
- Overlooking Reinforcement: Failing to reinforce the snap area can lead to premature wear and tear. Always take the time to stitch around the snap buttons, especially if they will see frequent use.
- Forget to Test Functionality: After installation, complete the functionality test. If the snaps don’t operate smoothly, it’s essential to identify and rectify any issues immediately rather than waiting until the project is completed.

What Can Damage Your Snap Buttons?
While snap buttons are durable and long-lasting, they can still be damaged if not cared for properly. Here are a few things that can damage your snap buttons:
- Excessive force or pressure on the snaps
- Repeated twisting or pulling of the fabric around the snap area
- Exposure to harsh chemicals or heat
- Poorly reinforced attachment points
To ensure your snap buttons last as long as possible, handle them carefully and reinforce their installation correctly. With proper maintenance and handling, you can enjoy snap buttons’ convenience and aesthetic appeal for years to come.
Conclusion
In conclusion, How to install a snap button on your fabric projects can significantly enhance their functionality and aesthetic appeal.
By following the outlined steps—from careful measurement and secure attachment to reinforcement and final testing—you can ensure that your snap buttons are easy to use and durable. Avoid common pitfalls such as neglecting the right tools, skipping the measuring phase, and failing to test functionality.
With attention to detail and proper care, your snap buttons will provide lasting value to your creations, elevating their overall quality and usability. Enjoy your crafting journey, and don’t hesitate to explore various design possibilities with snap buttons in future projects!


