How to Thread a Riccar Sewing Machine
Are you having trouble threading your Riccar sewing machine? Then, if you’re looking to learn how to thread a Riccar sewing machine, you’ve come to the right place. In this blog post, we’ll provide step-by-step instructions on how to do it. So whether you’re a beginner or an experienced sewist, follow these steps, and you’ll be able to thread your Riccar sewing machine like a pro!

This instructional guide will show you how to do it properly. First, ensure that the machine is unplugged and that the presser foot is raised. Next, insert the thread into the tension disc on the right-hand side of the machine. Then, hold onto the end of the thread and turn on the machine. Finally, pull down on the thread until it is caught in the groove at the top of the needle. Read on to know more!
6 Benefits of Using A Riccar Machine
1. No Needle Threader
On the newer models of Riccar sewing machines, there is no need to use a needle threader, saving you time and making it easier to get ready for your next project. It also reduces the chance of breaking a needle when using a needle threader.
2. Speed control
The speed on newer Riccar machines can easily be controlled with the turn of a dial.
3. Automatic Tension
The automatic tension will save you time and prevent tension-related problems, like skipped stitches and thread breakage while sewing.
4. Built-in Free Arm
A free arm enables you to sew cuffs or pant legs quickly.
5. Top Drop-in Bobbin System
The top drop-in bobbin system allows you to change your thread and bobbin without having to remove the machine from your table or sewing area.
6. Automatic Reinforcement Button
The button on Riccar machines is conveniently located, making it easier for you to sew a double stitch every few stitches, to help prevent your seams from coming loose.
Step by Step Guide: How To Thread A Riccar Sewing Machine Correctly
Step 1: Go Through the Guides
First, open the throat plate. Then, slide the thread through the tension guide. This should already be in place on many models of Riccar machines. If not, you can easily slip it into place with your fingers. After that, run the thread down to where you put it underneath to go through the guide there.
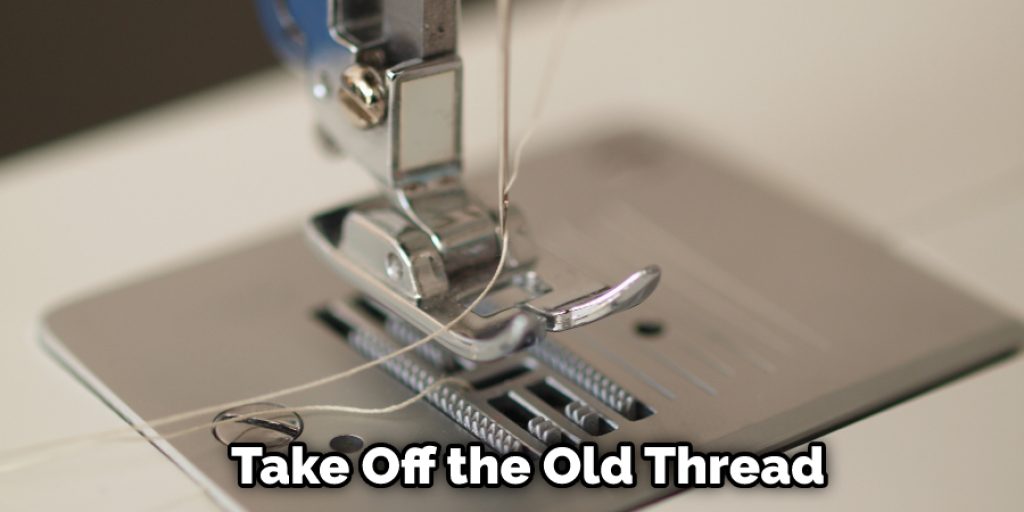
Step 2: Take Off the Old Thread
Make sure that your bobbin is on top of your machine, so you can use it as a block for a new thread to pass under. Doing this reduces the chances of tangling or bunching upon itself, which would cause further problems. Then, use your fingers to take out the old thread carefully. Be sure to leave whatever you do not want to cut into a manageable pile to make it easier for you when putting in the new thread.
Step 3: Go Through The Bobbin Thread Guide
Next, make sure that the bobbin is sitting on top of the guide there. Then, run the thread underneath it to get out of your way for now. Remember where you left off to know what thread goes where later on.
Step 4: Take Off the Bobbin Case Cover
Next, make sure that all of your settings are correct. If they are not, change them before continuing with this process. When you are sure that everything is set up correctly, look underneath.
There should be a cover with a tiny arrow pointing towards it, which indicates the direction in which the thread spool is going to go on. Then, take it off. Next, take out the bobbin case by pulling back on the cover while holding on to the spool of thread simultaneously. Set it aside, so you do not get in your way or lose track of which one is which.
Step 5: Thread Your Machine
Now, place your bobbin inside of its case so that the thread comes off of the spool either way. Then, take your needle and thread it up through the middle. After this, take one end of the thread to tie a knot at the end. That way, you can be sure that it will not pull back through while working with it.
After this, take the thread down to where you left off in the bobbin thread guide. Then, run it underneath there to not pull up against itself or get twisted. Keep going until you reach the end of your guide.
Step 6: Place Your Bobbin Back into Place
Then, take your bobbin case cover and place it back on top of the bobbin. Make sure that it is spinning in the proper direction before you snap the cover into place. That way, you will not have to untangle your thread in a rush when trying to sew something later on.
Step 7: Thread Your Needle Again
After that, put the bobbin case cover back into place by opening it up and then pressing it down on the top of it. Then, get your needle primed again so you can get started sewing after putting in a fresh spool of thread.
Step 8: Slide On Your Foot
Finally, attach your needle plate/presser foot to complete the process. Be sure that it is sitting in the right direction before sliding it into place, or you may end up damaging something. Then, you will have to start over from the beginning.

You must take your time and follow these steps carefully not to damage it. If you are more comfortable with a manual machine, be sure to learn how to thread those so you always have a backup plan for whatever may come up.
Some Tips and Suggestions
1. Make sure the thread is new, not stale.
2. Have a small pair of sharp scissors and a seam ripper (optional) close by to make snipping and re-sewing fast and easy.
3. Make sure the sewing machine is well oiled and tuned up.
4. If you have a scissor-type thread stand, use it to keep your cones from rolling away or getting tangled on your floor. Keep your thread spools organized by color in a fabric tube before you start to sew if they will be far out of reach.
5. A drop of oil at the tension discs is also a good idea for machines that are difficult to sew on.
6. Clean your machine thoroughly after every sewing session since lint builds up quickly in the bobbin case and hook assembly. This dirt will cause skipped stitches, broken needles and may even damage your machine.
7. Do not poke your fingers into the machine to pull out a knotted thread. Use tweezers or needle-nose pliers instead to grip the end of the thread.
8. If you must use dental floss, pull it slowly through either side of the tension discs.
How To Wind The Bobbin On A Riccar Sewing Machine?
Before you can begin to sew, you need to install the bobbin onto your Riccar sewing machine. The bobbin is a small spindle that holds the bottom thread. On most models, it’s an easy process, but there are some exceptions.
You open up the top drop-in cover on most Riccar machines and hold the bobbin up to a bright light to see where the thread wraps around it. Then, simply rotate one of the hands until your bottom thread can be threaded into that spot. You’ll then need to balance it on the spindle while you wind it tightly with your thumb and pointer finger.
On other models, you might prefer to use the built-in bobbin winder. Insert the spindle into it, hold it up to bright light, and crank away. Make sure you rotate it in both directions evenly, or you might warp your bobbin. Once your bobbin is wound tightly, please carefully remove it from the bobbin winder so you don’t tangle the thread.
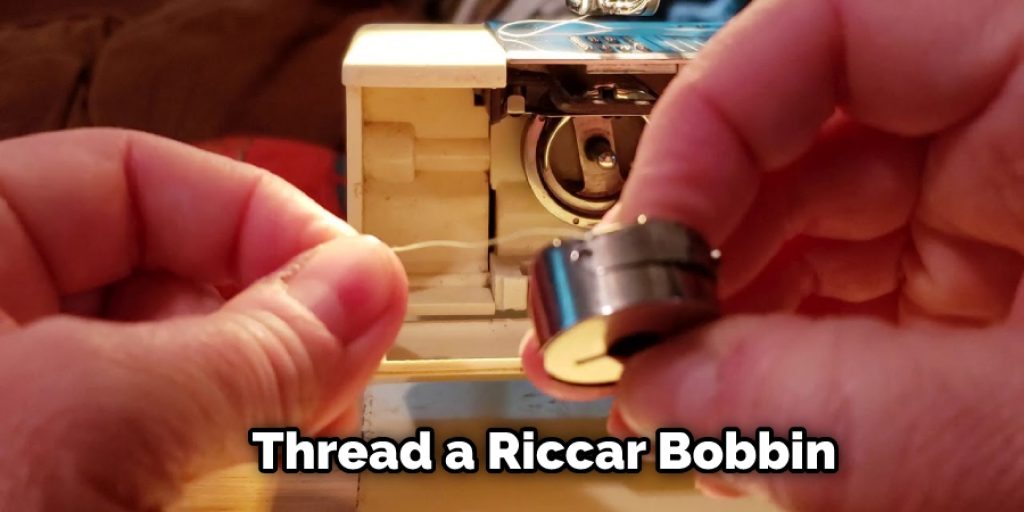
How Do You Thread A Riccar Bobbin?
Threading a Riccar sewing machine is not difficult once you understand how it should be done. If the threading directions in your owner’s manual are unclear, try using these tips instead. They look complicated at first glance but make the job much easier and faster.
Next, take the spool of thread and snack it onto the spindle, or take a few turns around the bobbin winder to get ready for sewing. If there is a sprocket on your bobbin winder, leave a short tail of thread hanging out from under the head so you can reach under and grab it when necessary.
Now you are ready to thread the machine. Always start by aligning the thread with one of the arrows on the machine frame and pulling it all the way through until it stops. It’s perfectly normal if there is a little tension as this happens. That’s part of getting your bobbin going. Just keep going slowly and smoothly, guiding the thread across the tension discs and up to the needle.
Conclusion
Threading your Riccar sewing machine is an easy process that can be done in just a few minutes. Before starting, make sure the needle threader has been removed and set aside for safekeeping. Next, take off the bobbin case cover if it was not already taken care of while removing the needle threader.
The next step will depend on whether or not there are spools of thread available to use right away; either way should work fine so long as one single strand is threaded through each hole at all times during this process. We hope this blog post on how to thread a riccar sewing machine has helped you with the threading of your Riccar sewing machine. Keep in mind that if any parts of our instructions were unclear or confusing, please don’t hesitate to reach out for assistance!