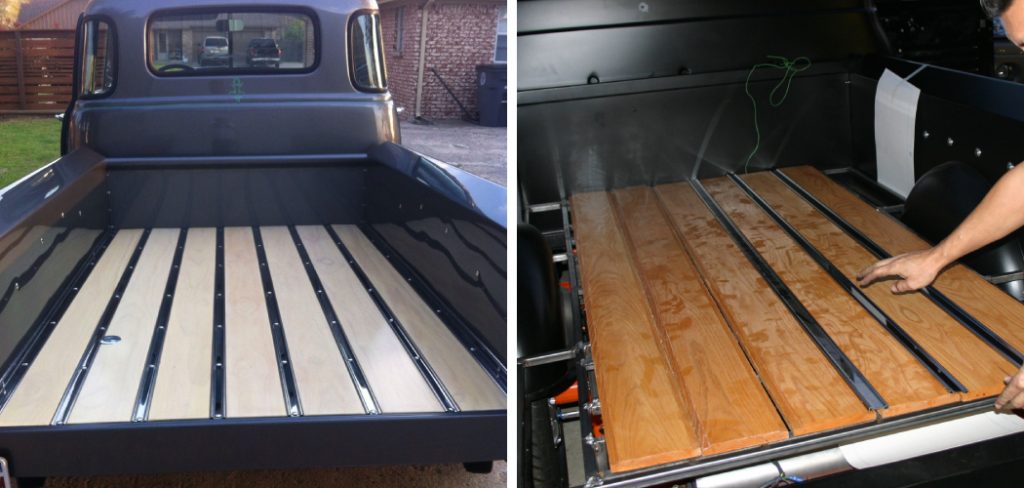
How to Install a Wood Bed in a Truck
Introduction
If you have got a wooden truck, a custom-fitted truck bed can offer your truck a nice finishing. Wood beds have more beneficial components rather than just making your truck good-looking. Compared to steel beds, wooden beds are durable and easy to repair. You won’t even have to spend a massive amount of money at the time of repairing a wood bed. That’s why most truck owners prefer to install wood beds more than anything else. Maybe you are also one of them, and that’s why you have searched how to install a wood bed in a truck. If the answer is “yes,” you can thank yourself for arriving at the correct place. In this article, I will show you the exact ways of its installation. So, without any delay, let’s dive in!

How to Install a Wood Bed in a Truck
Step 1: Before removing your old truck bed, sketch out the area to get an accurate measurement. The installation kits for truck beds vary in width, so it’s important to get the right fit. If you don’t, you won’t be able to install the new bed. Keep this in mind when placing your new bed.
Step 2: Now, start removing the old bed from the truck. In this case, you will need a socket wrench to remove the nuts underneath the bed truck. Take a hammer and tap the bolts with it. Then use a pry bar and pry the boards up. You can also lift the board up if needed.
Step 3: Next, assemble the newer bed’s kit on the floor or any other work surface. Then take the boards and place them with the narrowest boards. In this case, keep the flat and grooved edges inside. Once you have done that, follow the sketch you made earlier and position the board according to that. Check whether all the pieces have been placed in the right position. If any adjustment is needed, accomplish that.
Step 4: Now, fit the bed board into the truck through the angle trim. You will have to weld or bolt it with sides. Fill the gaps between each board with chrome bolt strips. Once you have done that, check each of the holes if they fit appropriately or not.
Step 5: Mark the holes of the bolt and strike the marked place with a hammer or a center punch machine. Ensure to strike the place firmly so the surface won’t get damaged. After that, secure the bed with the truck properly. If needed, you can drill some additional holes. Repeat the process until the entire setup is completed. That’s it; your wooden bed will be ready to use.
You may also read – How to Make Wood Look like Rusted Metal.


